
First of all I just wanted to say thank you so much for the overwhelmingly positive comments on last week’s One Room Challenge reveal post as well as all the love on facebook, & instagram, etc. We really do appreciate it!
We received so much feedback on our hex tile floors, we thought we’d share some details and a few tips to help any of you looking to do something similar.
With any DIY project, proper preparation is the most important, yet often overlooked step. In a room makeover it can be exciting to get right to work and see the transformation taking place, but failing to get all your ducks in a row up front can cause costly setbacks later.
Creating a tile pattern
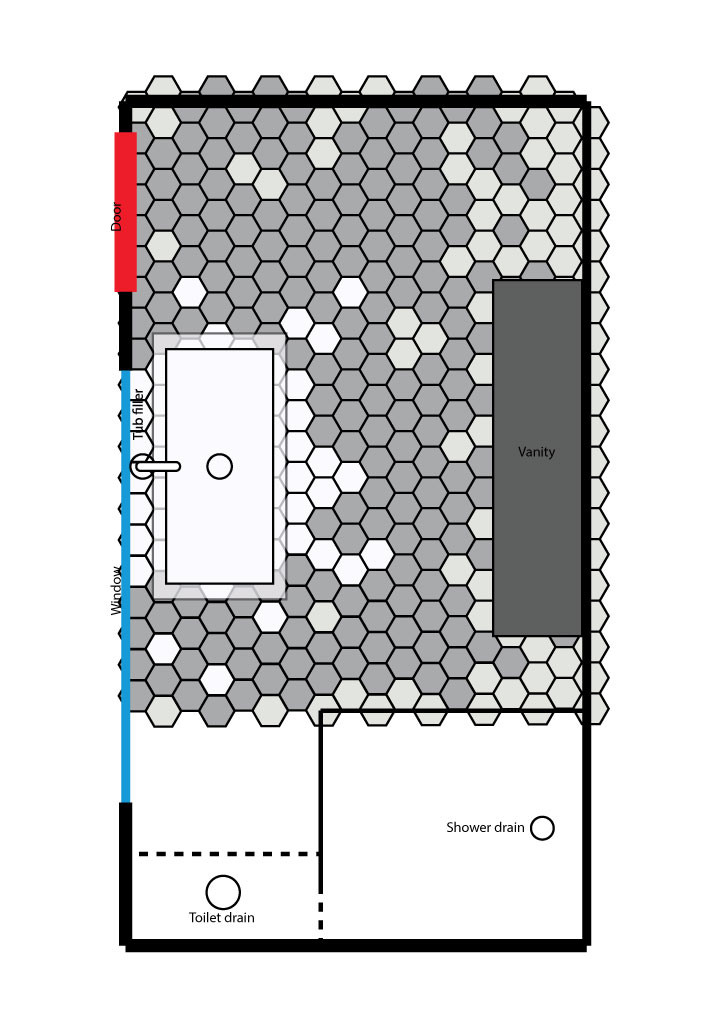
When working with hex tiles, whether you’re creating a focal point like we did to surround our tub or doing something a bit more uniform, its important to plan, plan, plan everything up front before you start cutting any tiles or mixing any mortar. Kes and I measured our floor space and used Adobe Illustrator to mock up the design for our hex tile pattern. This was really helpful in visualizing the design and also allowed us to get an accurate count of how many tiles we would need to order. In our case, because we were using a combination of light grey, dark grey & white tiles it made it easy to figure out exactly how many of each colour we’d need.

TIP: When ordering tiles, always remember to order a few extra to account for waste from cuts as well as any breakage. 10% is a good number.
Having accurate measurements and overlaying the outline of the objects in the space onto the design will allow you to preview the design in relation to everything else in the room. In our case this step helped us guage how the pattern would work around elements like our vanity and most importantly our “splash” of white focal point beneath our freestanding tub.
Try it out
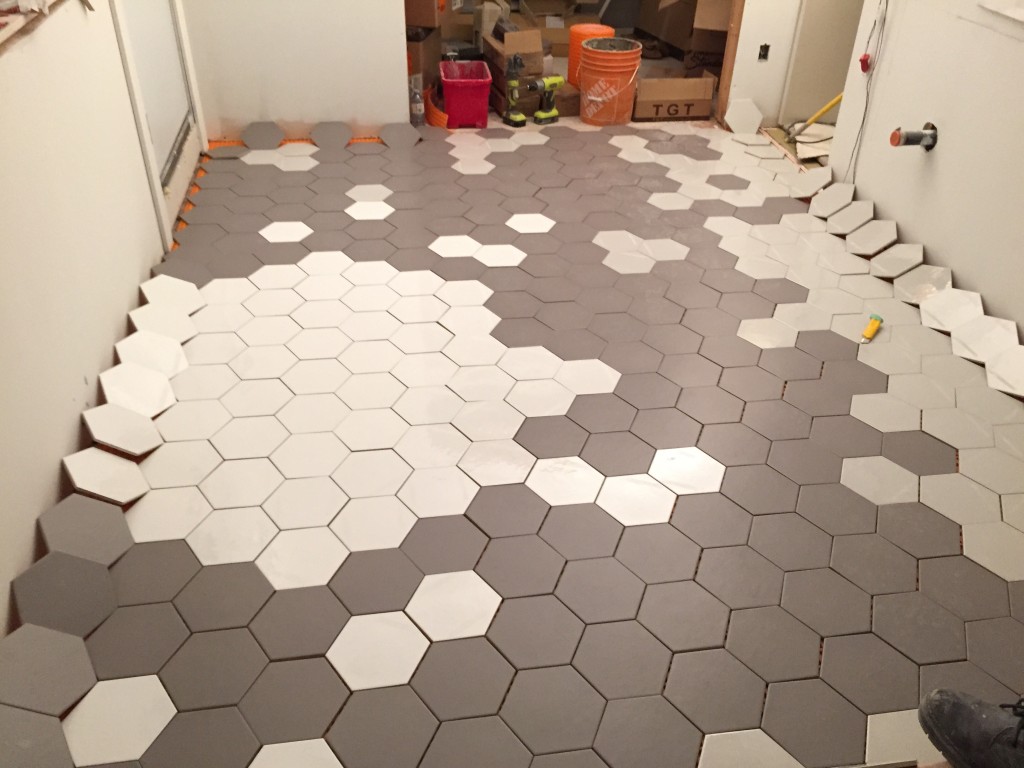
Once you are settled on your design, the next step is to do a dry fit of the tiles in the actual space. This will give you a real sense of how the finished pattern will look and allows you to make any necessary adjustments before the tiles are set in place.
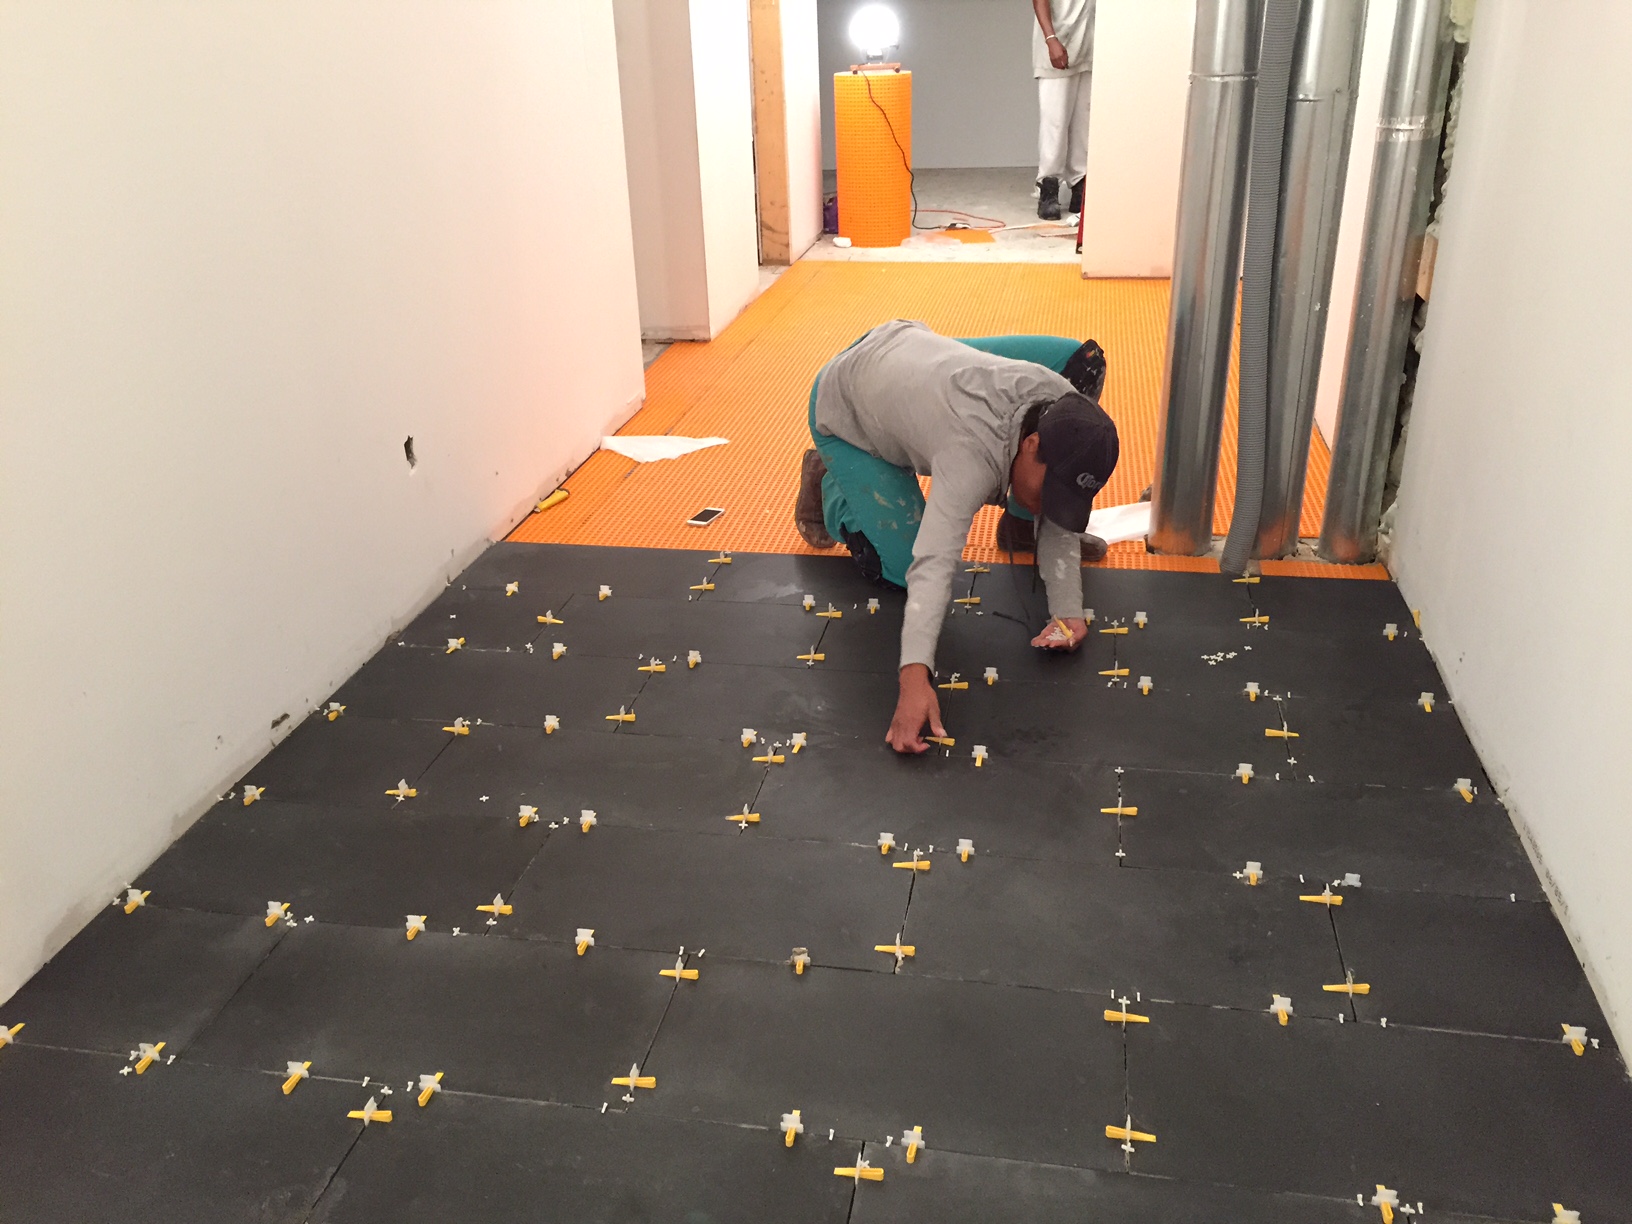
Setting the tile pattern
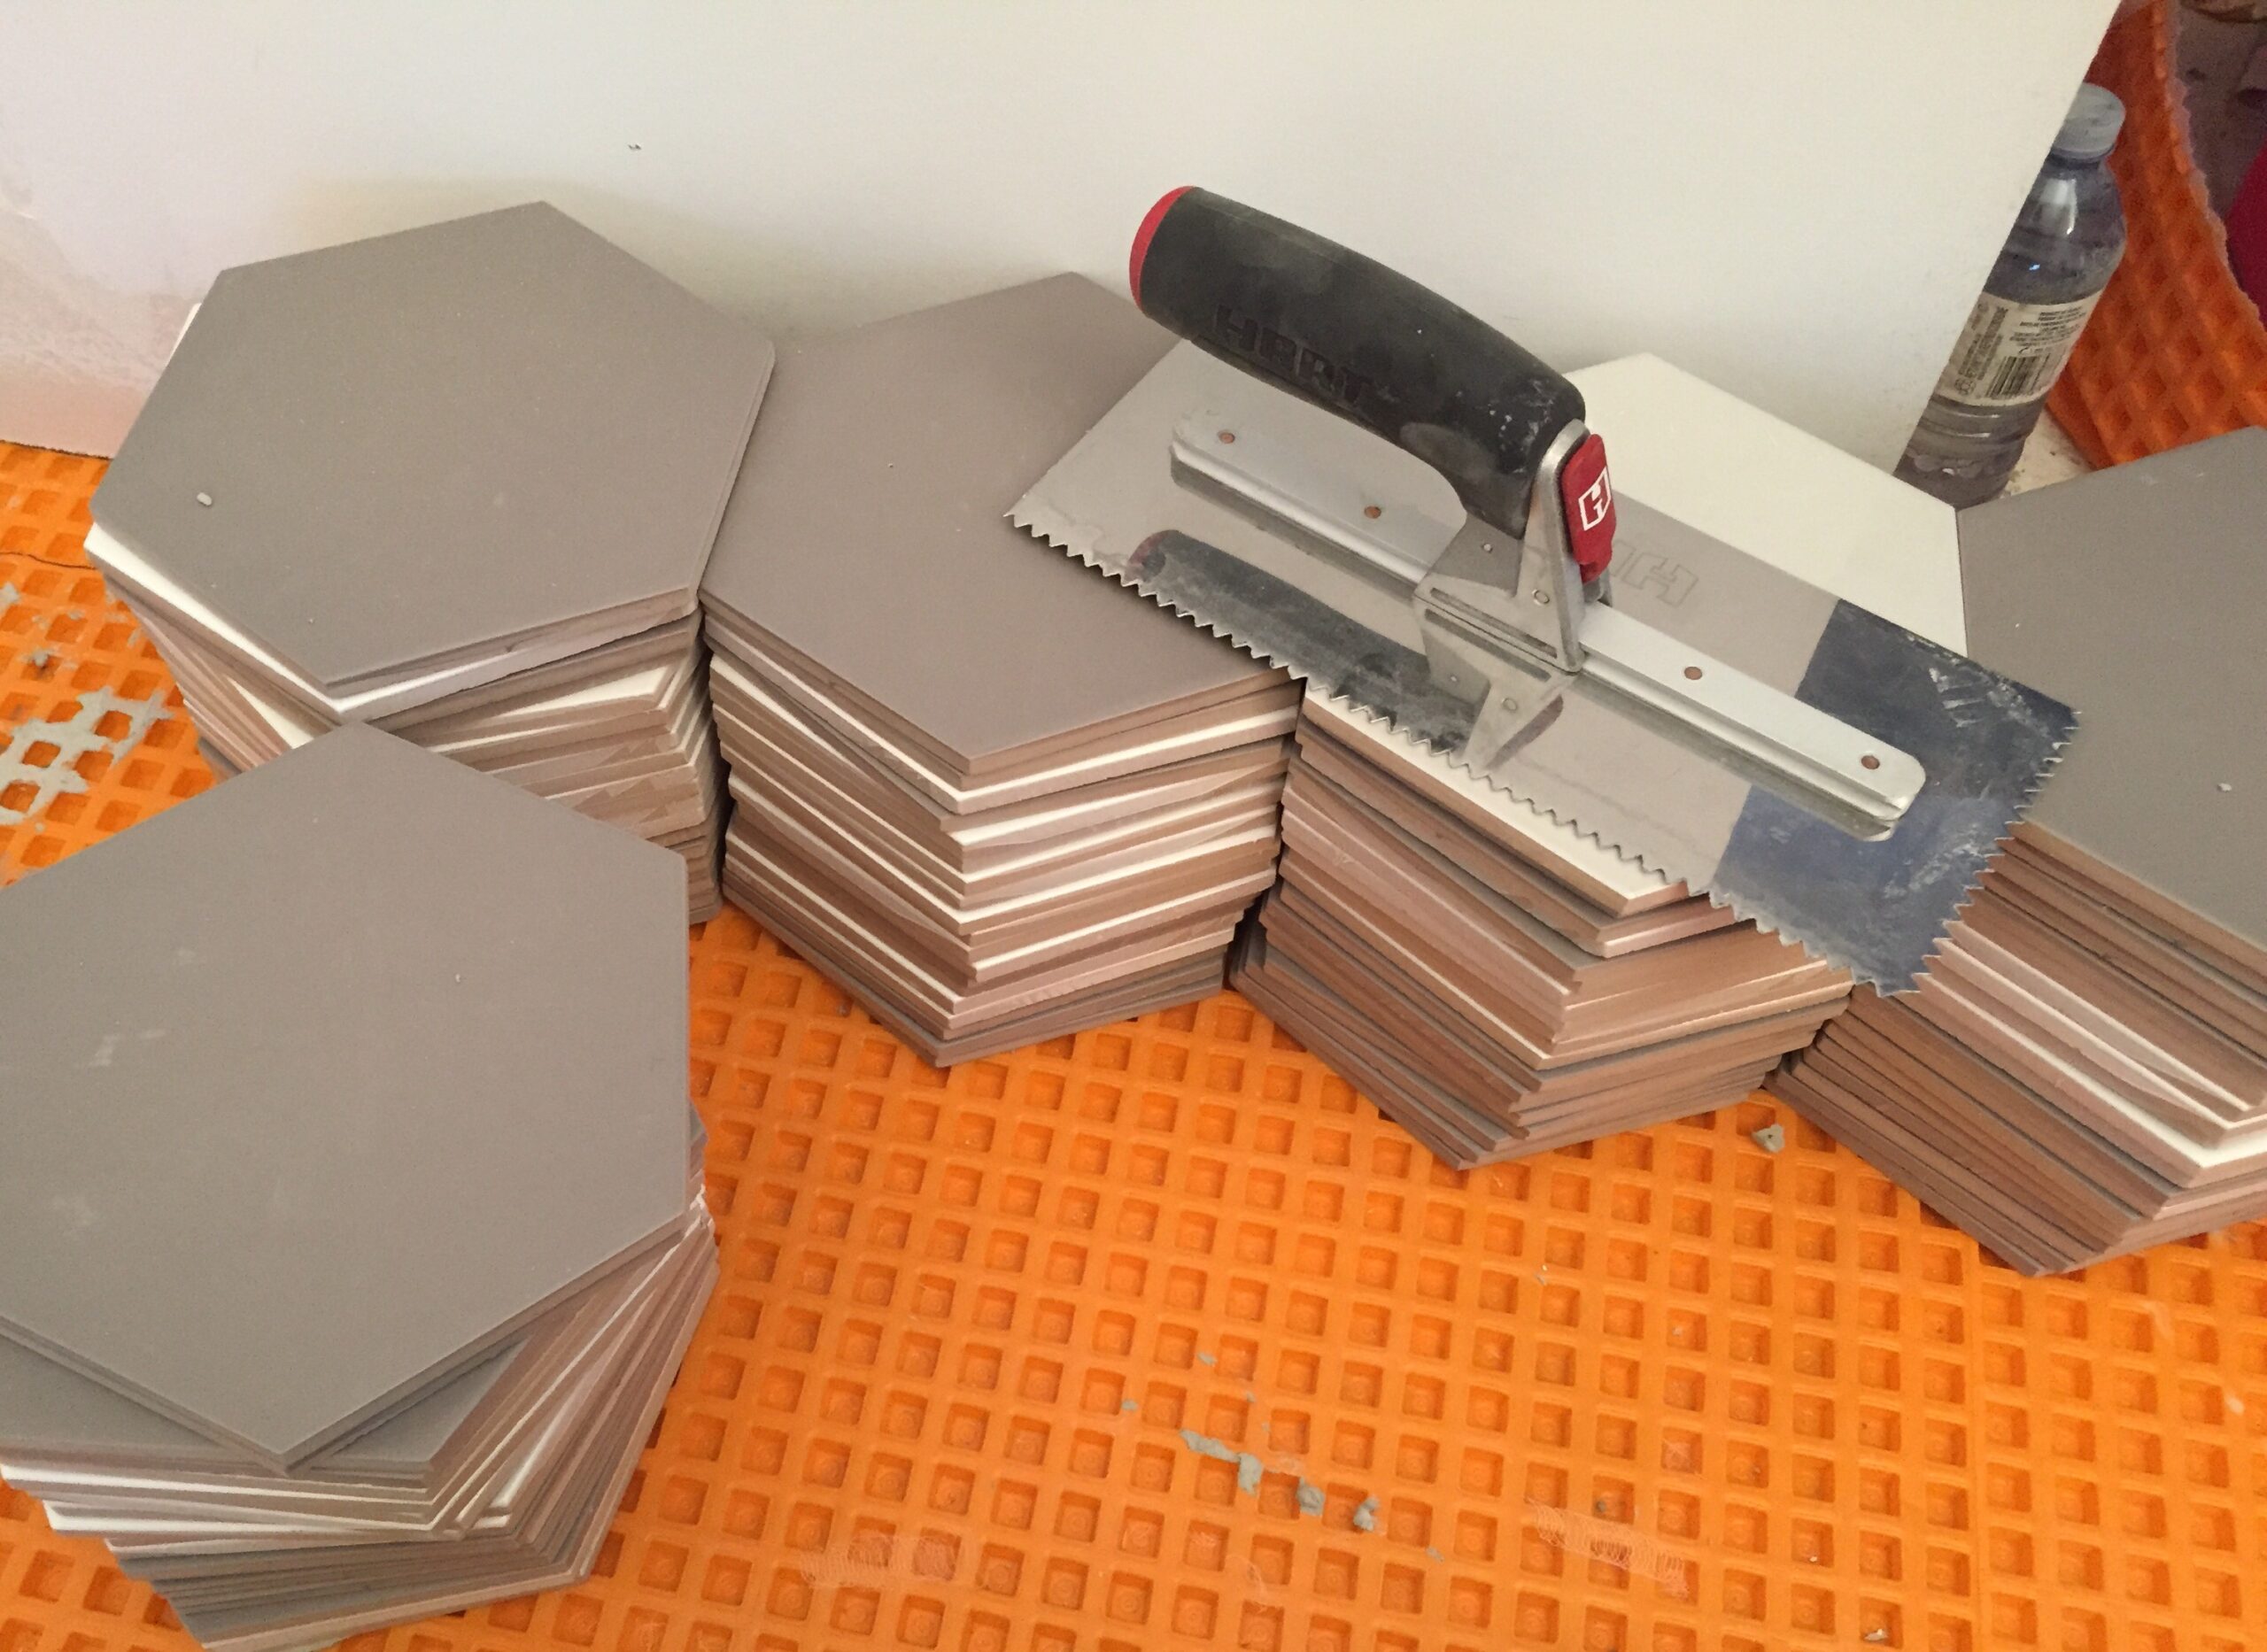
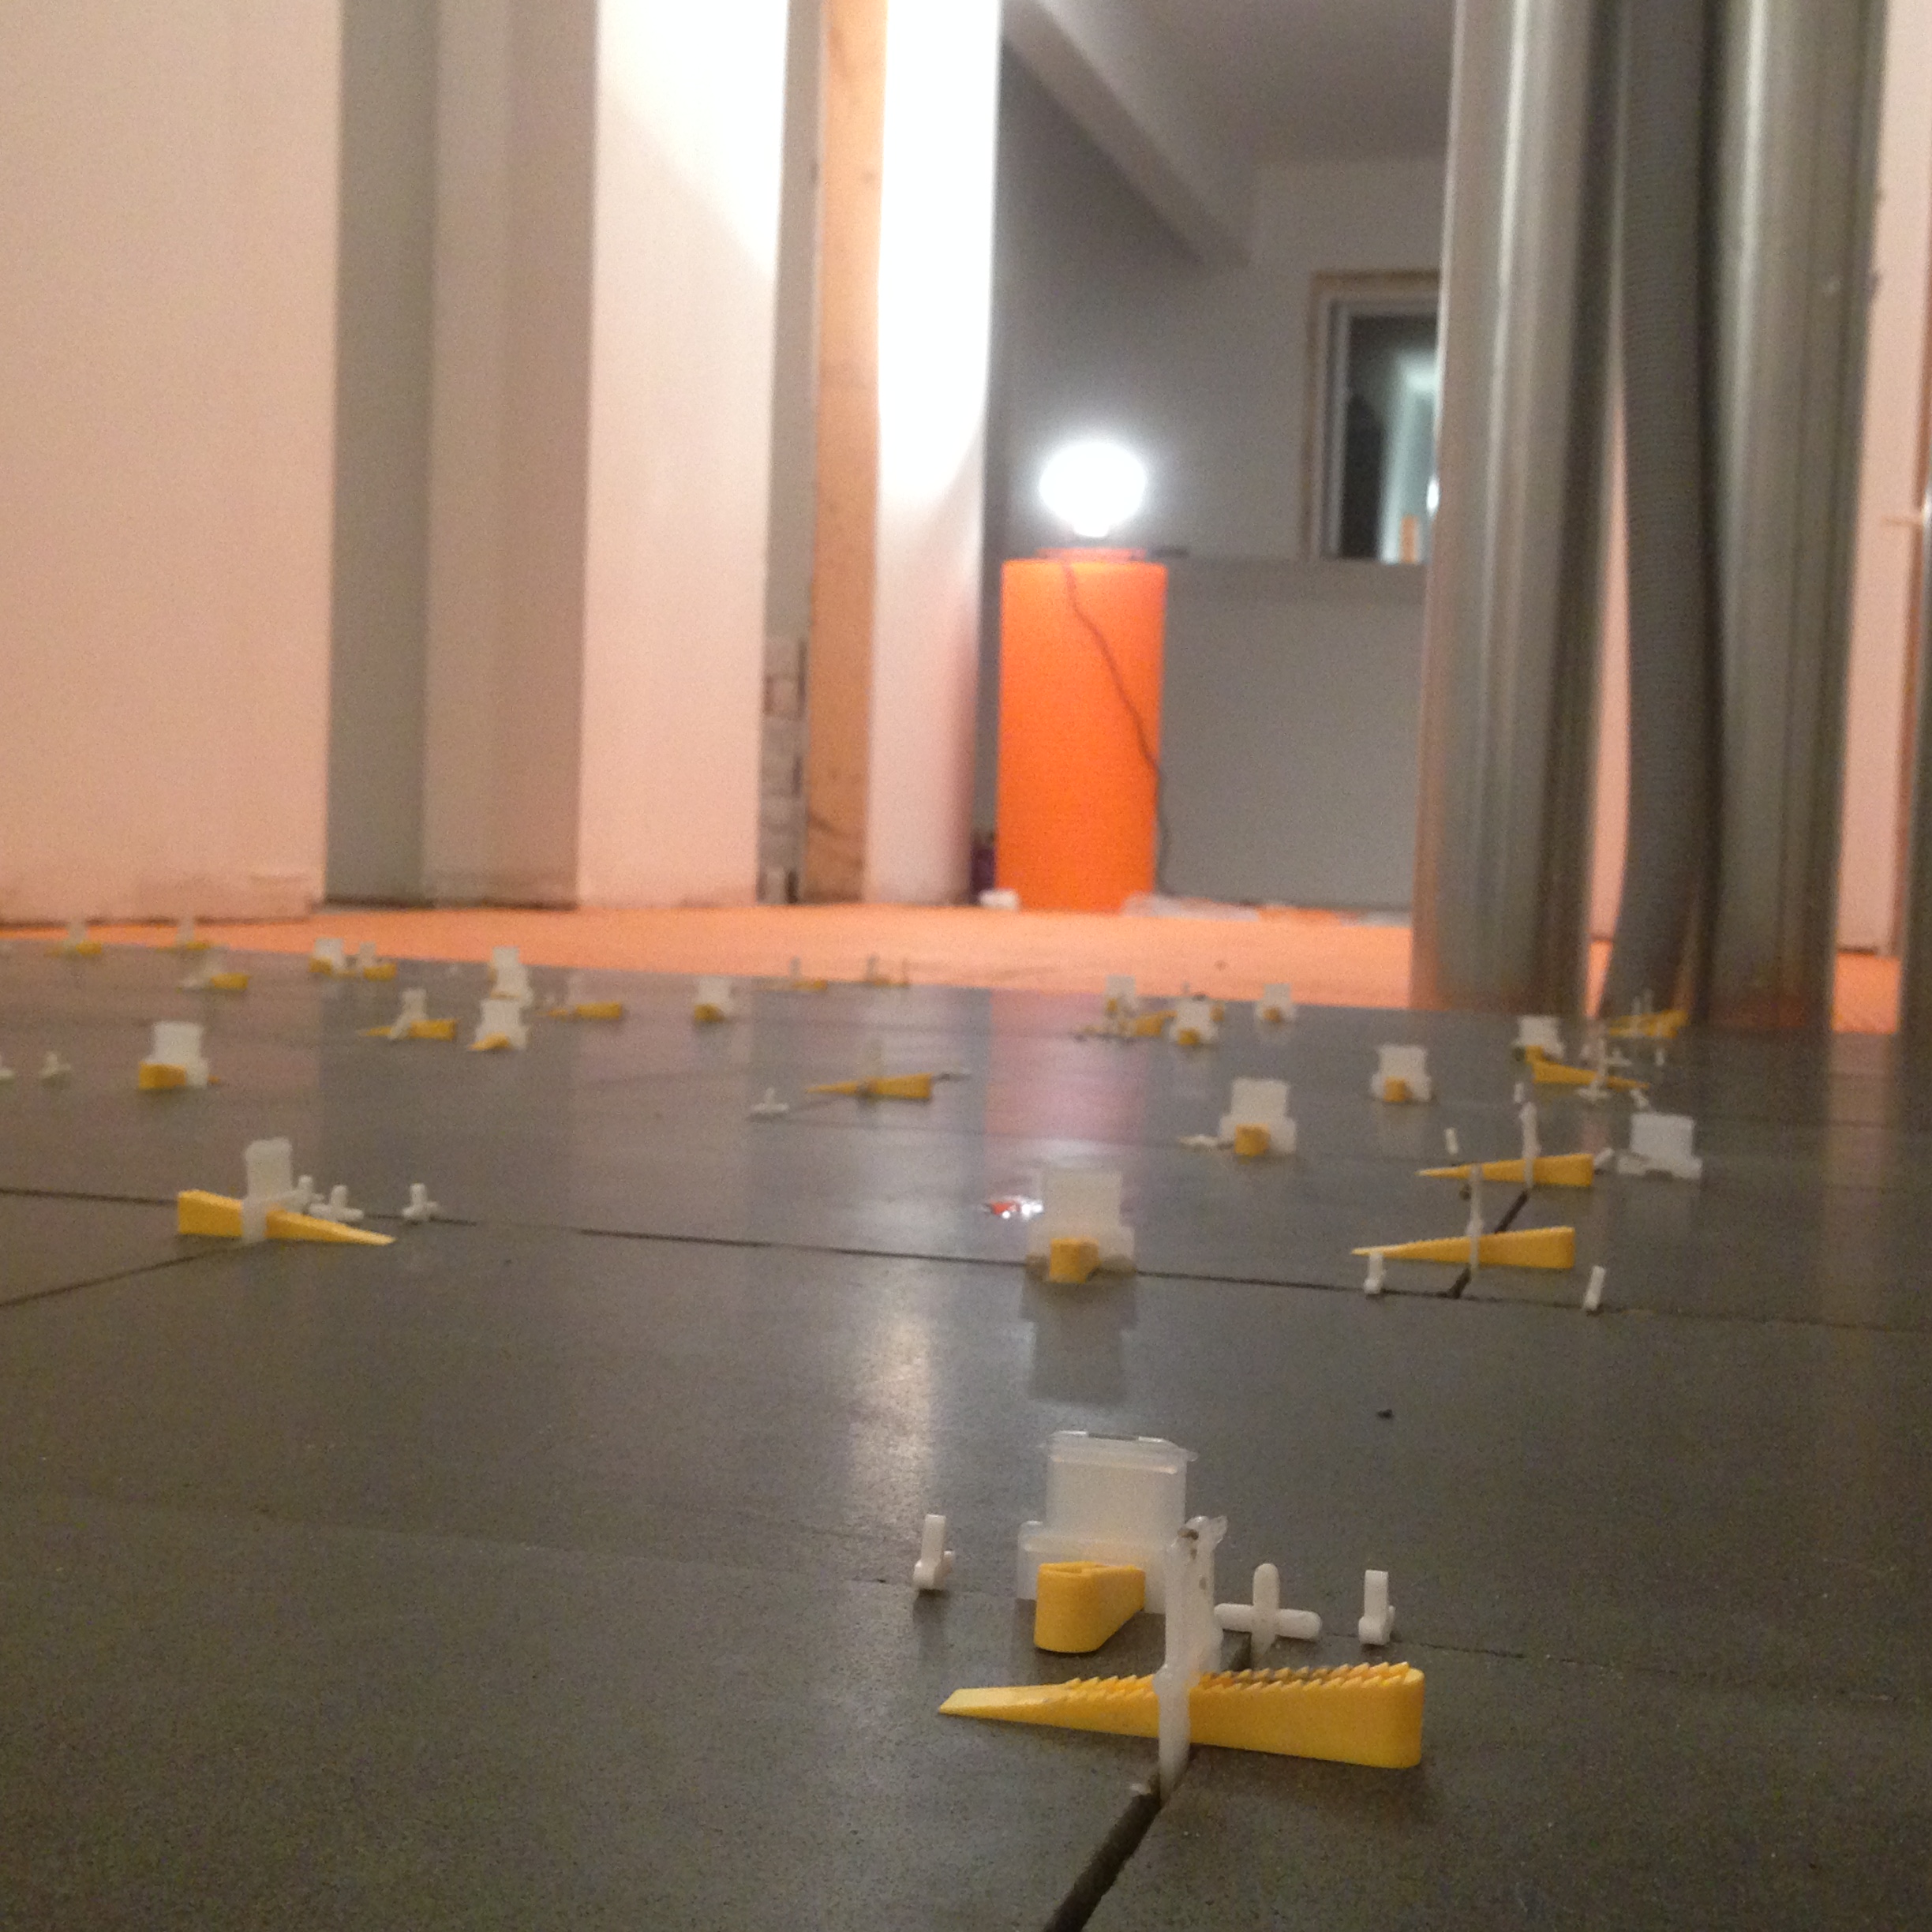
Once your pattern is final, start at one end of the room & stack your tiles in rows. When you’re finished, the top tile in each row, should be the first tile to be laid at one end of the room. This step might seem tedius, but it makes laying the tiles SO much easier because you won’t need to focus on creating your hex tile pattern and all of your emphasis can go to setting and properly leveling your tiles. Instead the pattern creates itself as you work your way through, setting the tiles in place, row by row. It is however still always a good idea to check in with your design every few rows to make sure your pattern is on track. 😉

TIP: Depending on the size of your room, it’s best to only mix enough thinset to lay a couple of rows at a time. This will keep your mortar from drying out as you work your way through the pattern.
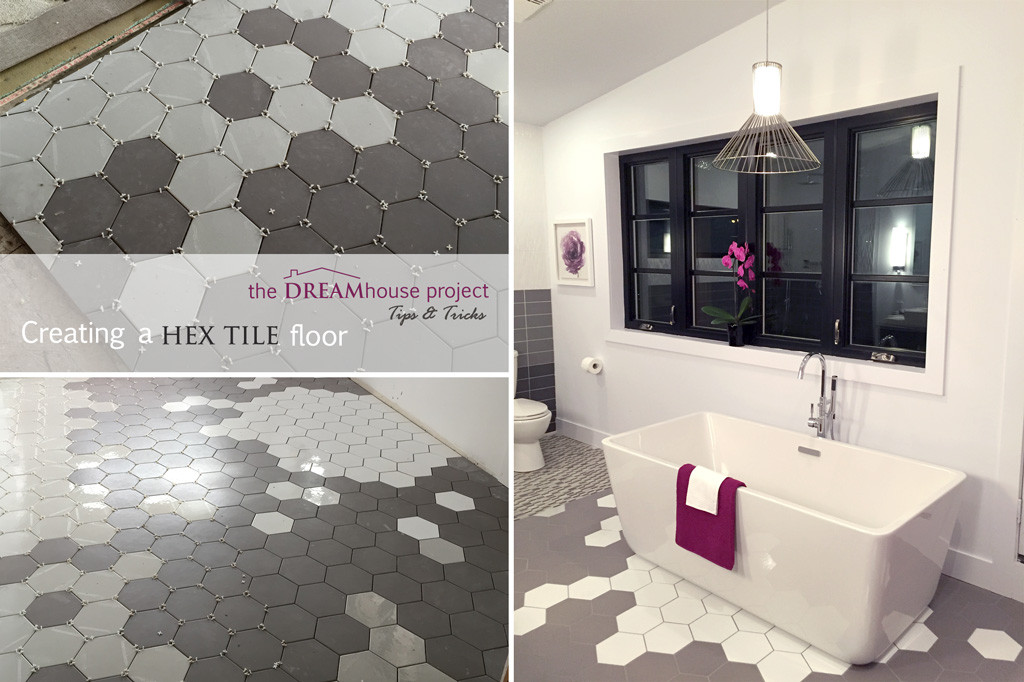
Here’s how the completed pattern looked once it was all laid.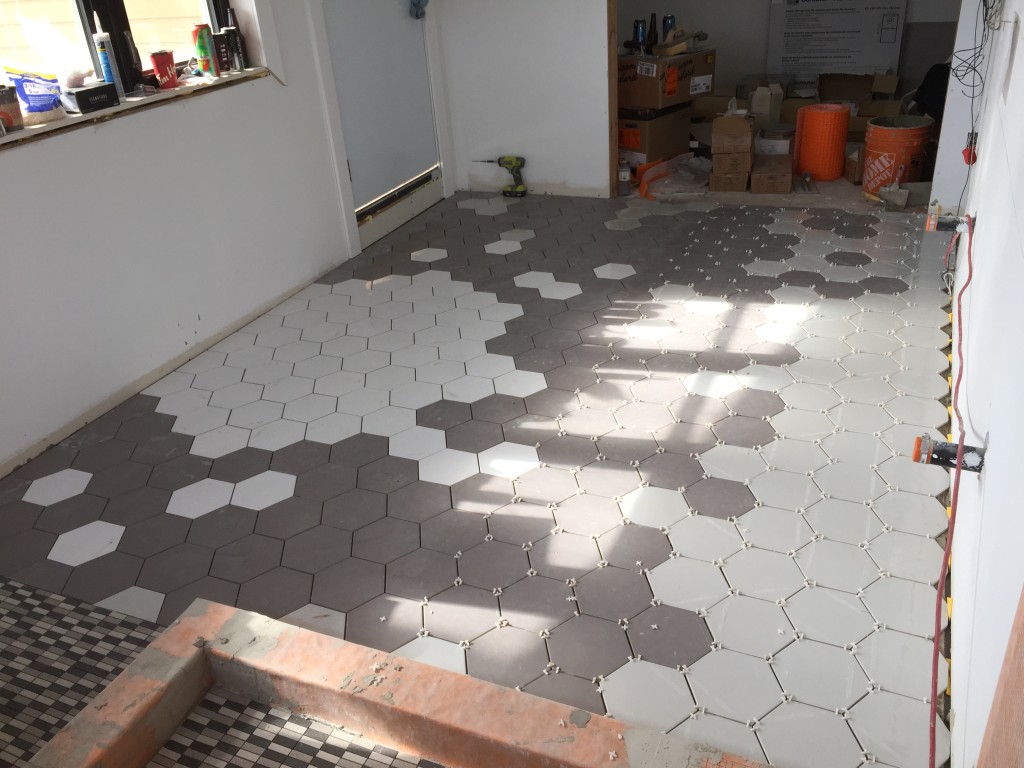
We put together a time-lapse video of us laying our hex tiles. It’s pretty cool to see the pattern take shape row by row. Oh – and you’ll have to look out for our sweet dance moves at 2:32. Keep in mind that after 2 days of tiling we were a little delirious, lol! No judging.
And as you saw last week, here again are a few shots of how the finished floor and “splash” of white came together!
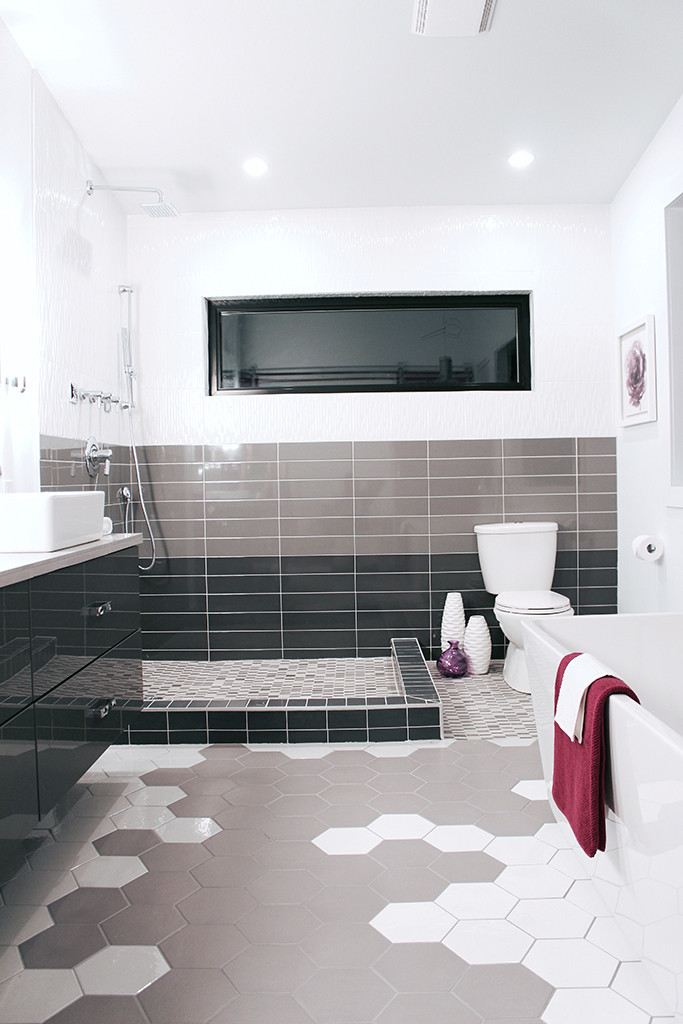

Have you created a patterned tile floor? We’d love to see!

Sorry, the comment form is closed at this time.
Lianna@theresnoplacelikehomemke
Love the pop of purple! The floor looks fantastic!
Paul
Love the hexagon tile. I have been searching for similar. What is the name of the tile? And where did you purchase the tile? Thank You.
Pingback: Hexagon Floor Tile Inspirations - AMG Home Products