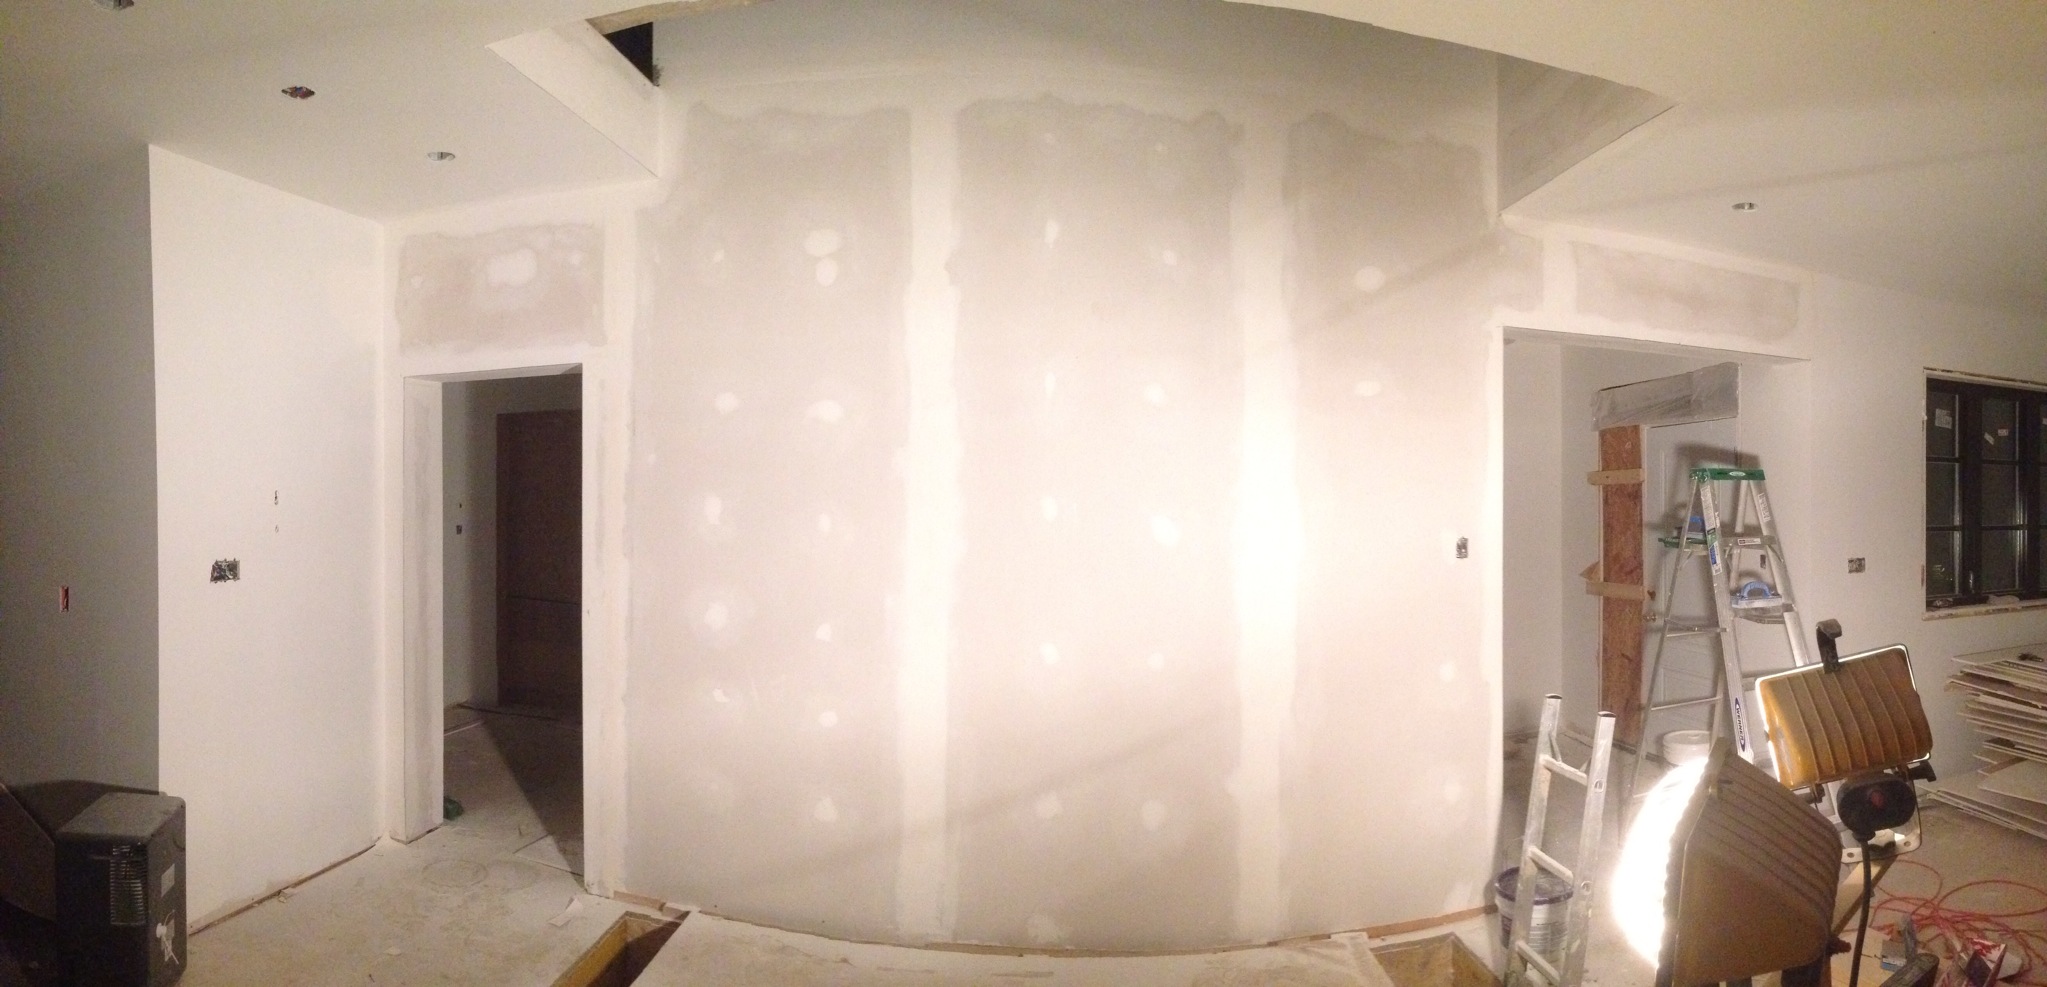
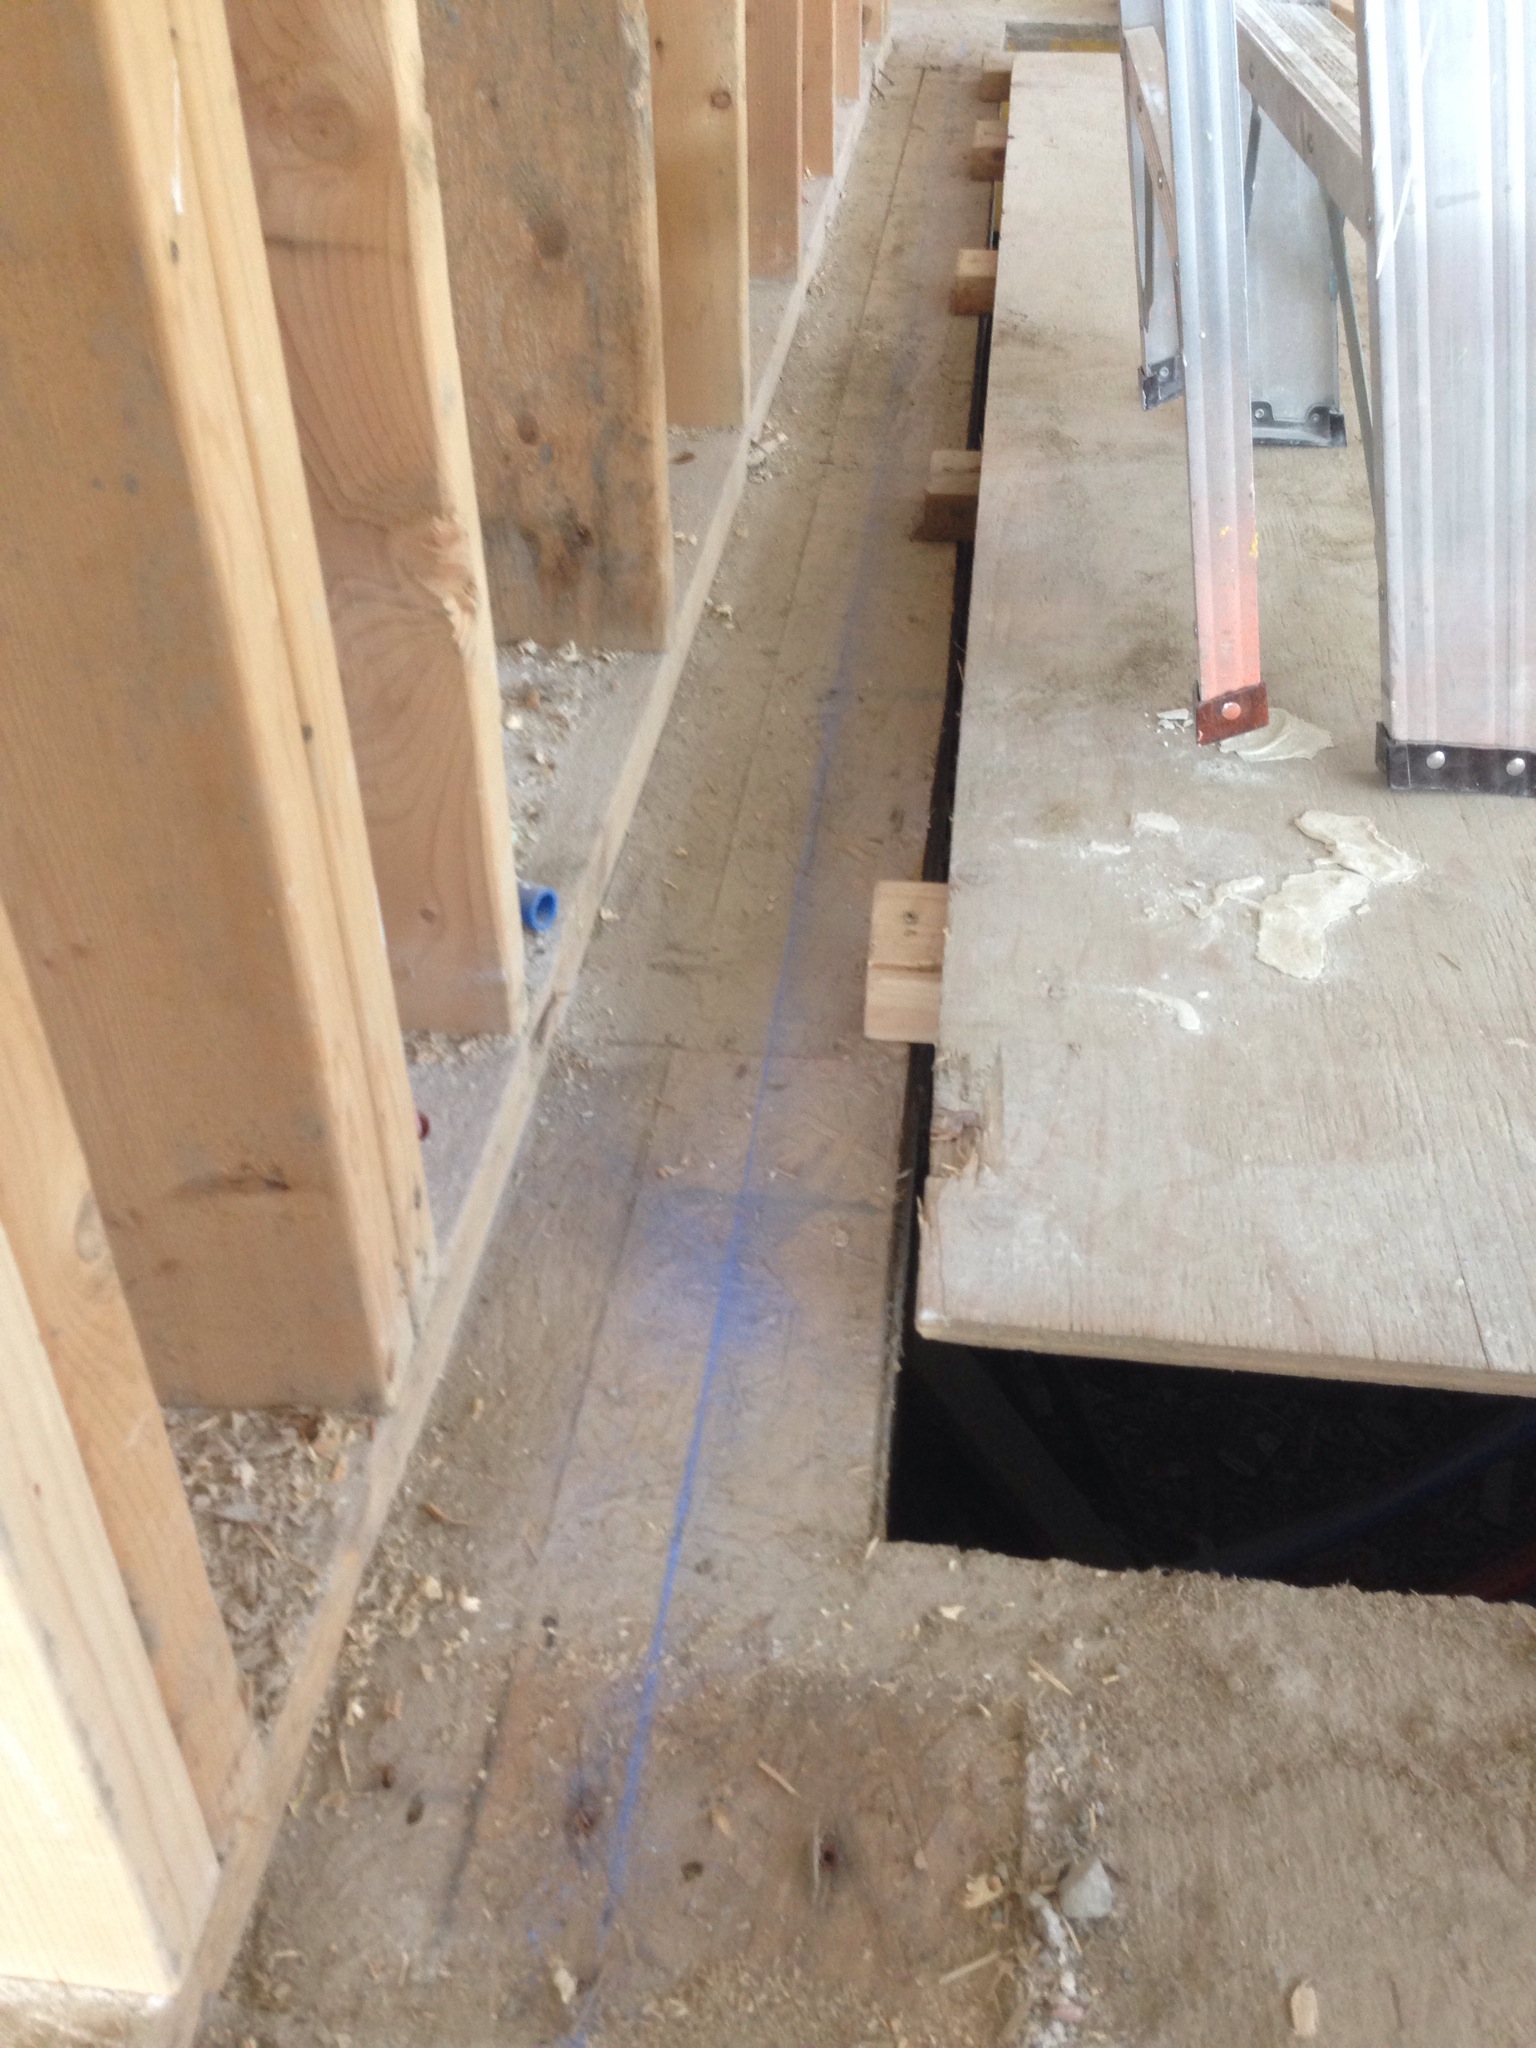
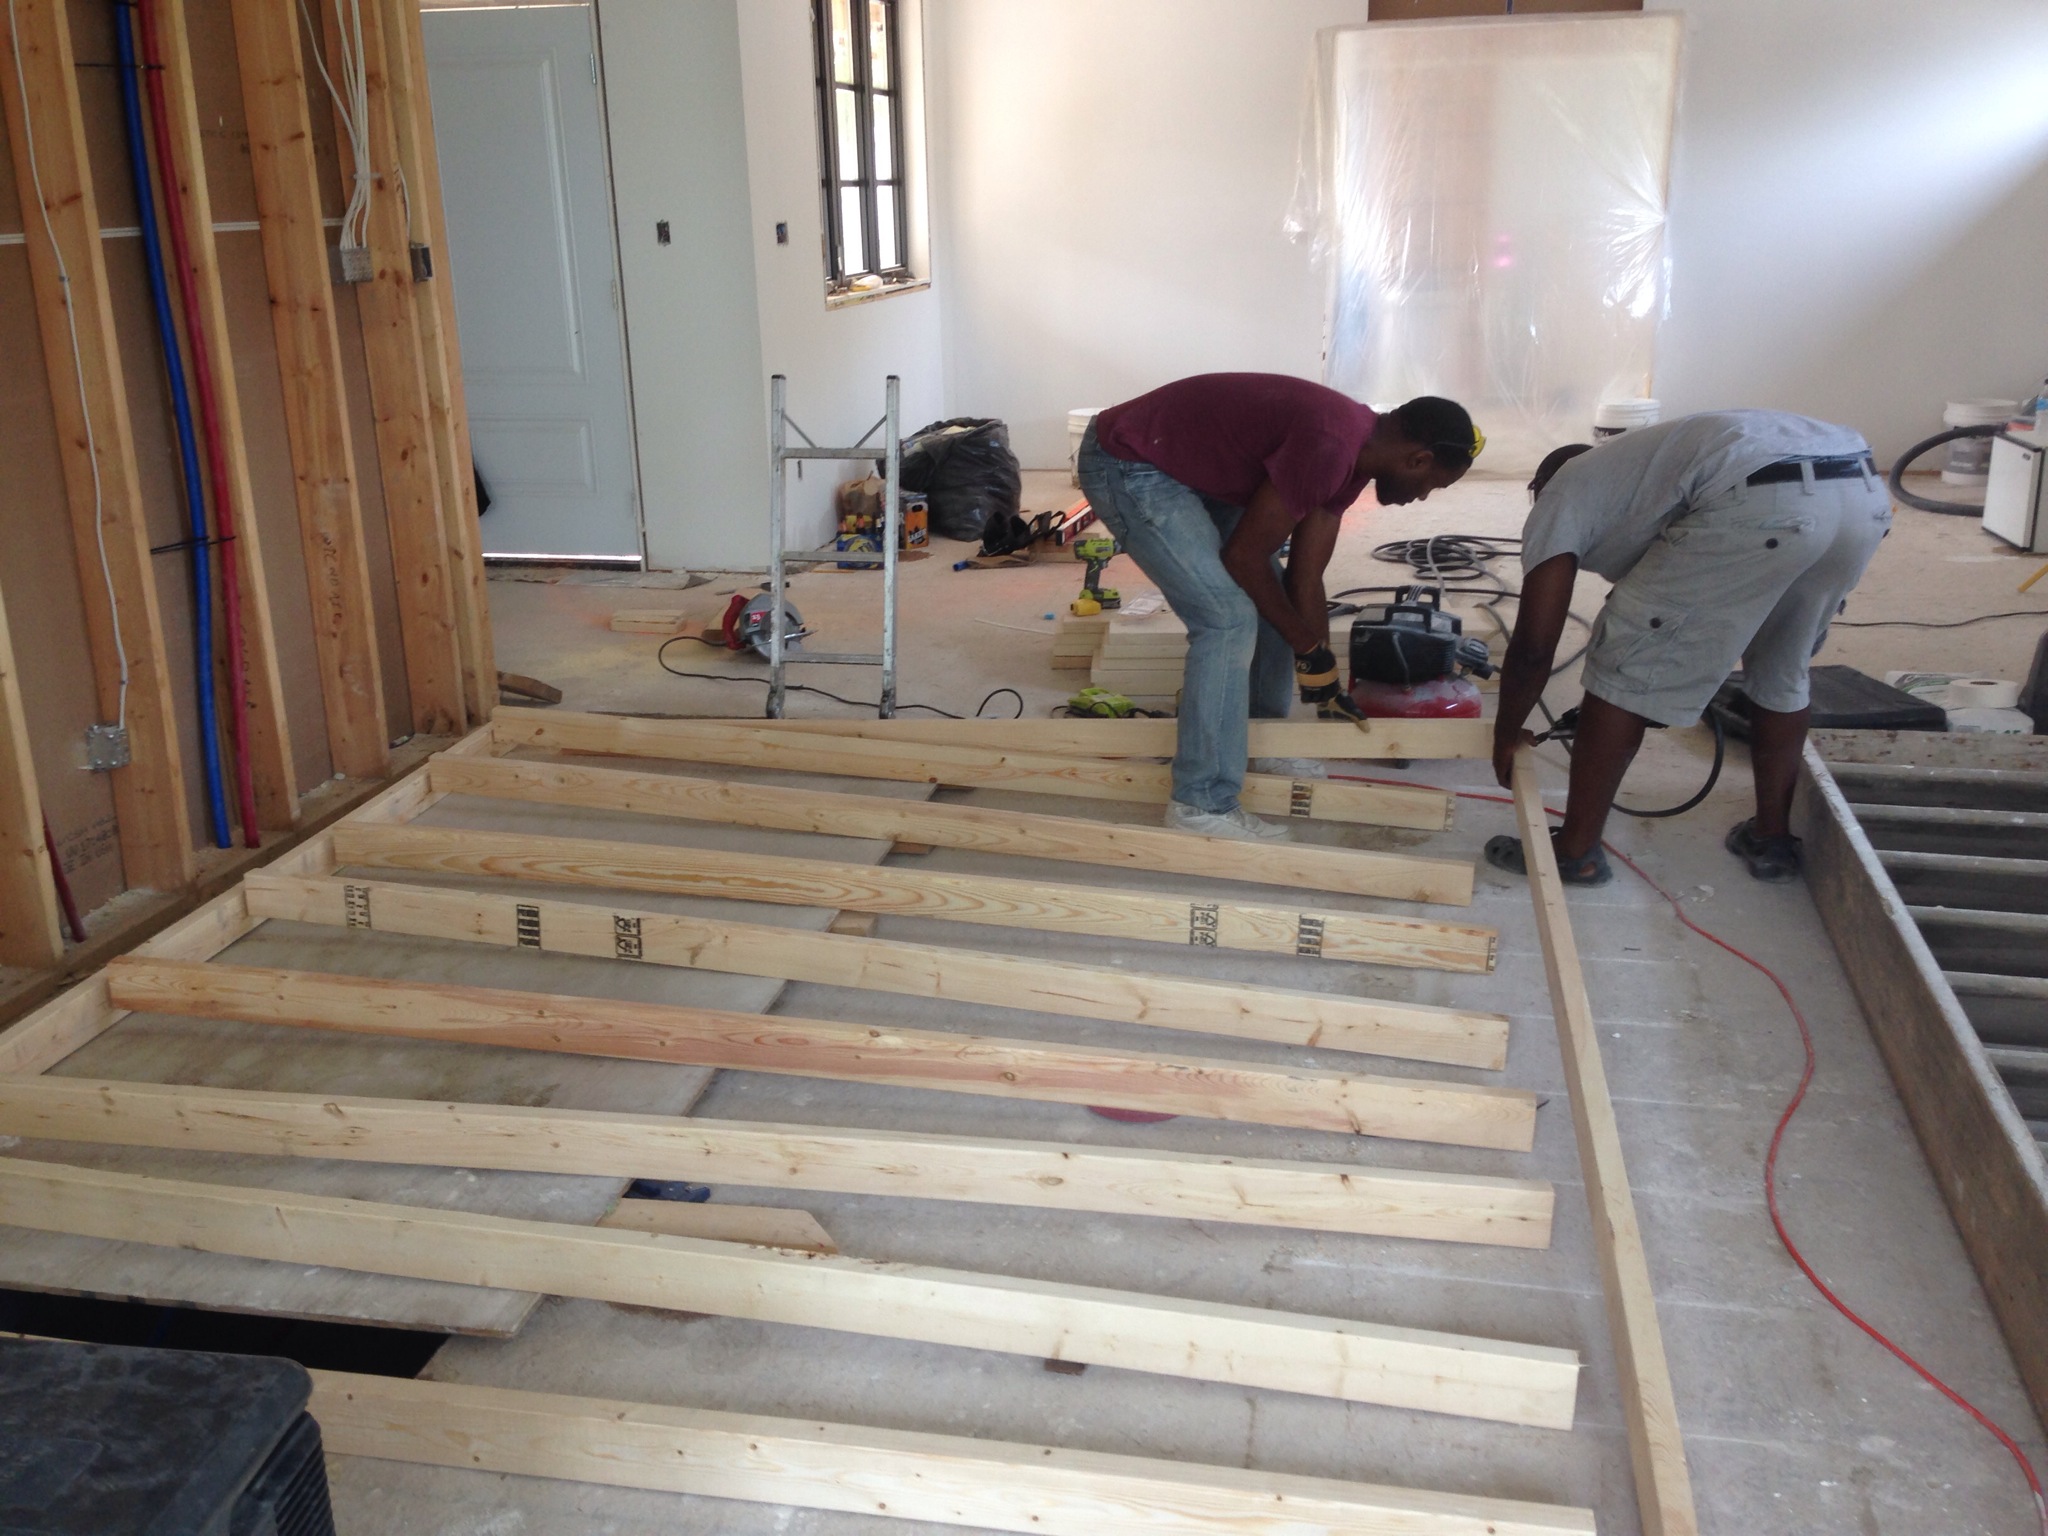
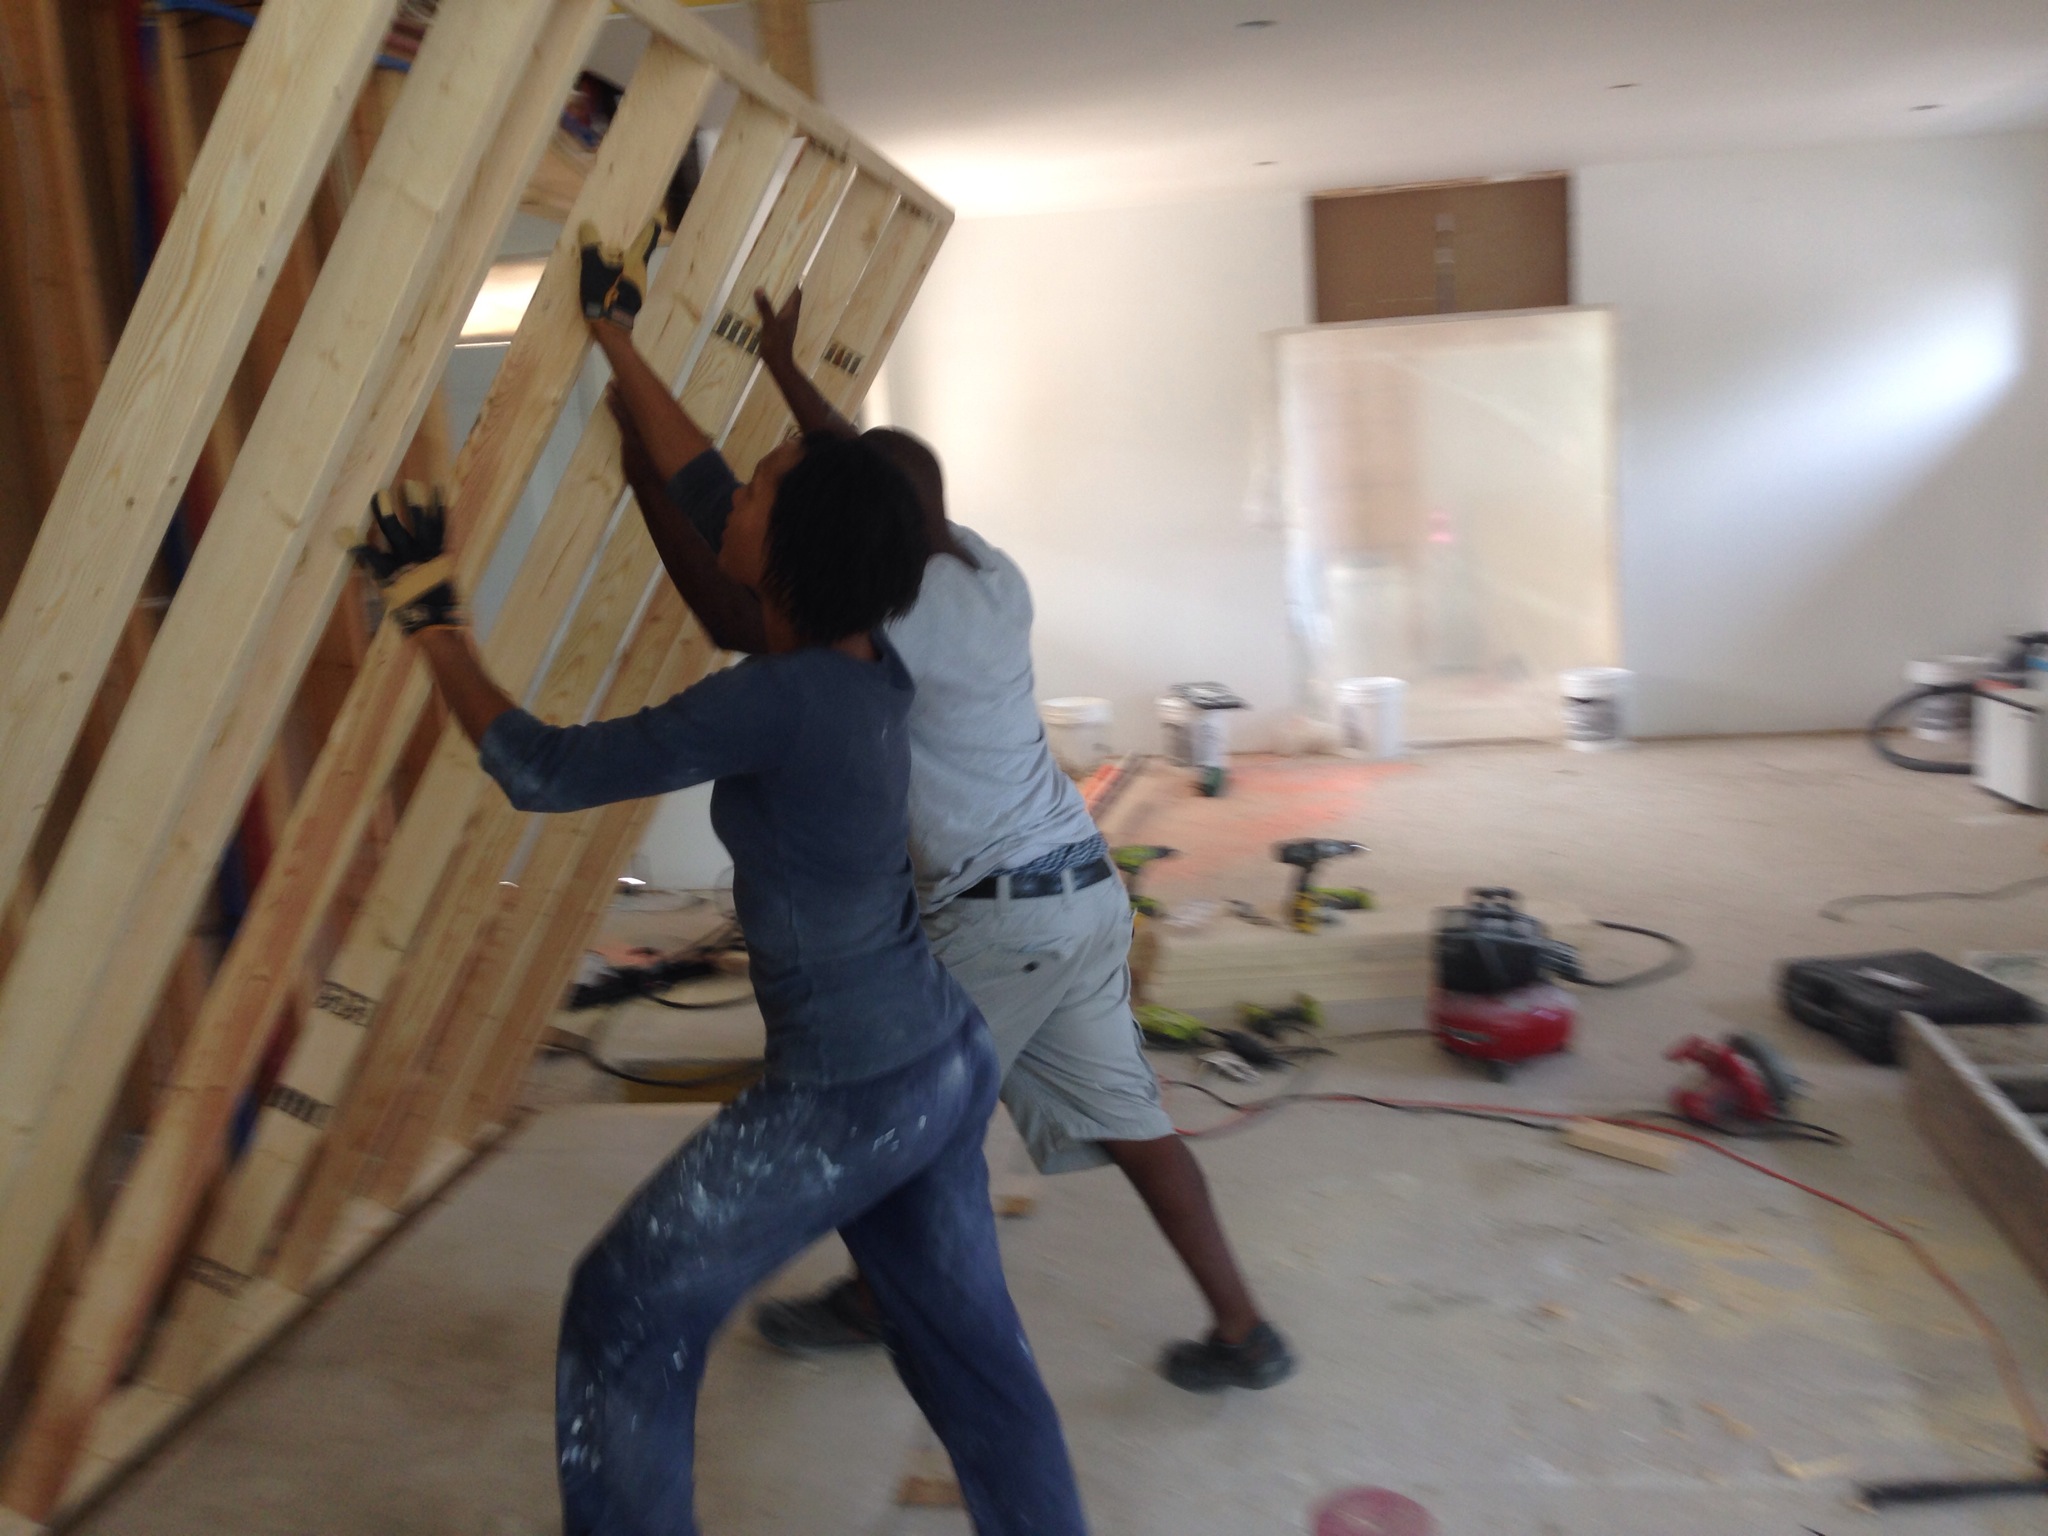
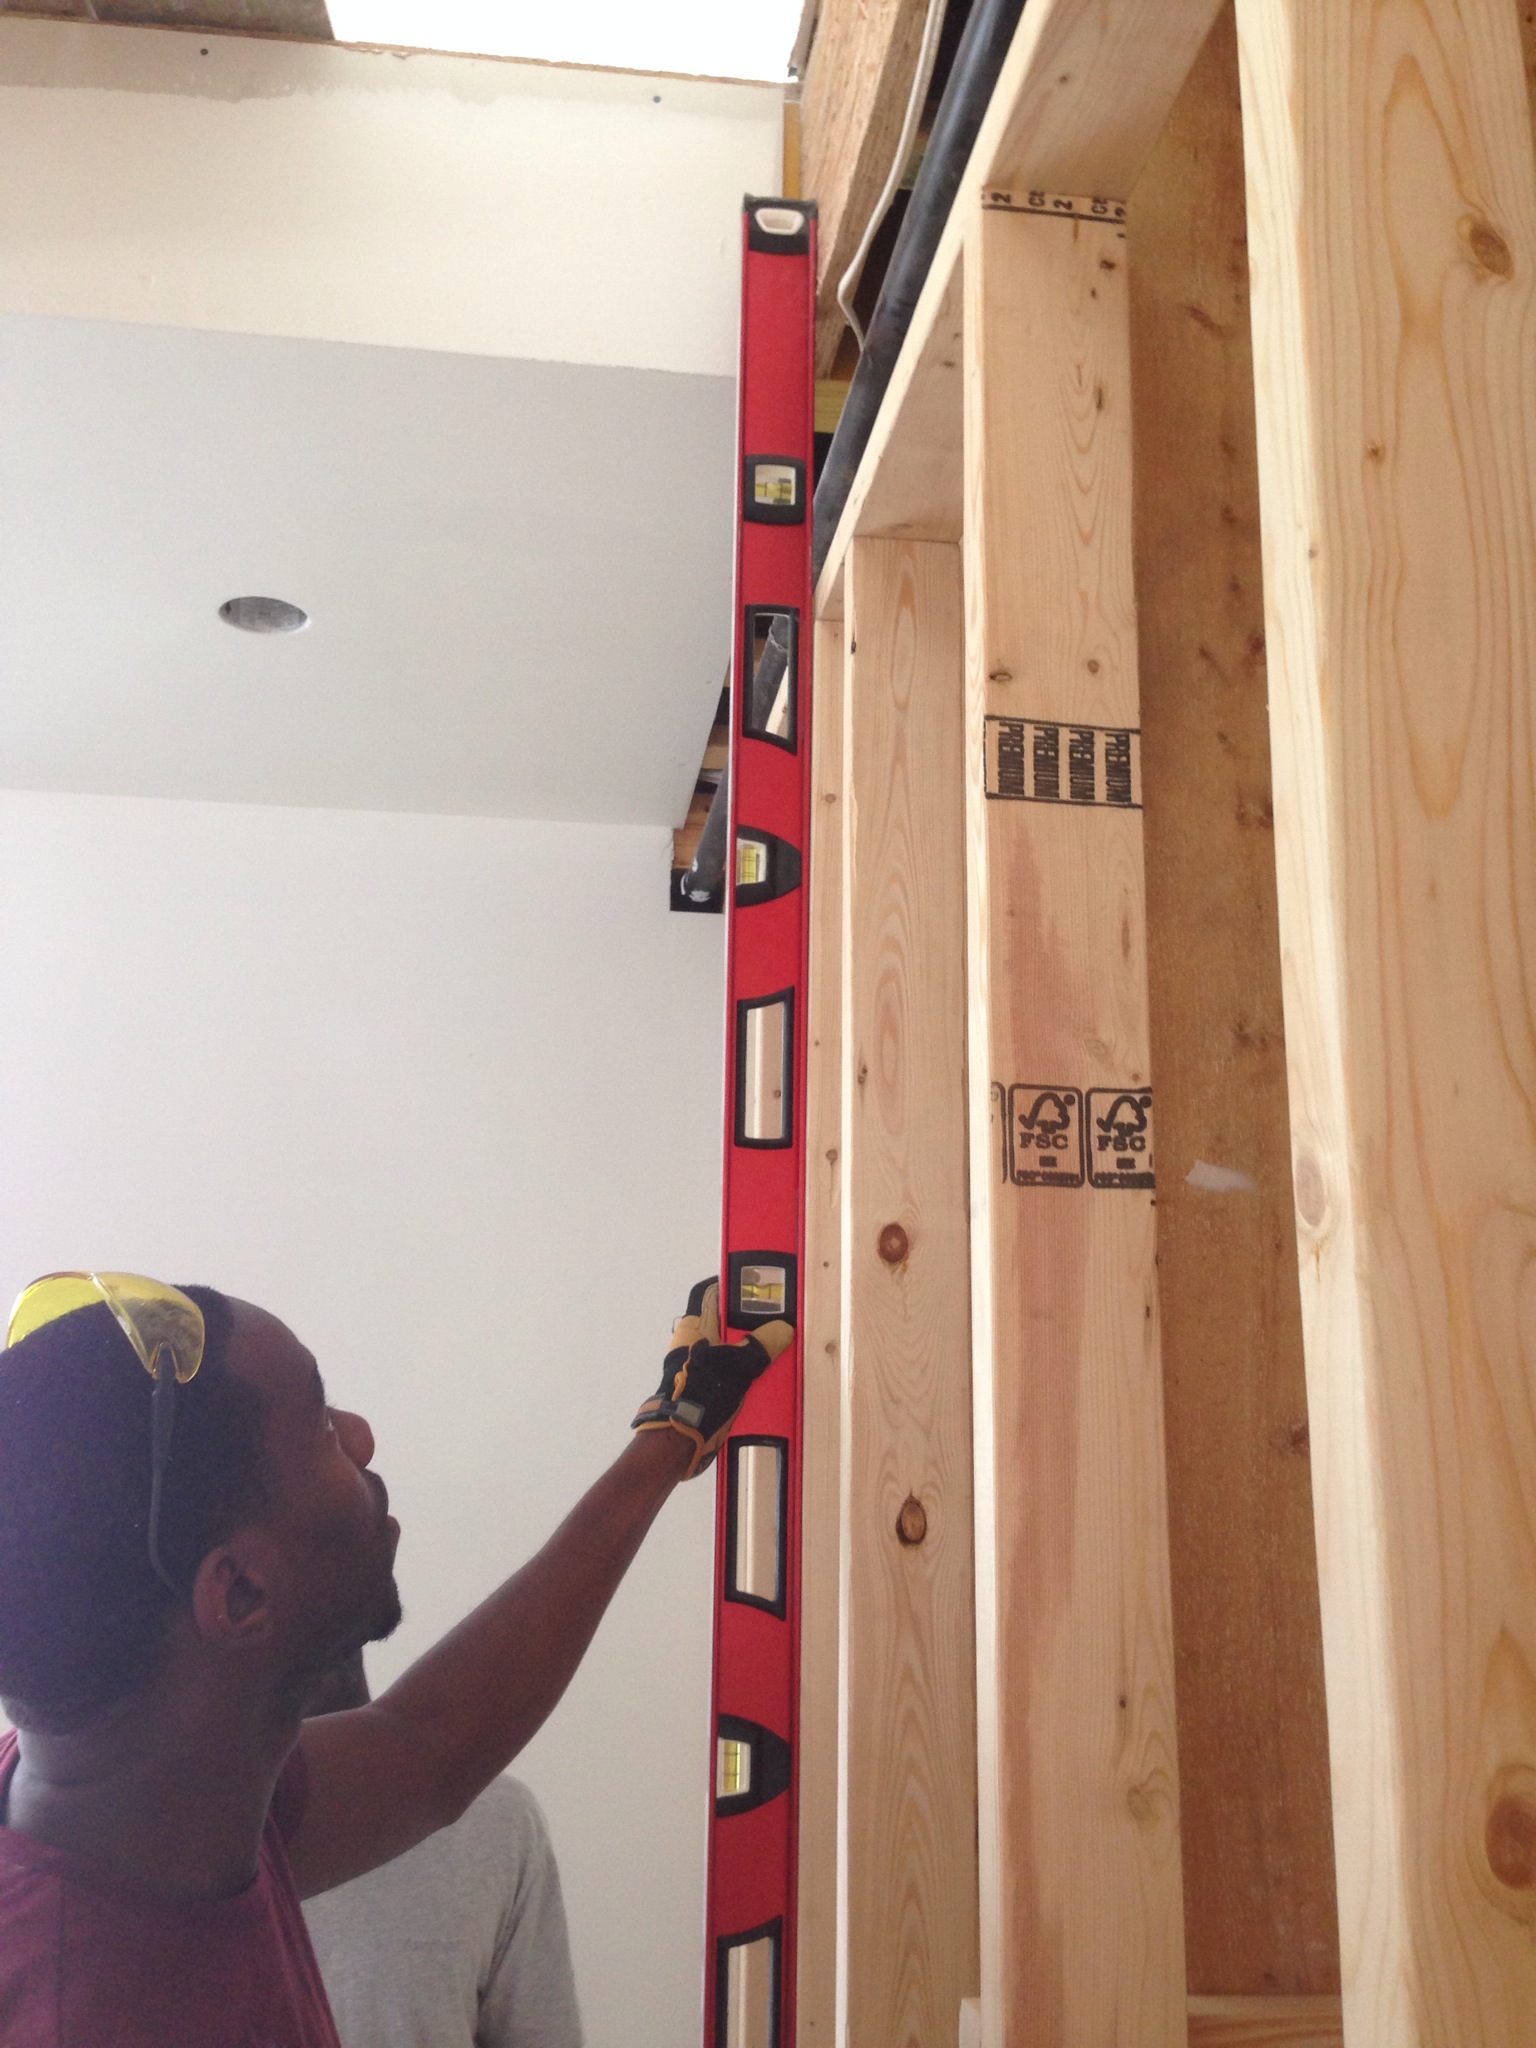
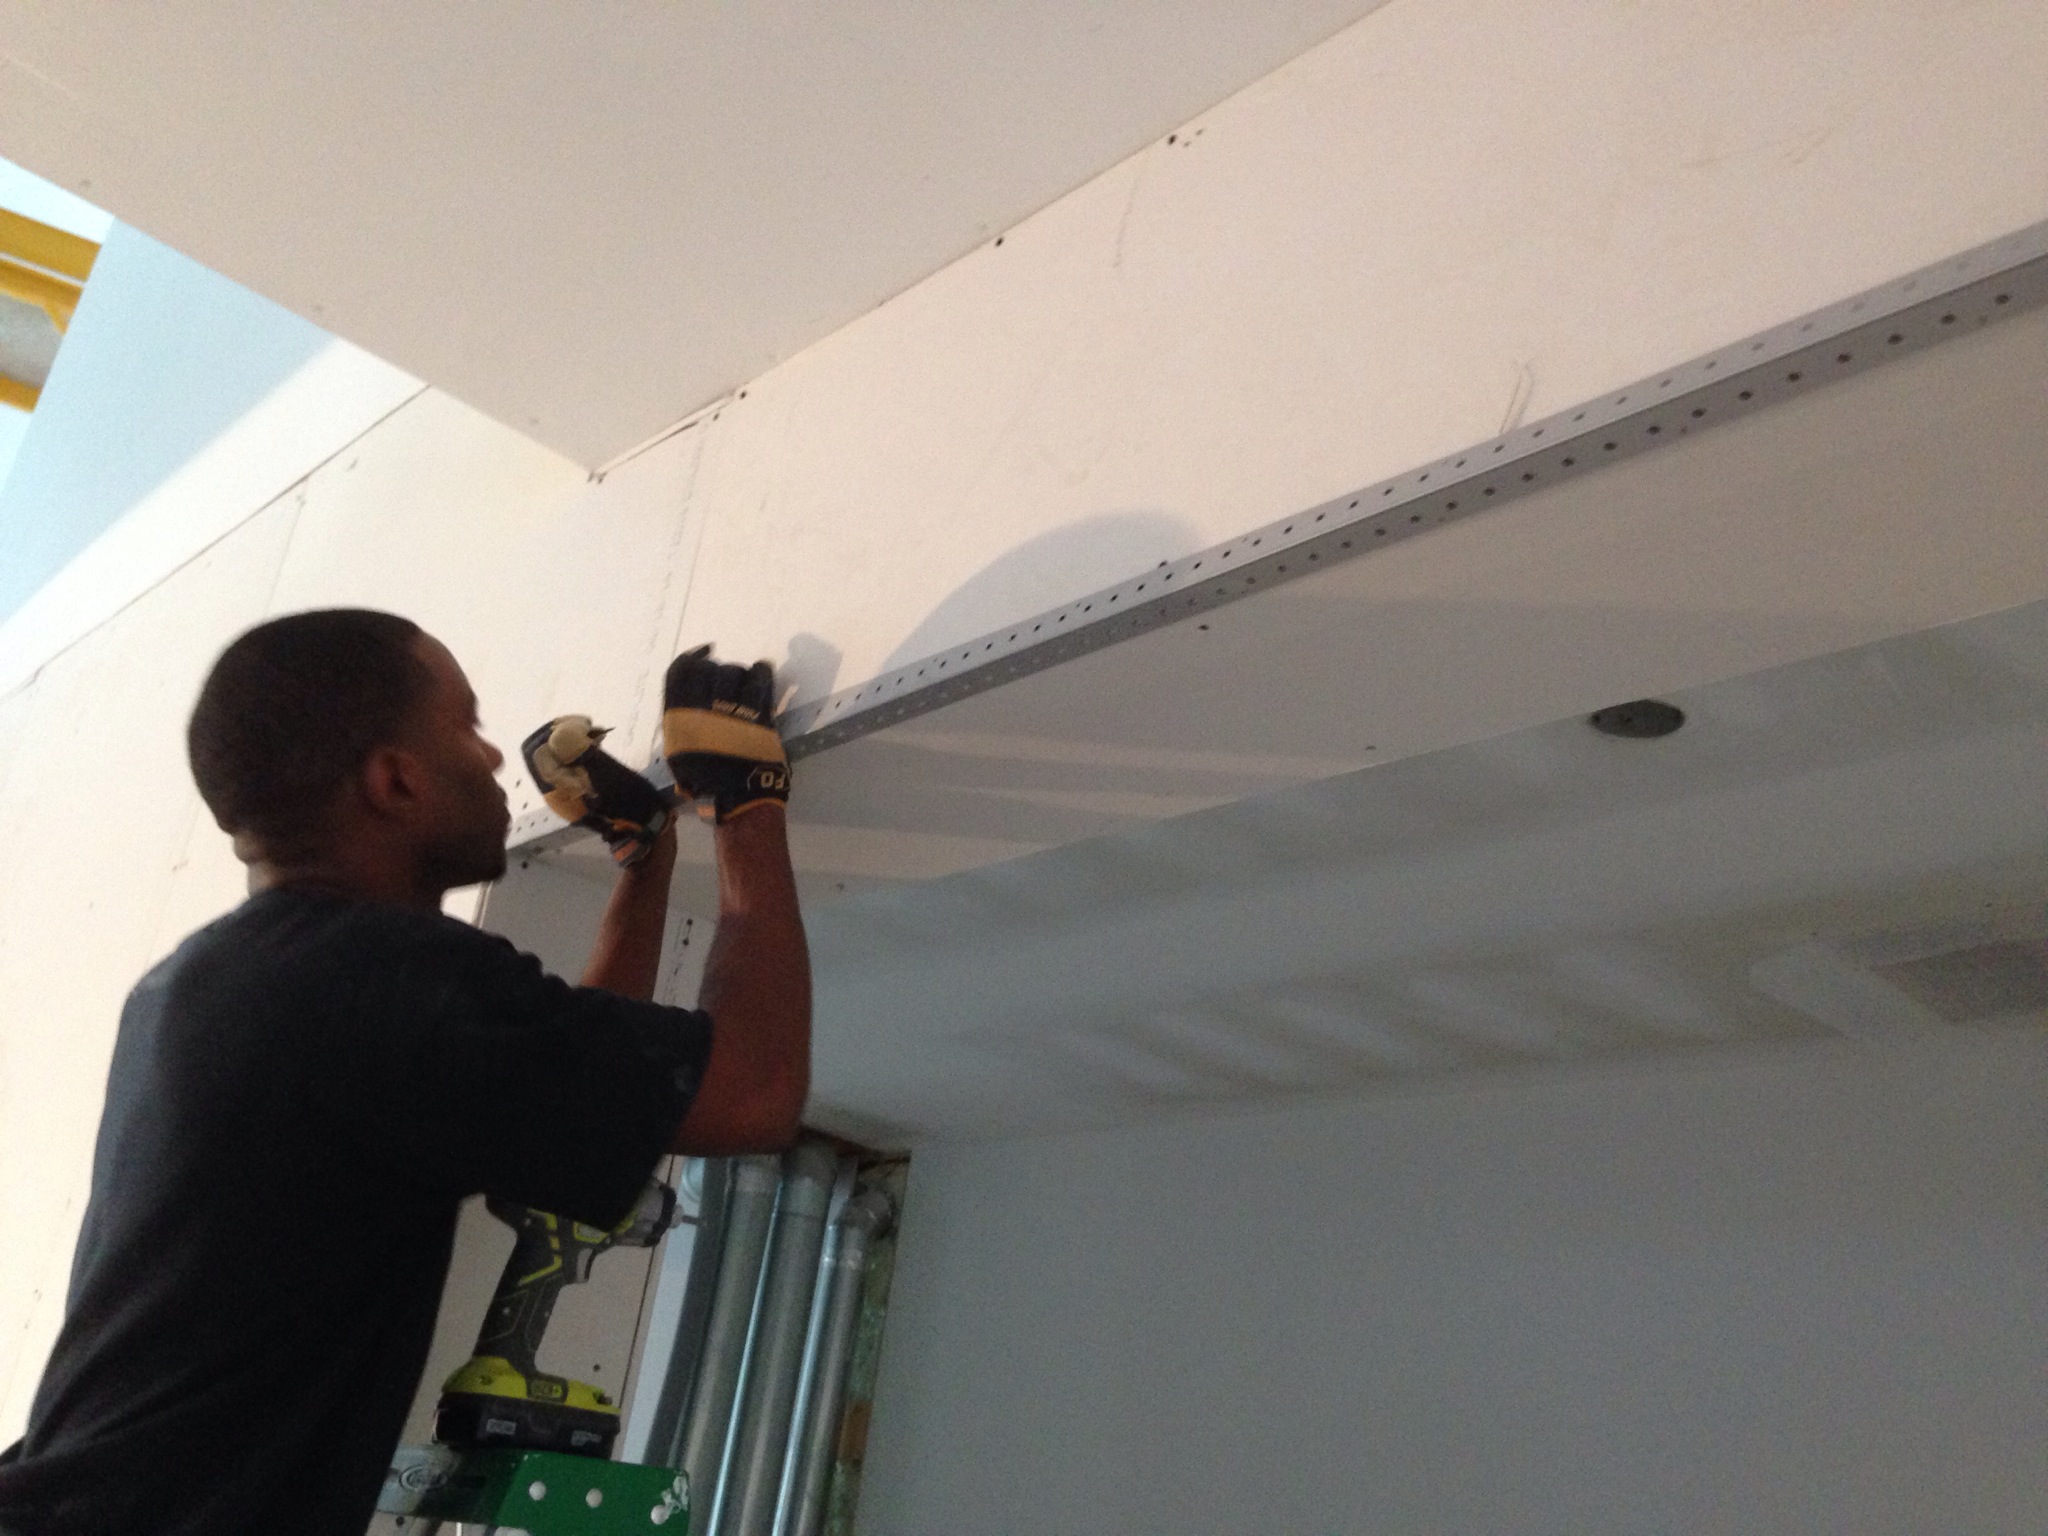
Things around here have been a little quiet of late. But that’s because Kes and I have put our DIY hats on & have been spending most of what used to be our blogging hours working at the Dreamhouse. If you remember our last progress update video you might have seen a section of our main floor wall that was left open after the drywall guys left. We had them leave it open so that we could take out the temporary stairs that went in during framing, build out the wall to hide all of the plumbing runs, and to add a bit of reinforcement for the stairs we’ll be putting in (more on the stairs in a later post).
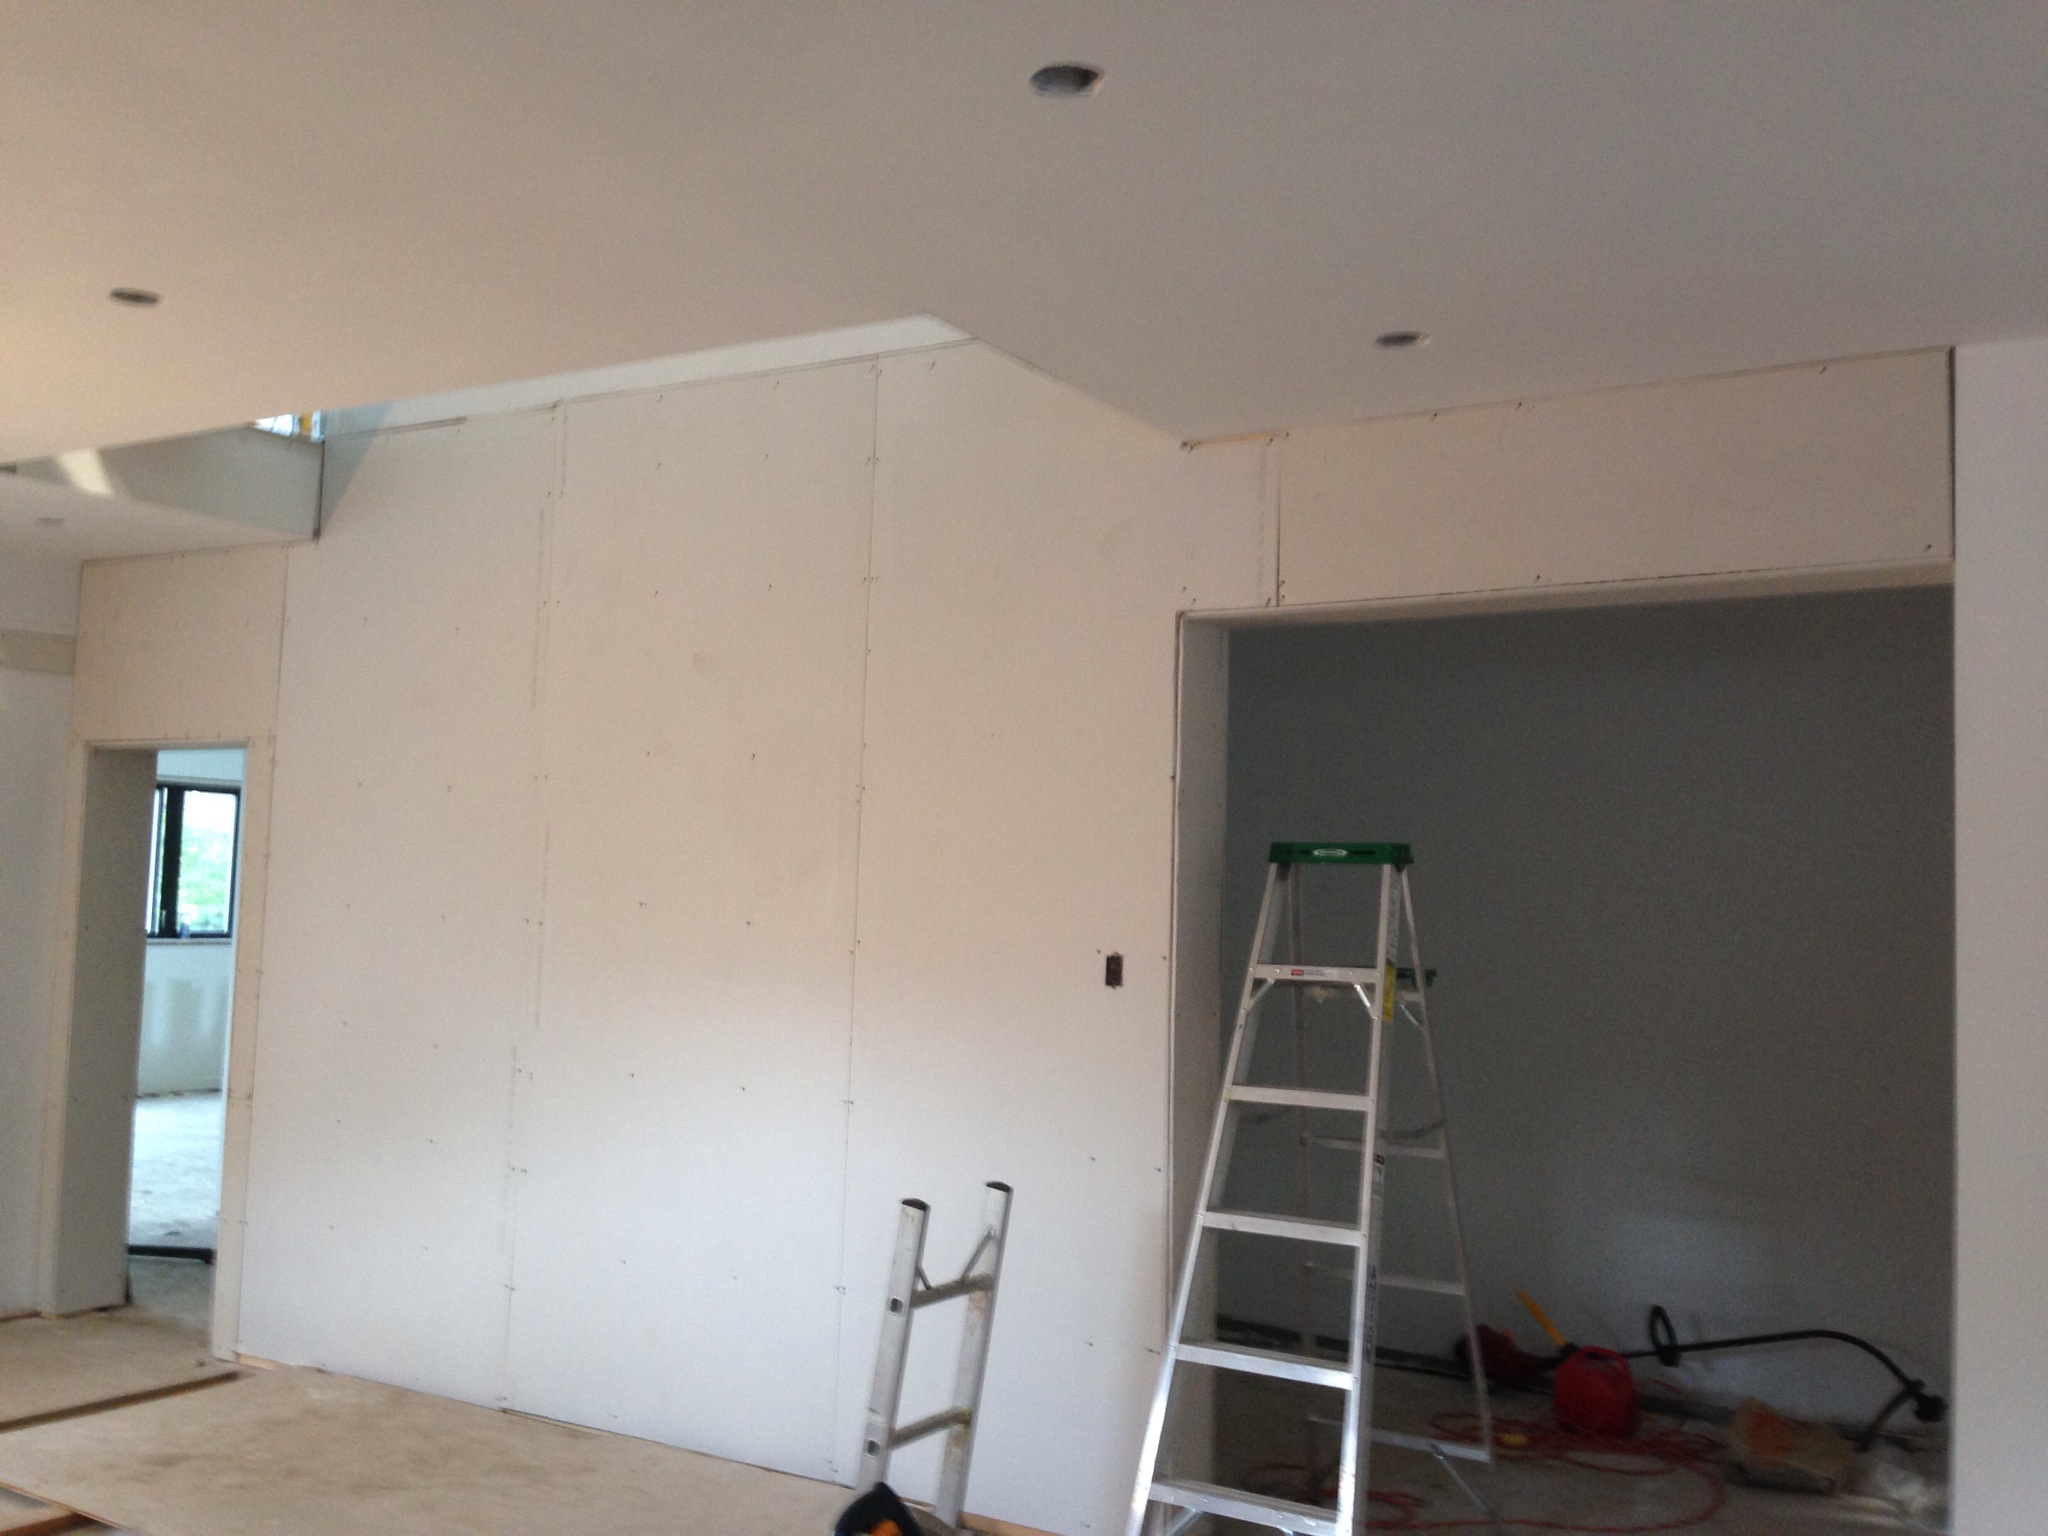
Well here’s what that wall looks like now:
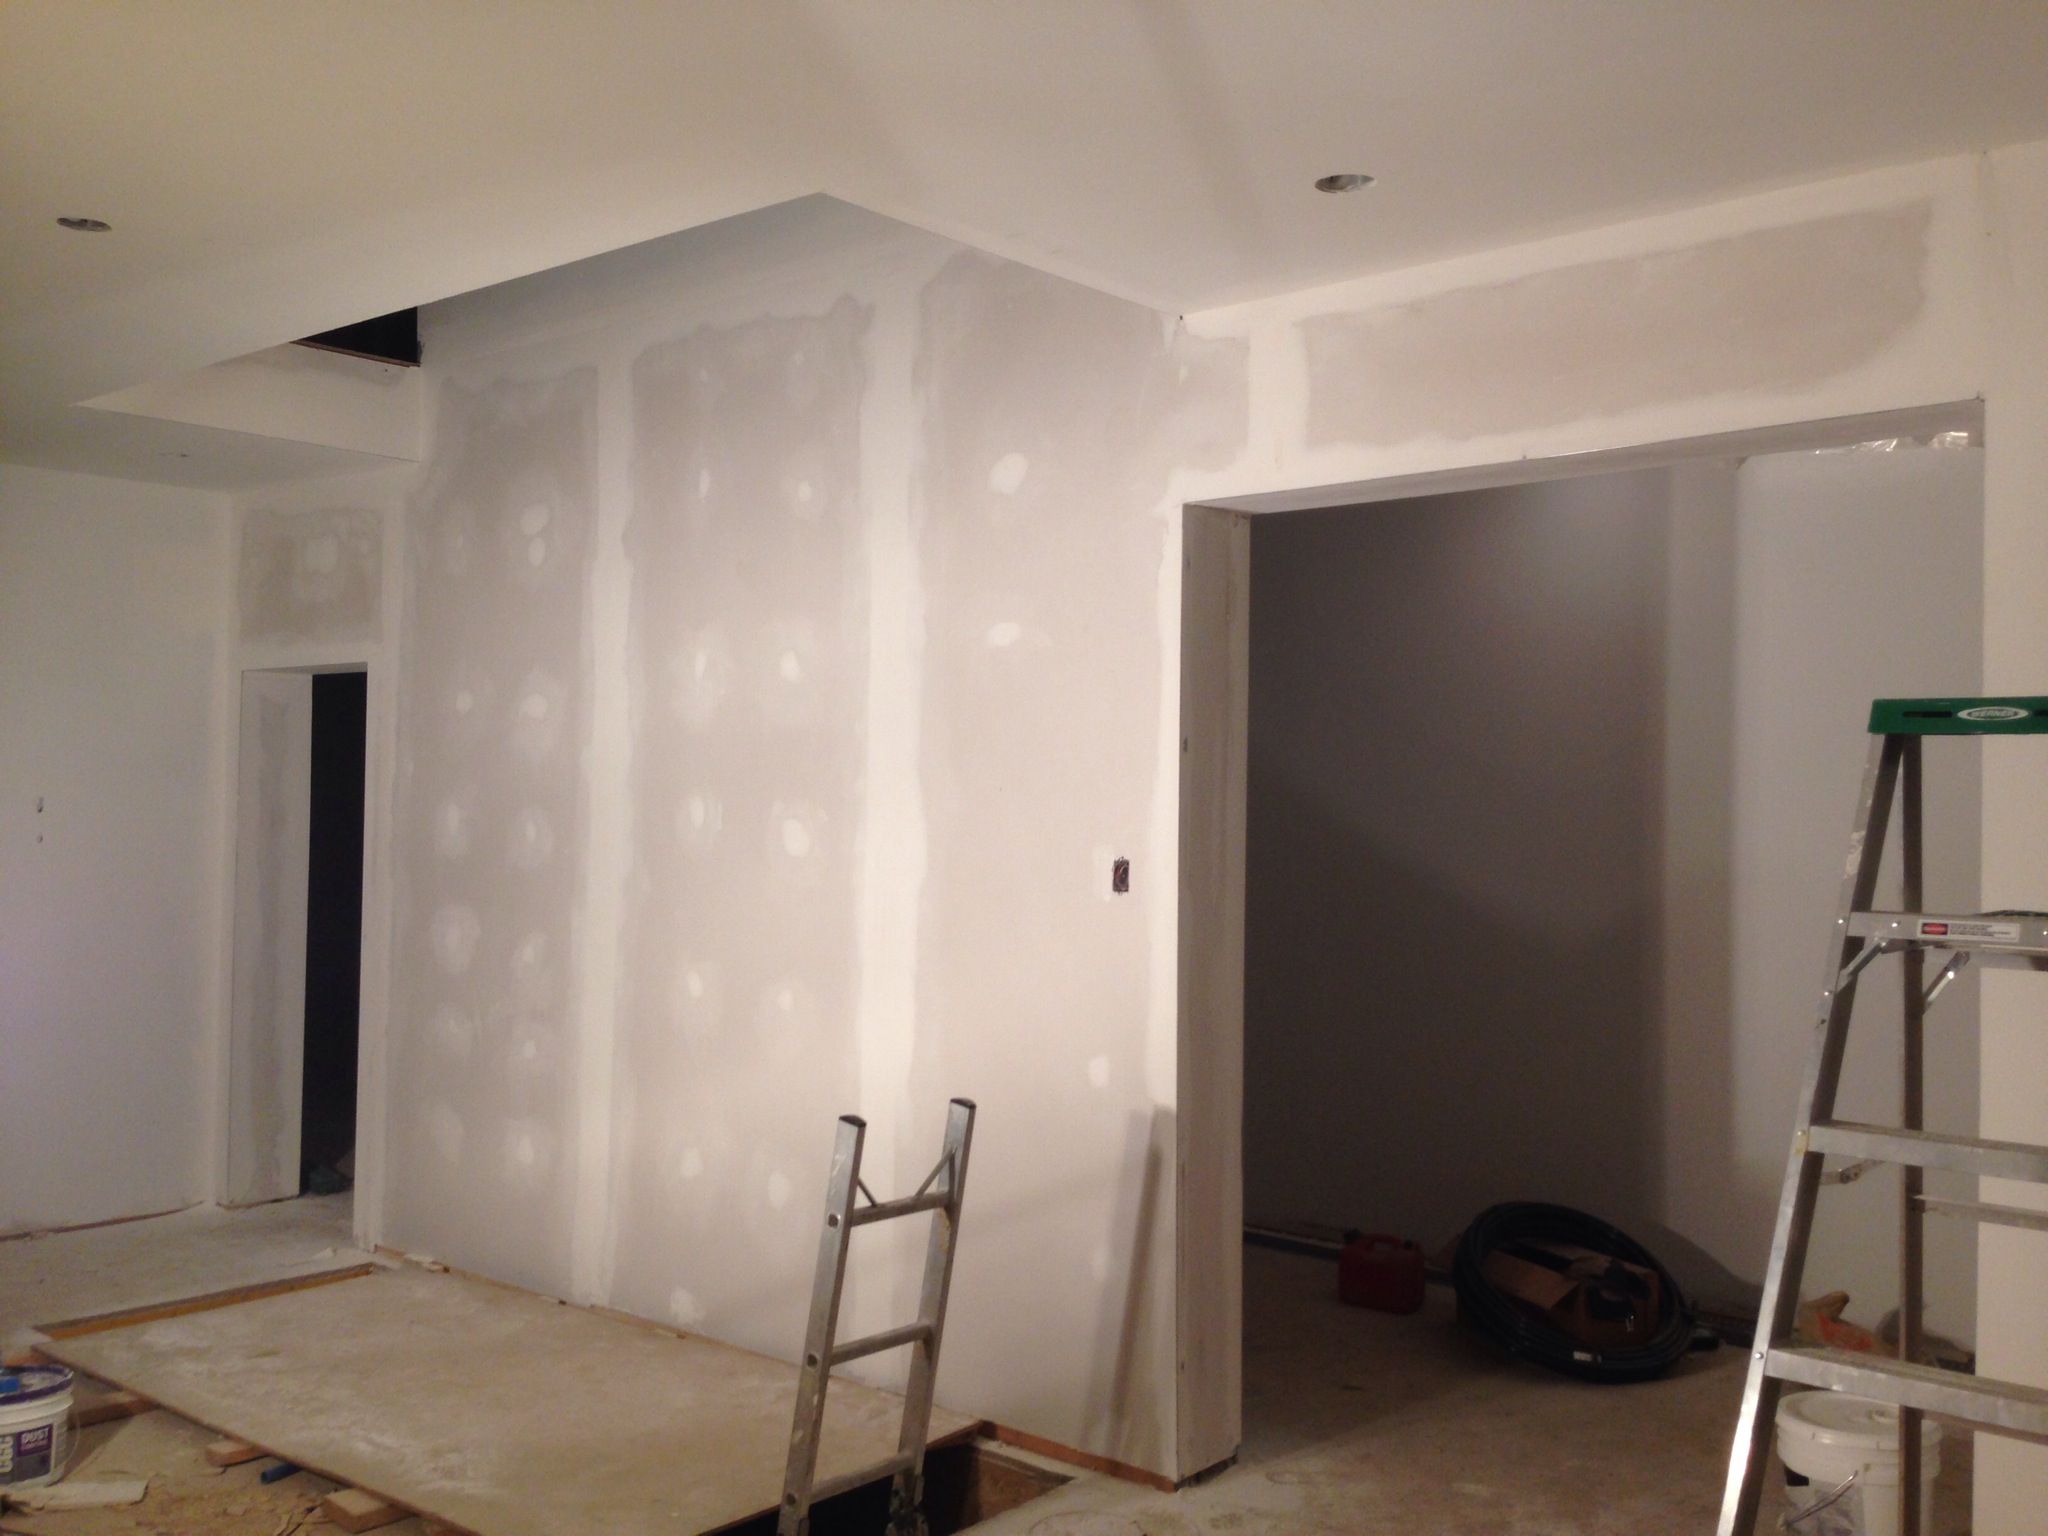
And here’s how we looked when all was said and done…
In our chat with Bryan Baeumler a few weeks ago we asked him about drawing the line between calling in a pro & taking on a DIY. He imparted this one piece of advise that stuck with us.
You have to take that massive project and break it down into small steps. And then you have to look at each step and say: “Which one do I want to do? Which one do I have the skills to do? Which one can I afford to do?” and kinda go from there.
Well after our adventures in drywalling here’s what we’ve learned:
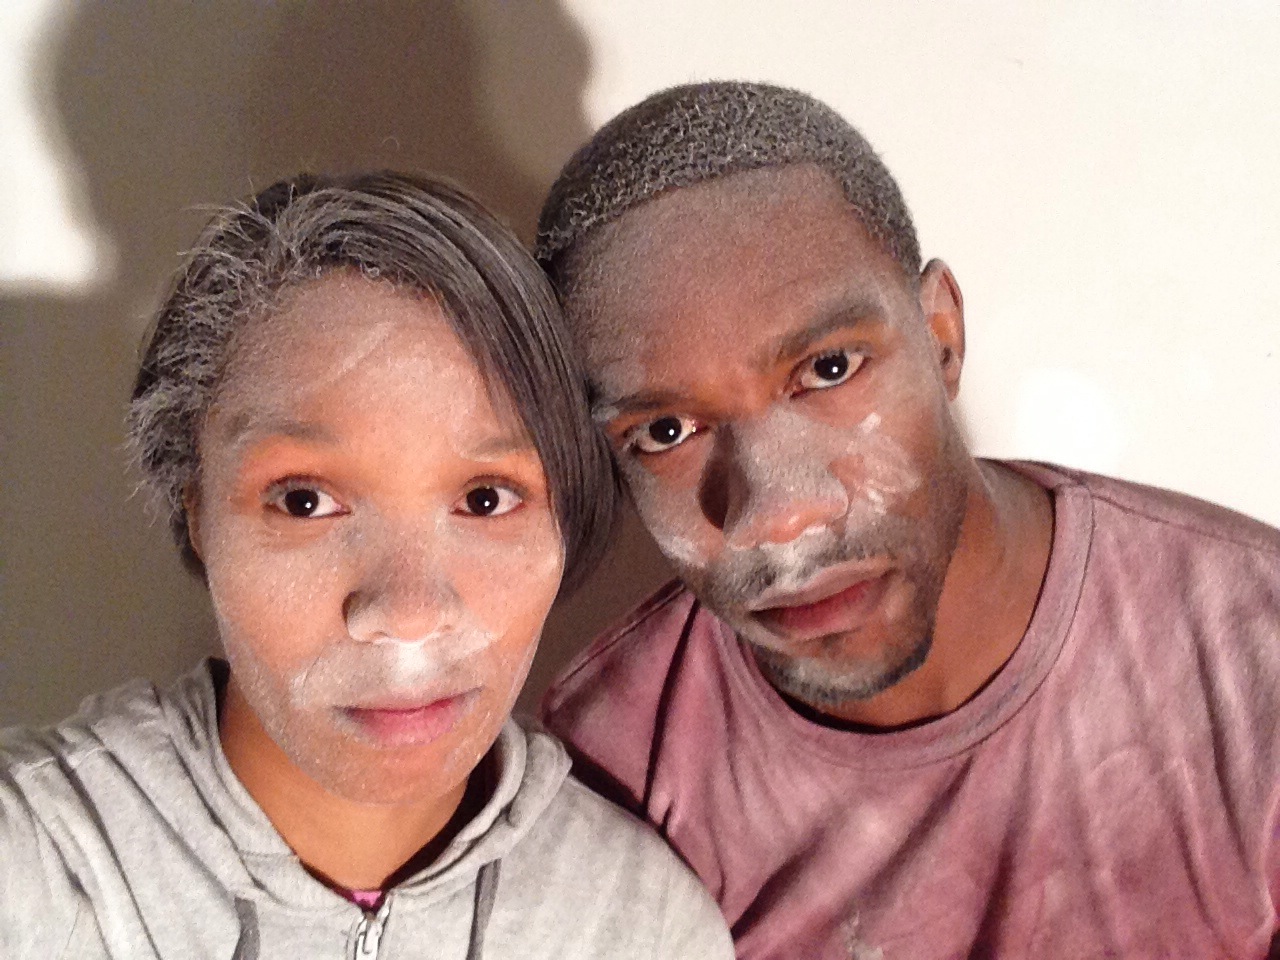
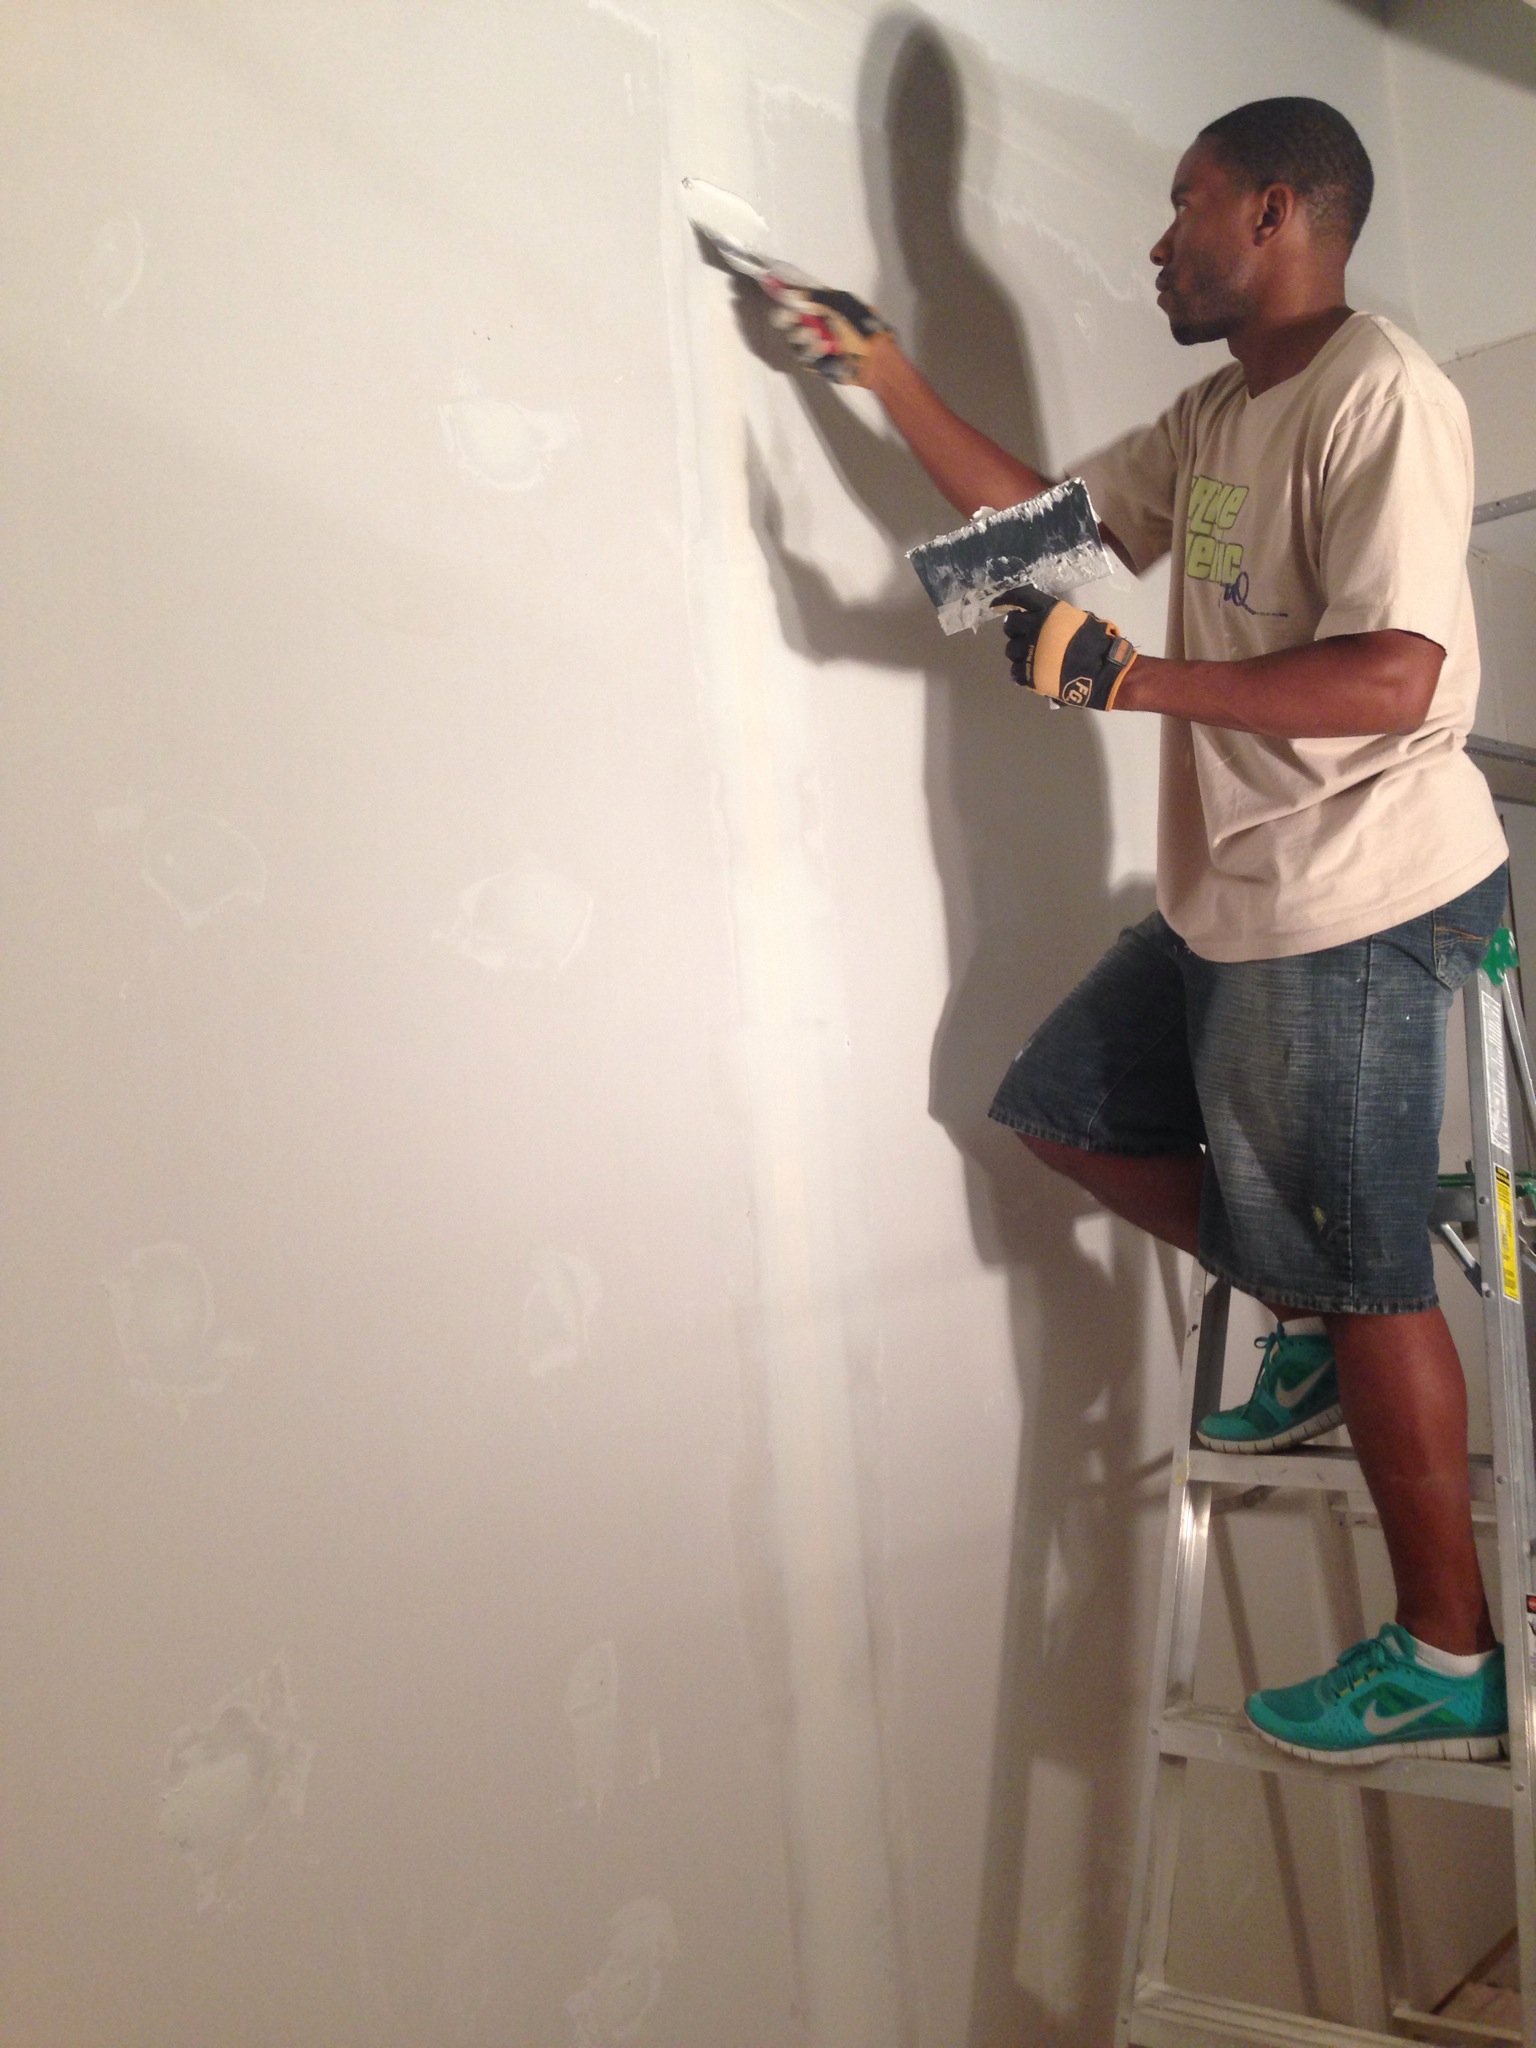
Remember that bit about deciding what steps you want to do? Well from here on in my friends, THIS is one step that we do not want to do.
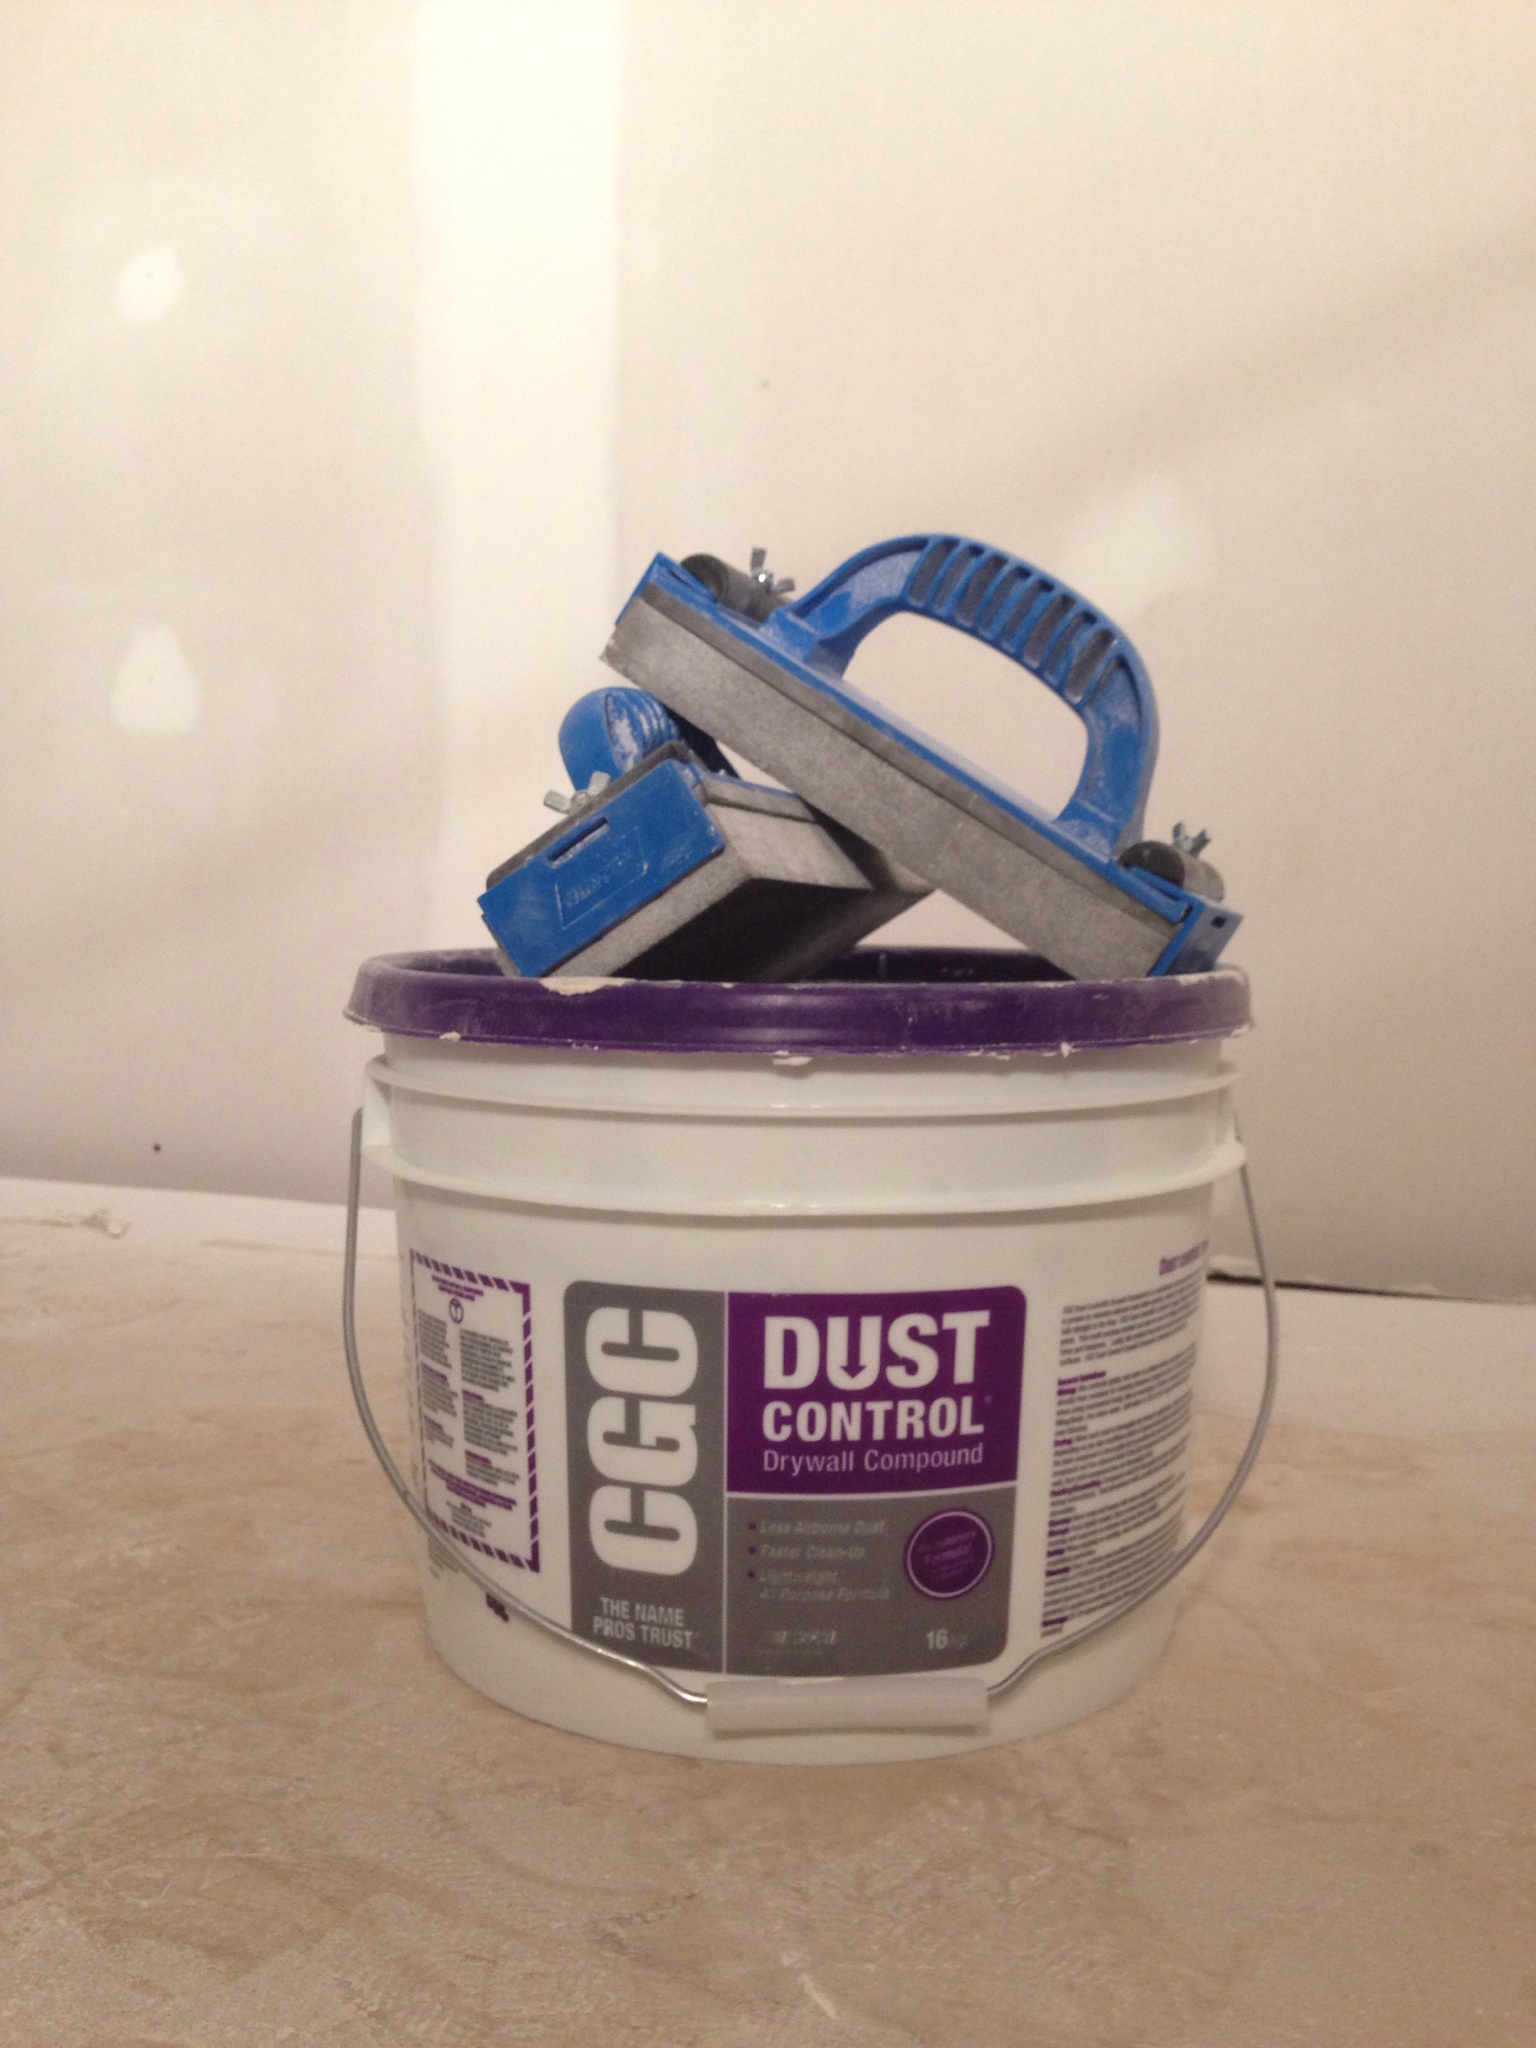
Applying drywall compound is an art. It might look simple, but the ability to apply it, feather it out & create perfectly smooth seams & sharp corners really is a skill that comes with experience. And sanding drywall…well if I’m being honest, that requires a level of patience (and a tolerance for dust) that I simply don’t have. The takeaway: if you’ve got a small patch of drywall that needs to be repaired, I’m all over that. But a full wall requiring joints & seams to be taped & mudded – I want no part of it. In every reno you should know the things you enjoy doing. Now we know that drywall is not one of those things.
And knowing is half the battle…
🙂
Look and you with walls!!! it is really coming along now!
Thanks Casey! We’re getting there….slowly. 🙂
I have trouble using drywall compound on small repairs, I can only imagine walls :s
Must say. . . it’s looking pretty good!!
Thanks Sabrina! 🙂 The small repairs I don’t south mind. But entire walls….NEVER again!
I’m super impressed with all your hard work!
Looks like I’ll be doing a bit of wall repair myself – wanna come over and help 😉 hahahah!
Thanks Michelle! Hahaha…I’m gonna have to pass on that one… 😛
Oh, I am so sorry… about how hard I am laughing at those photos! But I also get it. When we stripped our wallpaper the walls were okay, but but they still needed a fair amount of touch up and smoothing out, and just that little bit was so tricky, and SO messy! It’s been over a month and I’m still finding traces of dust under things.
(Catching up on my way behind blog reading…)
Lol! Glad you’re having a laugh at my expense Kathleen! 😉 I totally know what you mean about the dust getting everywhere.