

Well we’re just past the half way point of our One Room Challenge! We were a little late with our Week 3 update so we decided to combine weeks 3 & 4. Despite the delay though, we’re super excited to finally get our modern shiplap boards up on the walls! Better late than never right??
If you follow us on Instagram, you might already know that we spent last week enjoying a little sun and sand. As a result, our progress on the powder room hasn’t been quite as much as Kes & I had hoped.


I regret nothing.


But now that we’re back, we’re getting right down to business. Thanks to our friends at Metrie, in just a few short days, we made easy work of getting our powder room walls up to par.
Installing Metrie Option {M}™ Modern Shiplap
We’re excited to be partnering with Metrie again for the powder room to install their Option {M}™ Modern Farmhouse shiplap. We’ve used Metrie doors and mouldings throughout the Dreamhouse and absolutely love their products. Their shiplap is high quality, looks beautiful and is next to none when it comes to ease of install. It’s no surprise then, that the decision on whether to DIY our own shiplap or go with a pre-fabricated product, was kind of a no brainer.
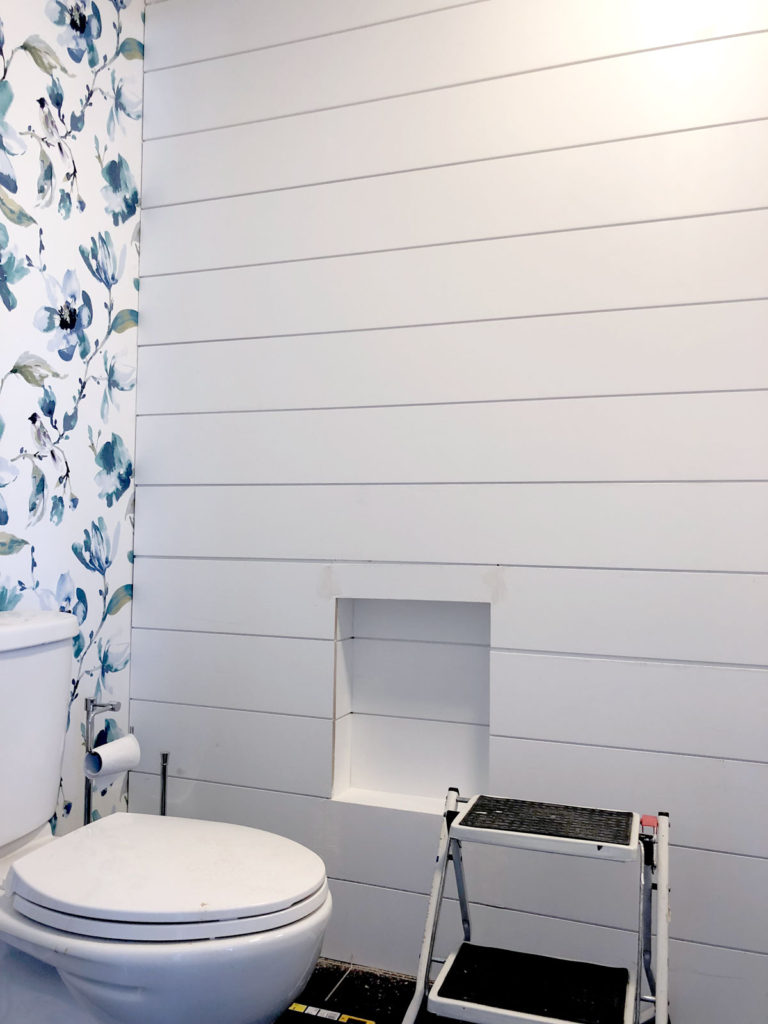
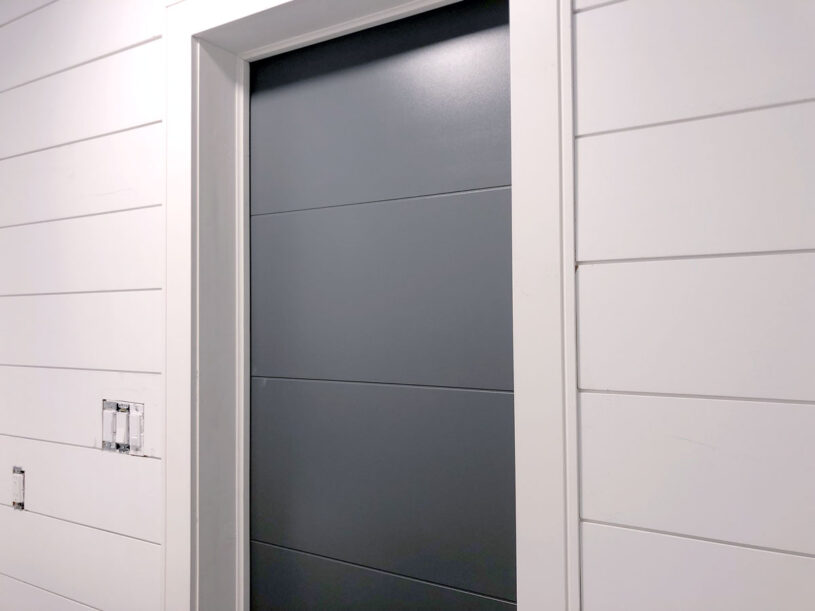
The Option {M}™ shiplap comes in both 11.5″ and 7.25″ profiles, but given that our powder room is so small, we opted for the latter. We thought the 11.5″ would be too overpowering for such a tiny space (just under 30 square feet).
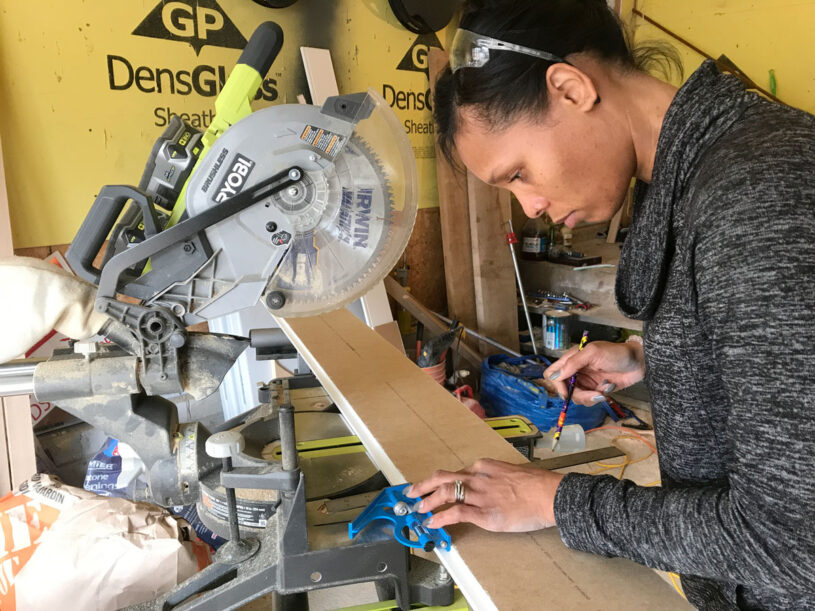
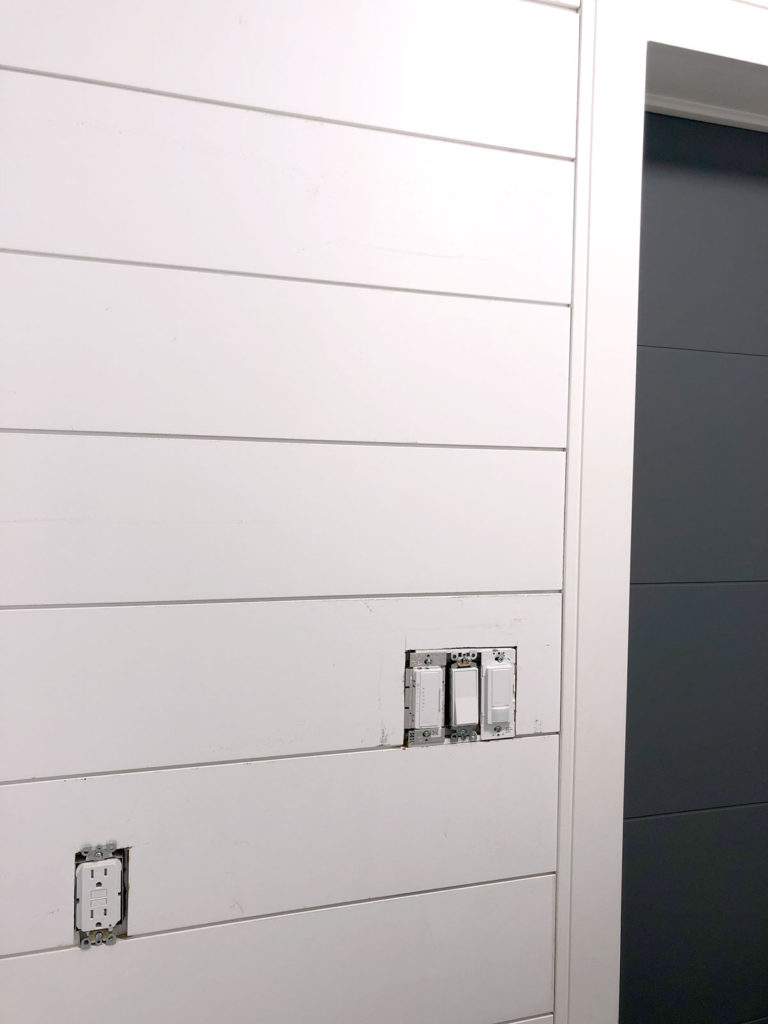
To start things off, we marked our studs using a level and drawing a pencil line on the walls.


The Option {M}™ shiplap comes primed and ready to install. You can simply cut the boards to size with a miter saw, attach them to the walls using a nail gun, and then and paint in whatever colour you so choose.
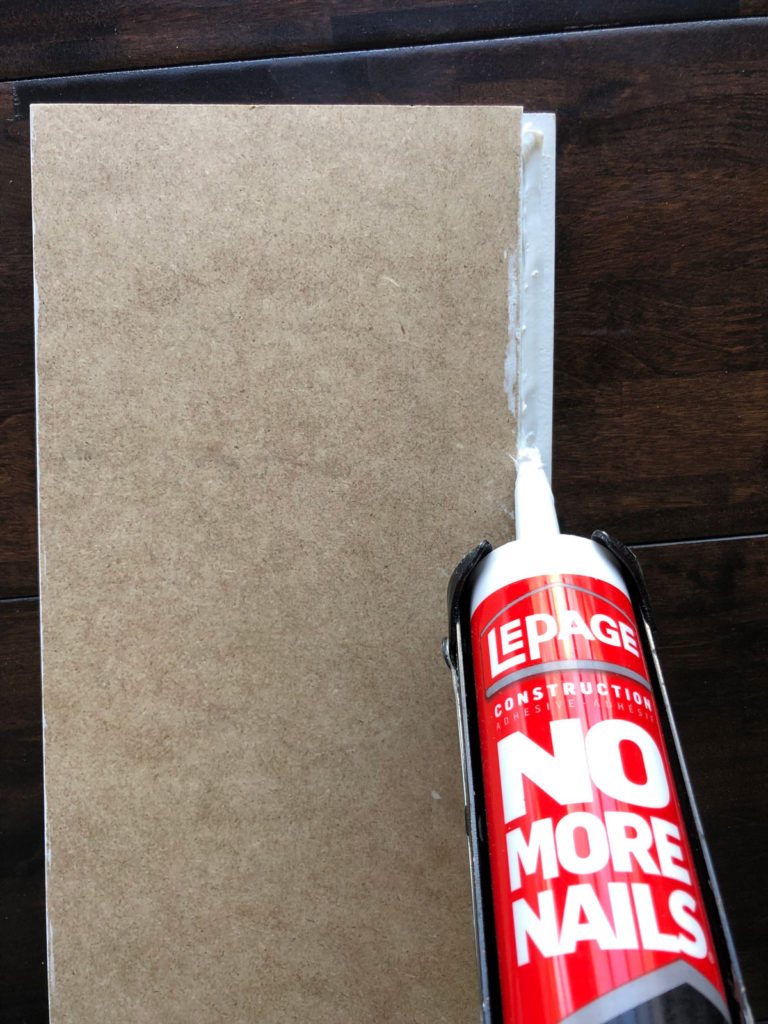
The boards fit together seamlessly leaving a perfect gap between them, which means no need to go hunting for your nickels to use as spacers. The dado on each board also gives you a nice edge to nail into so that you can avoid having a million pesky nail holes to fill after the fact.


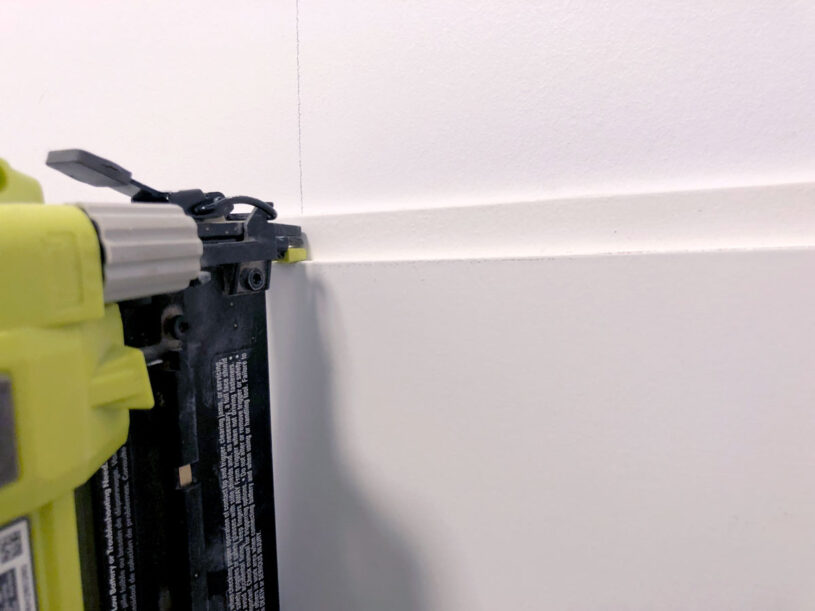
PRO TIP: I used a thin bead of adhesive on the opposite dado to ensure the boards would adhere to each other which allowed me to do less nailing on the visible surfaces of the boards.
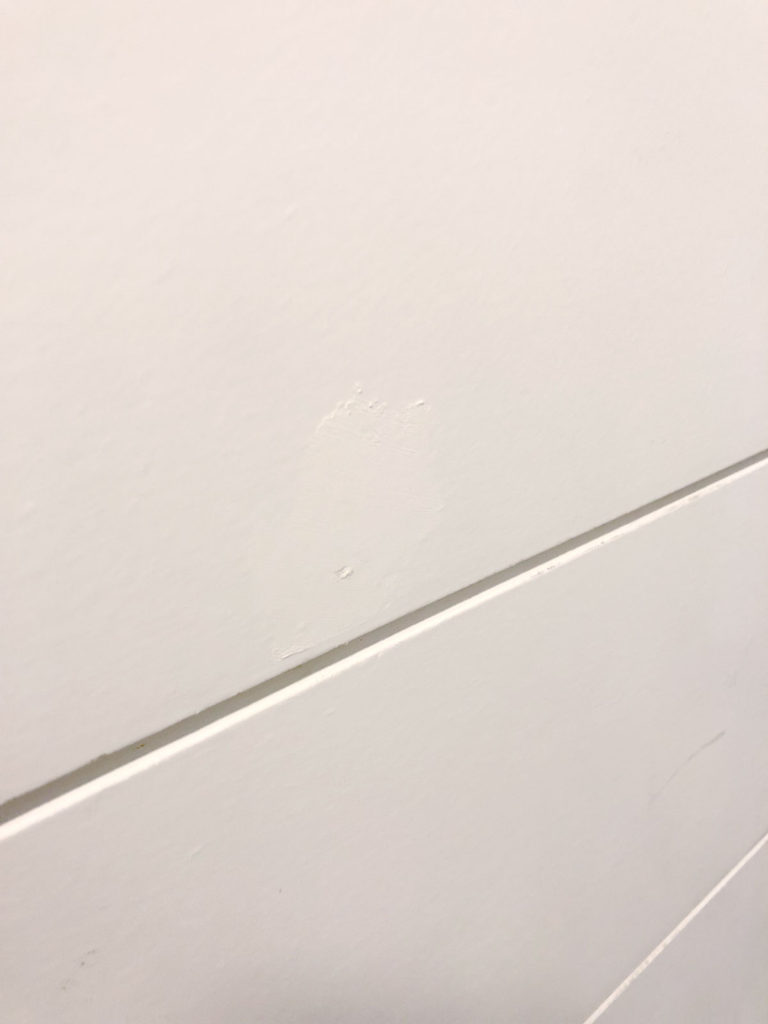
For the few spots where our walls aren’t perfectly straight and need a nail or two to hold the boards flush, we simply used a bit of drywall compound to fill the nail holes. We’ll sand them flush & prime those spots before we paint.
We opted to cut a little niche out of the drywall between a couple of studs that we’ll use to hang our toilet paper holder so that it’s inset and out of the way. It’ll also serve as a cool spot to possibly store a few magazines or stack a couple of extra rolls of paper.
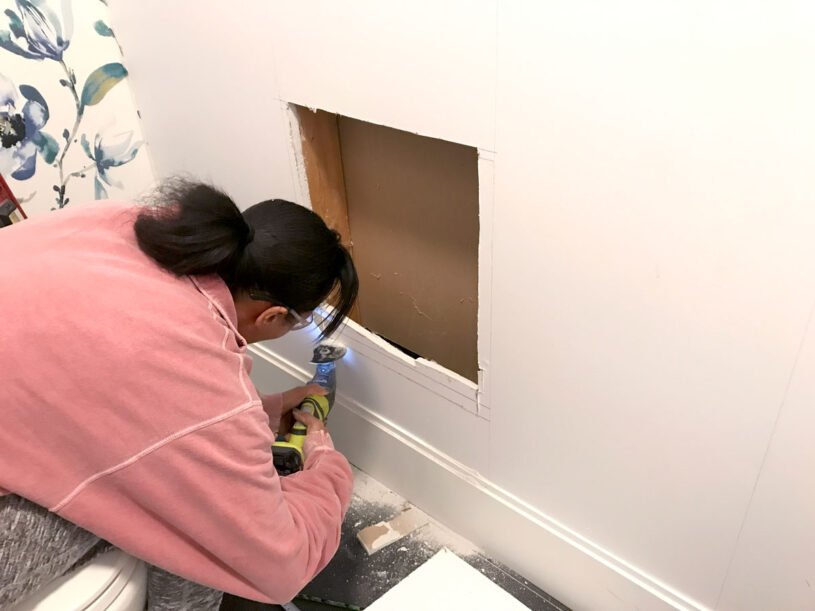
Installing the shiplap in and around that little nook was probably the most complicated & time consuming part of the job. Otherwise, our beautiful modern shiplap was installed in very little time. We just started at the floor, fit each row of boards together, and nailed them up. It’s literally that simple!
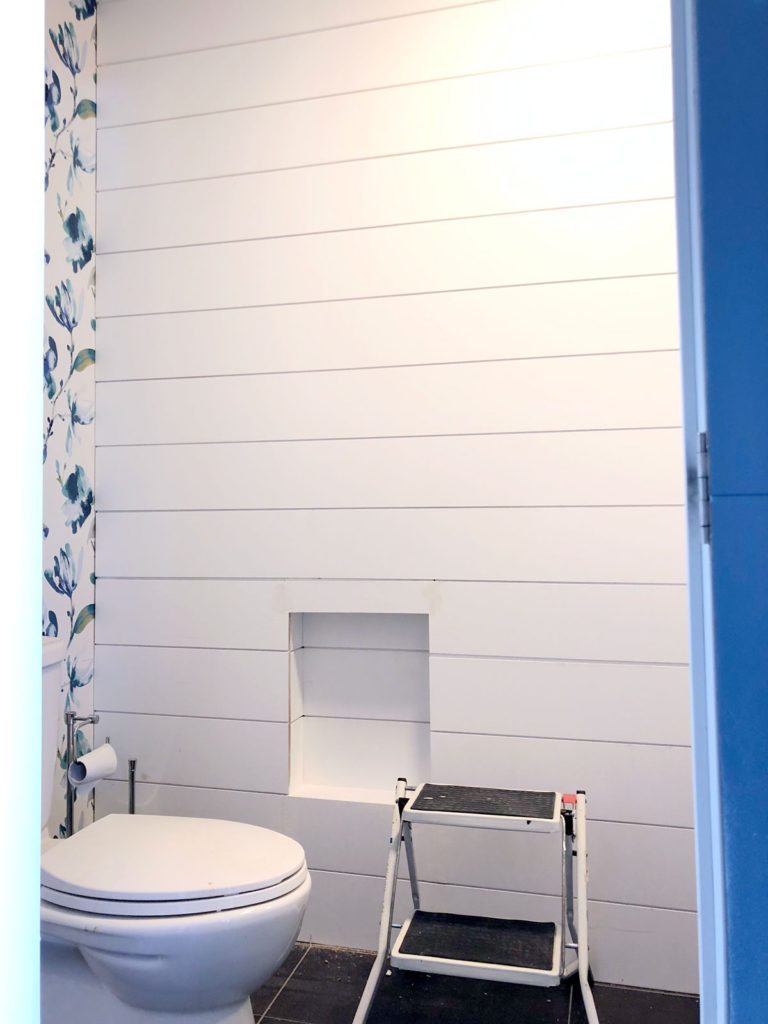
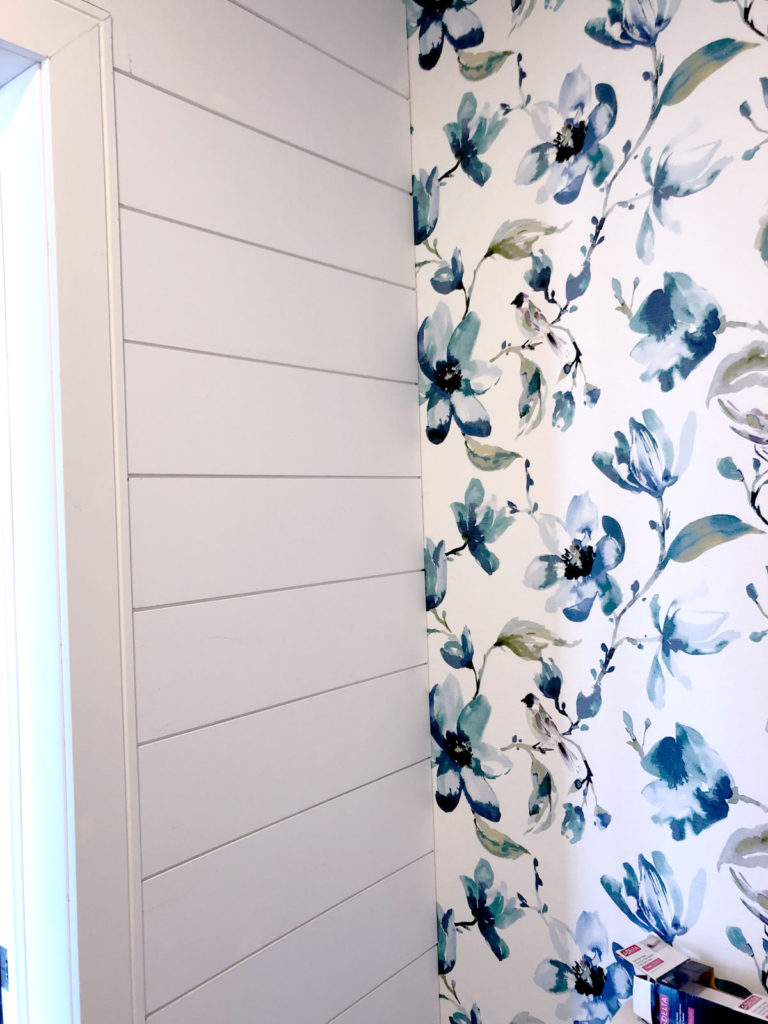
We just love the clean lines and minimal detail it ads to the space while still having a big impact.

I can’t wait to see it all painted it in the gorgeous black we chose!


So there you have it! We still have a fair bit of work cut out for us in the just under 2 weeks left. That said, we’re still feeling pretty confident that we can pull things together for the big week 6 reveal!
Before we go, let’s take one last look back at our to-do list.
Sleek & Striking Powder Room To-Do List:
Hang DIY fabric wallpaper as feature wallPurchase new faucet & matching accessoriesInstall shiplap- Paint shiplap walls
- Replace lighting (arrived and ready to go)
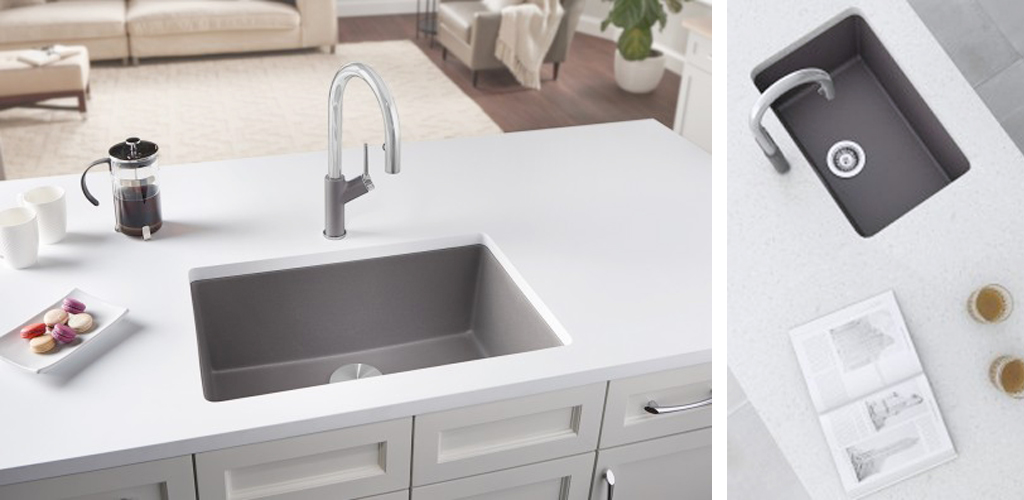
- Replace faucet (arrived and ready to go)
- Install towel rack & toilet paper holder (arrived and ready to go)
- Hang shelf
- Style & accessorize

Disclosure: This post was brought to you in partnership with Metrie who provided the shiplap for our powder room makeover. As always, opinions are our own.
Sorry, the comment form is closed at this time.
Pingback: The Sleek & Striking Powder Room Reveal | The Dreamhouse Project