

We’re back with week 5 and after our setback a couple of weeks ago we’re finally on our way to getting this One Room Challenge back on track. That said, we’ve still got a LONG way to go to make our six week deadline.
Our week started out with a little tile shopping. Once we came to terms with the fact that there was absolutely no salvaging the 50 sq. ft. of Basalt tile that we laid, we set out to attempt to find more. If you remember, we knew going in that when we bought the tile there was only a very limited quality available. We suspect the real reason for the limited quantity was that the tile was being discontinued due to the staining issue we discovered when we started laying it – but I guess that’s a discussion for another day. Bottom line, our attempts to find more of the tile locally were a complete bust.
Since we still have 120 sq. ft. of the Basalt (that we’ve since sealed the hell out of), our next option was to try to find a tile that would complement it that we could try to work into a our horizontal brick pattern randomly. We found this beautiful black porcelain tile in a similar honed finish to ours that we think is going to work quite well. Although the tile is technically black porcelain, the honed finish gives it a beautifully smooth matte texture and an almost charcoal grey colour. And the BEST part – we were able to score it at a fantastic price!

Our Basalt tile (L) vs the new Honed porcelain (R) side by side
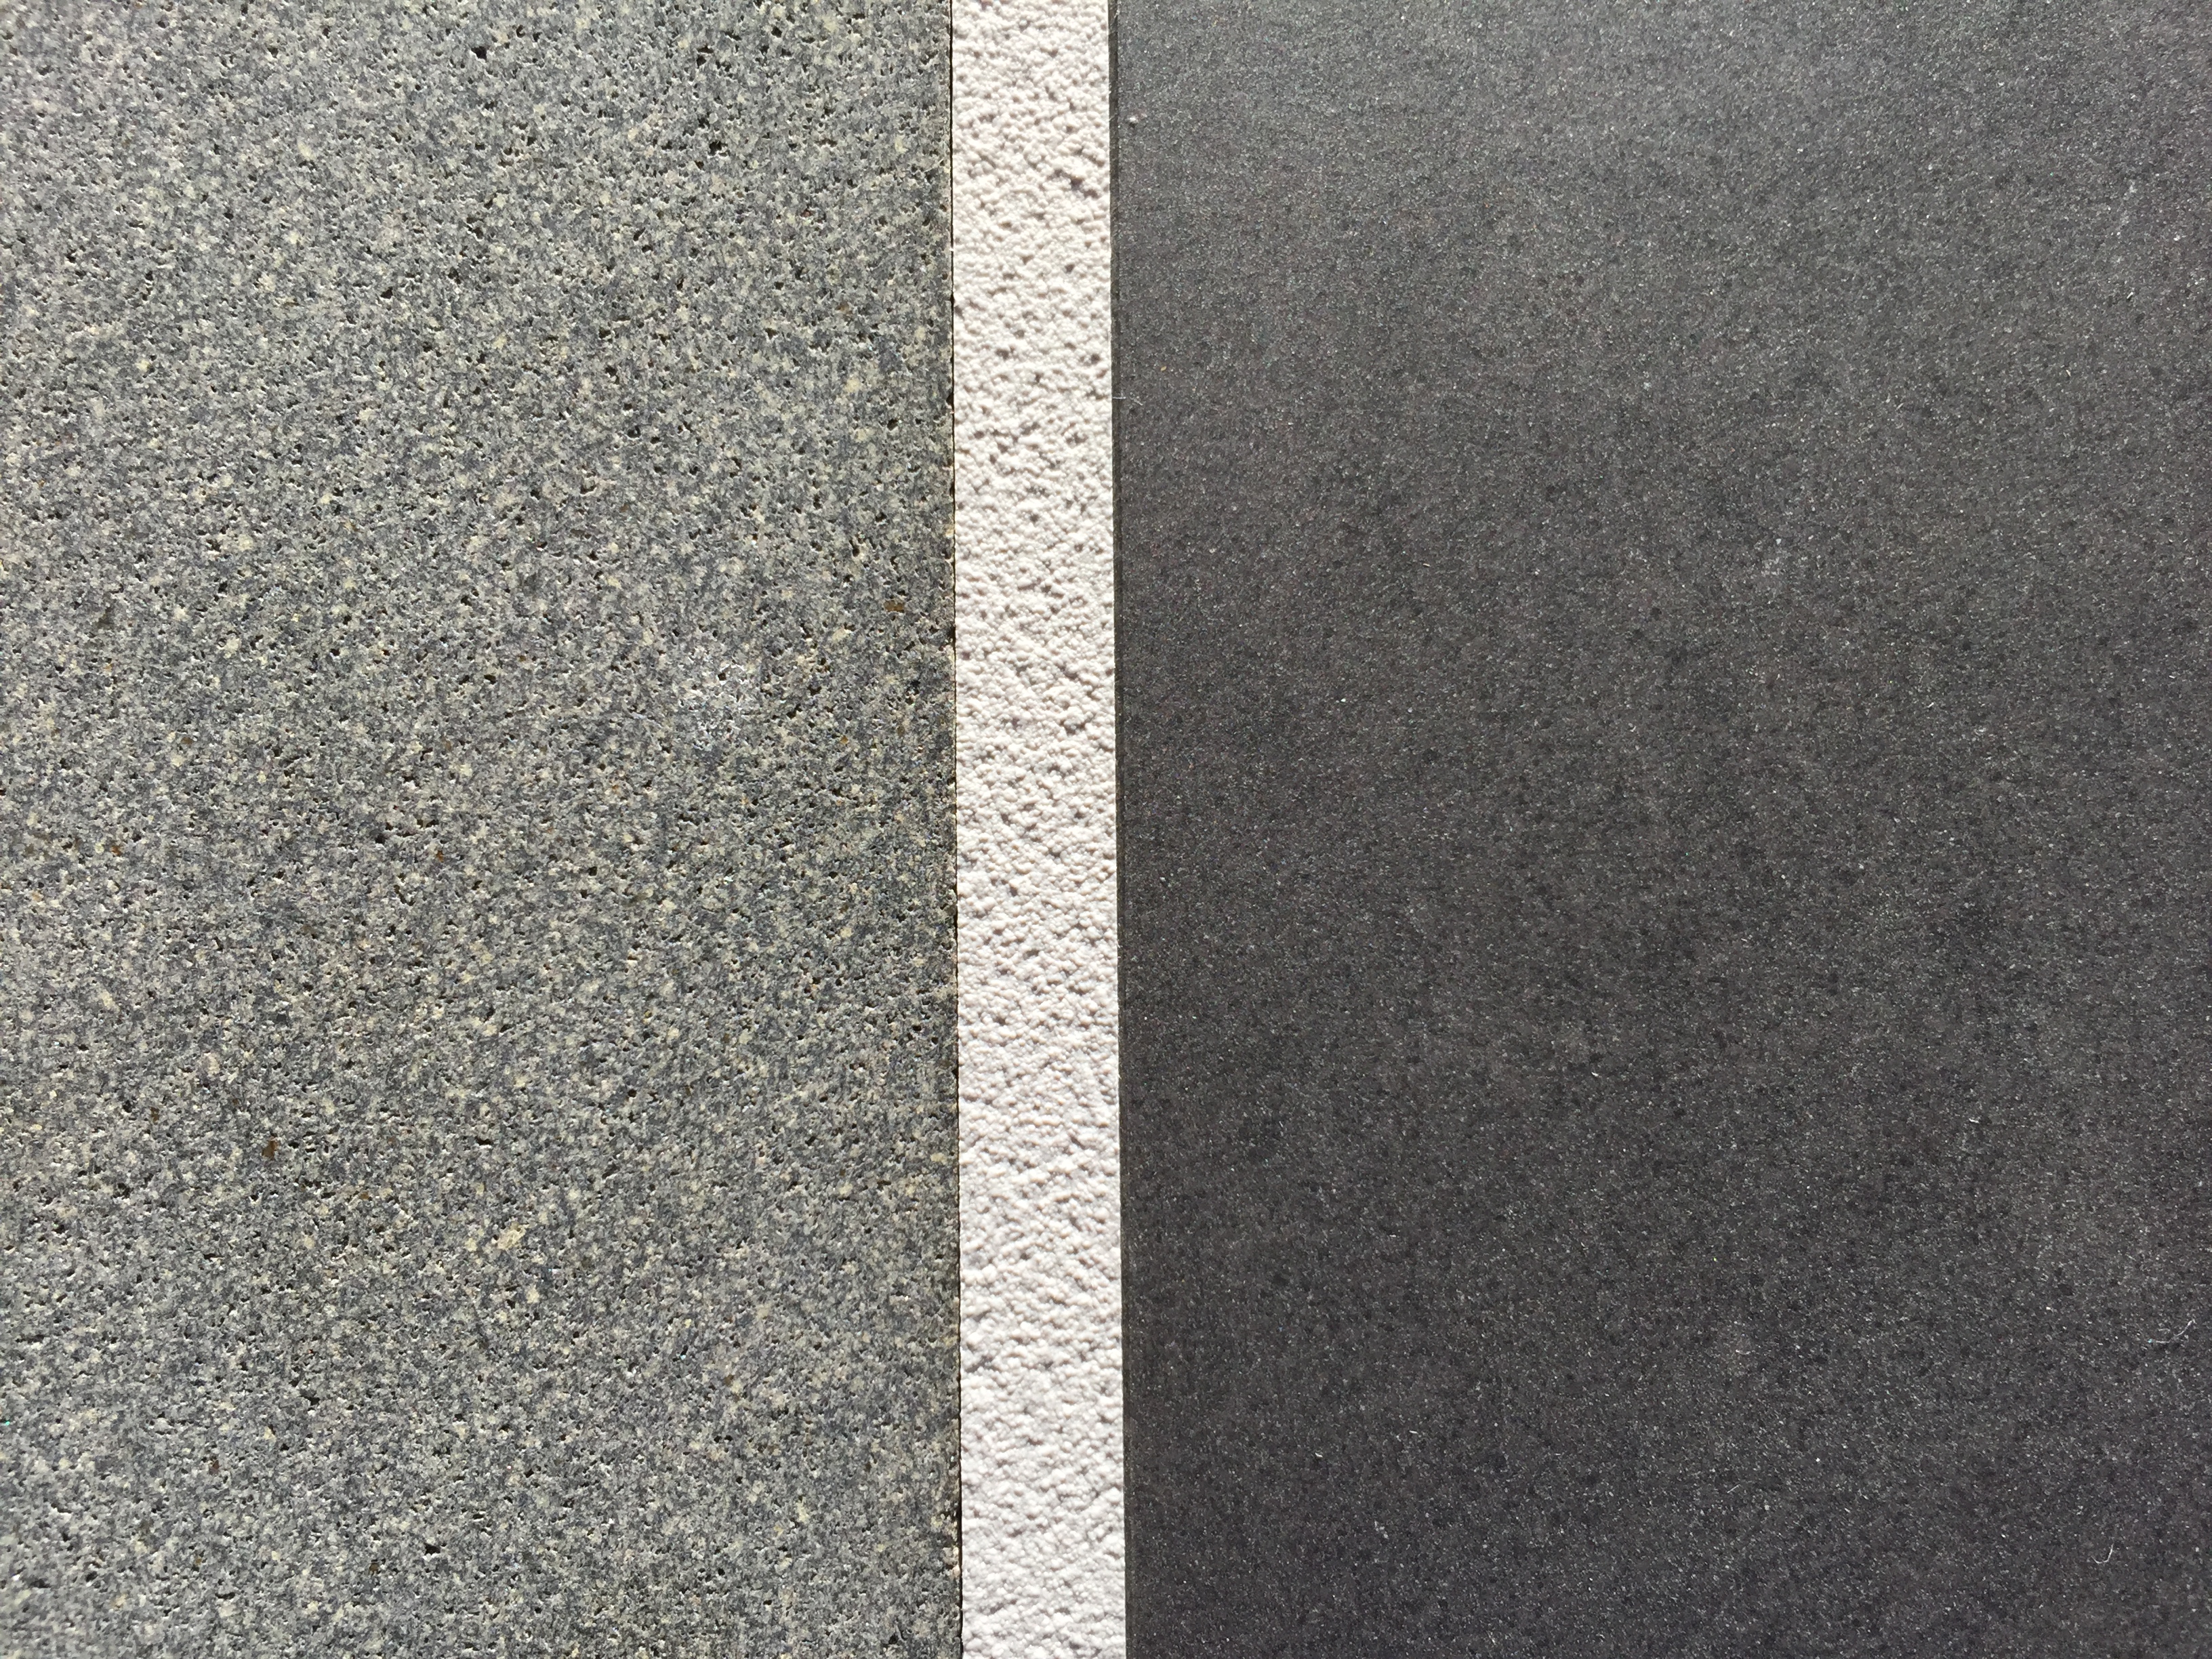
Close up of our Basalt tile & the new Porcelain with our grout colour choice
With the tile replacement sorted, we headed home to begin the process of tearing out our beautifully laid tile. On the plus side – we discovered 2 things while we were ripping the tiles up. One: I did a damn good job of laying them – which of course made the job of getting them up MUCH harder. The second thing we learned is that the Ditra underlayment WORKS. Armed with a crowbar & a hammer I still had a hell of at time breaking these tiles to get them up. I can’t imagine a way that with normal use, any of these tiles would have cracked on their own.

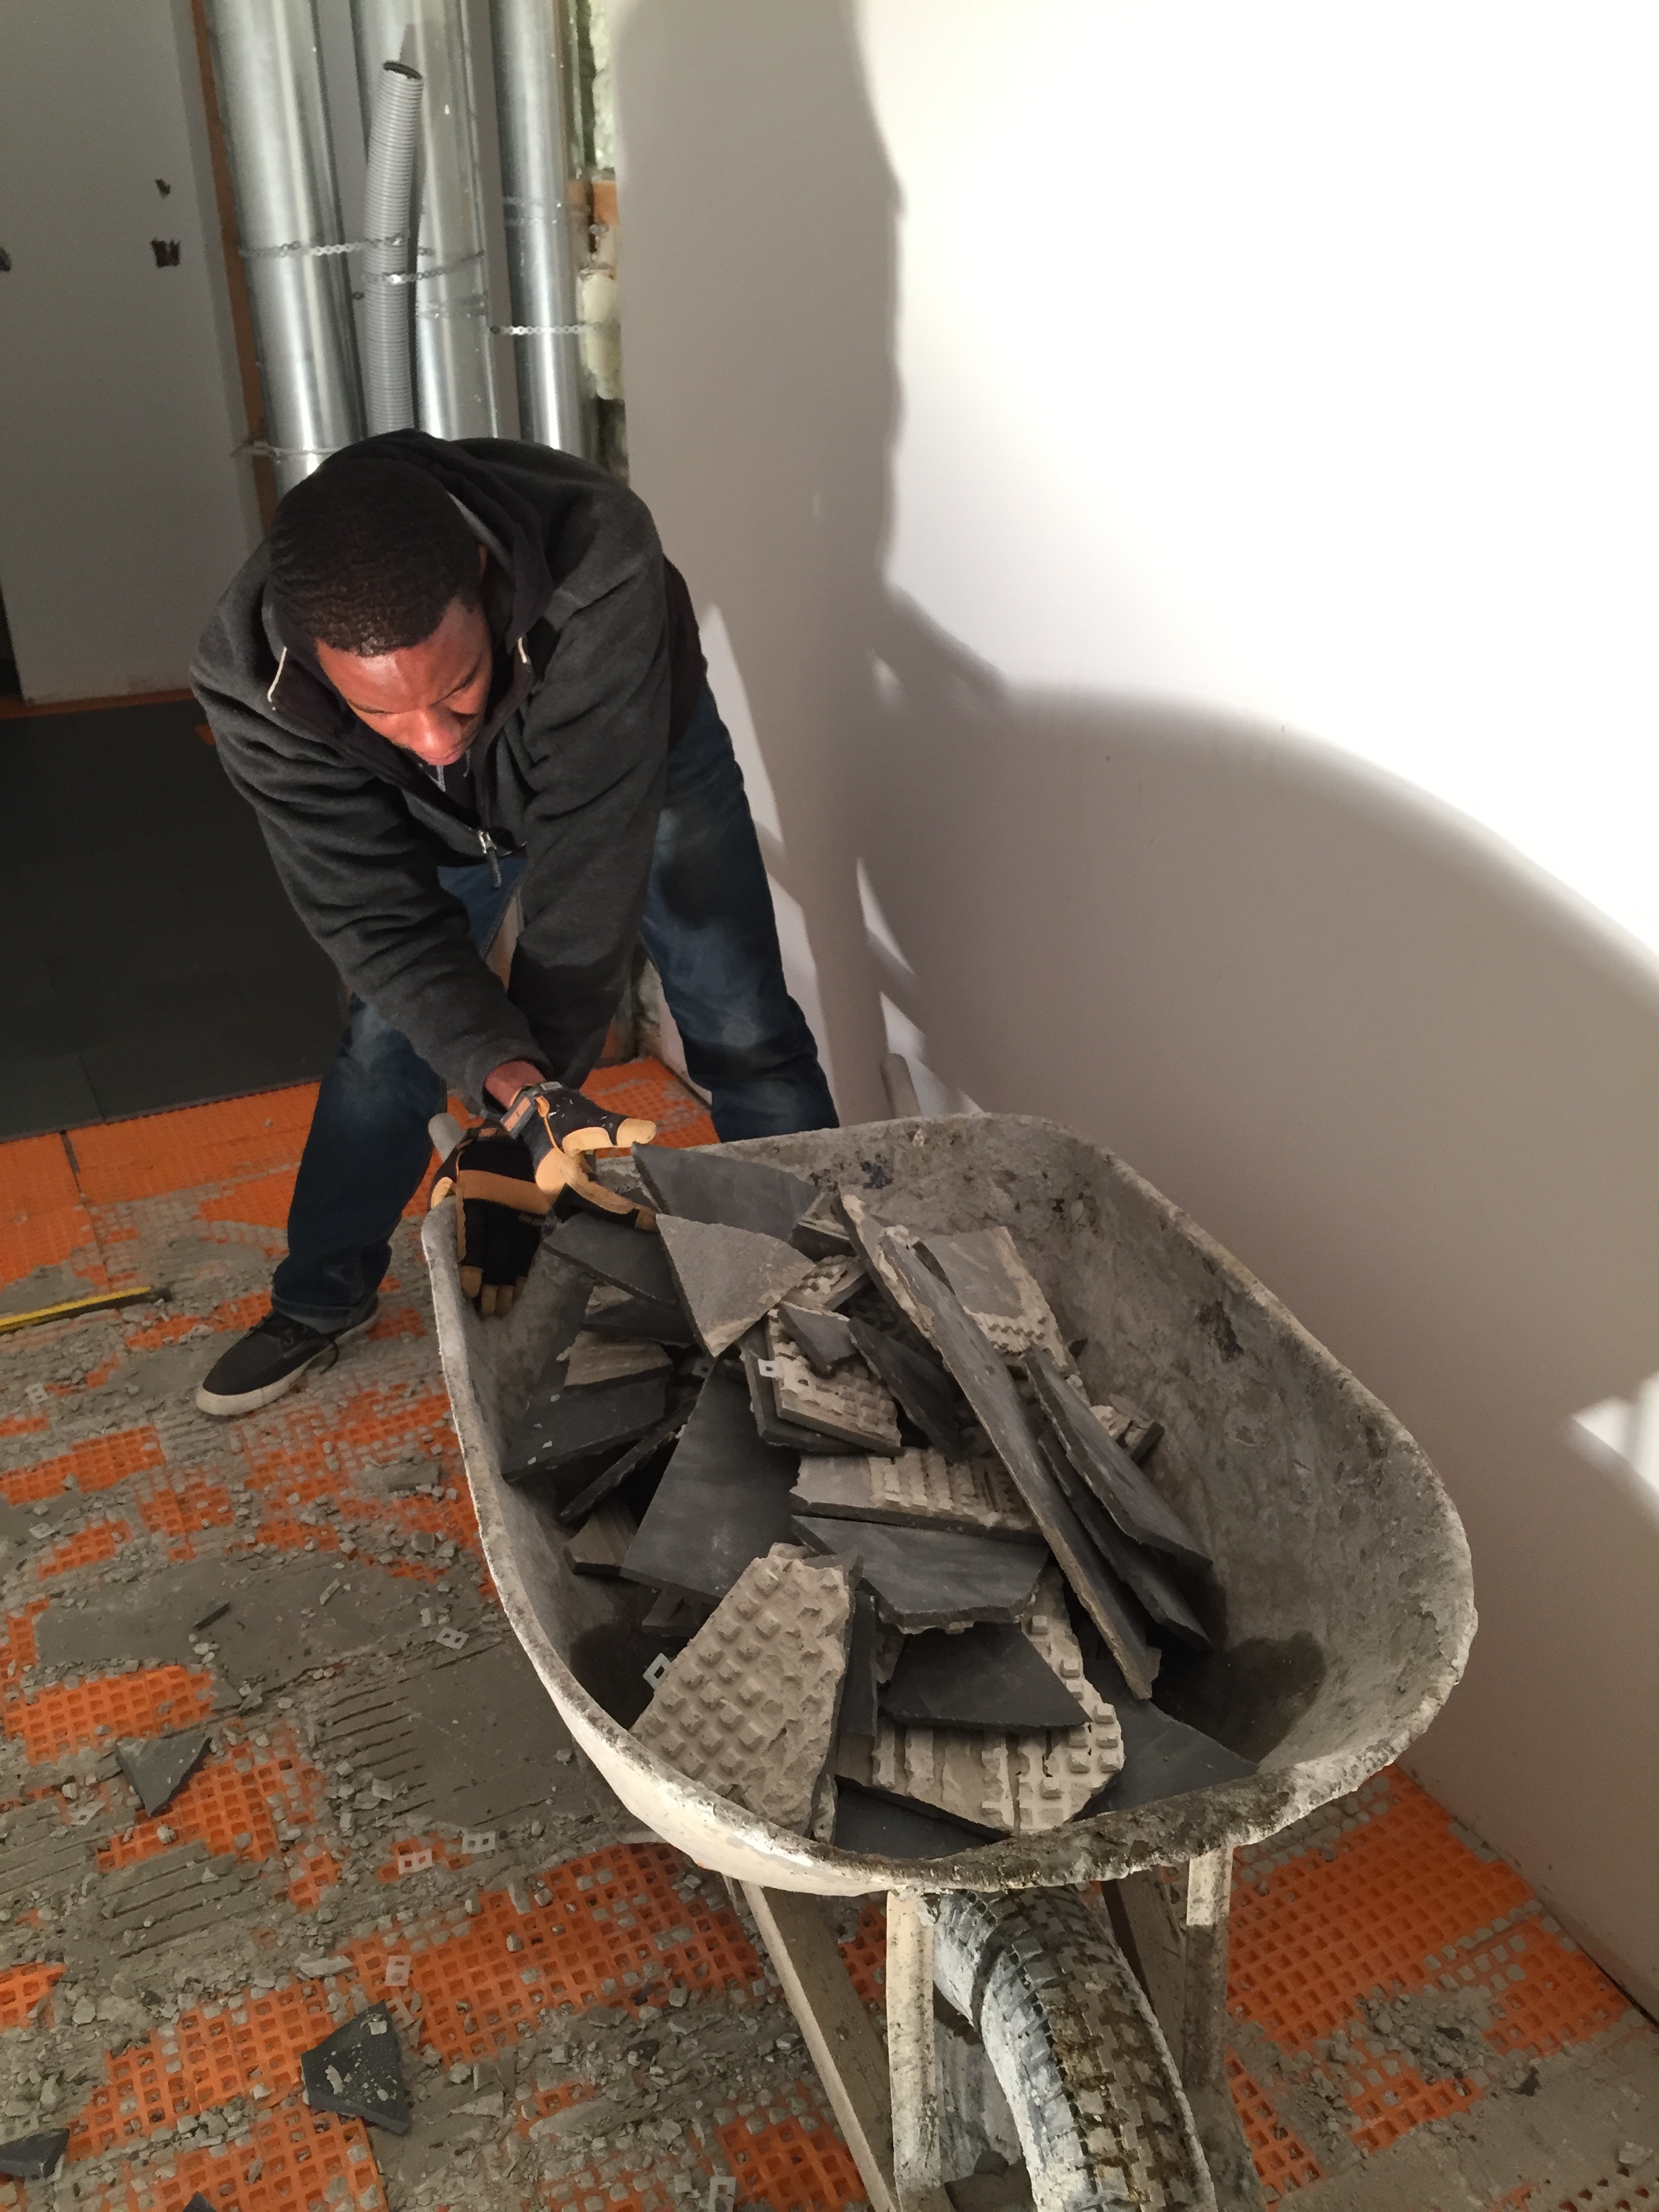
Hard work – breaking up our tiles & removing them
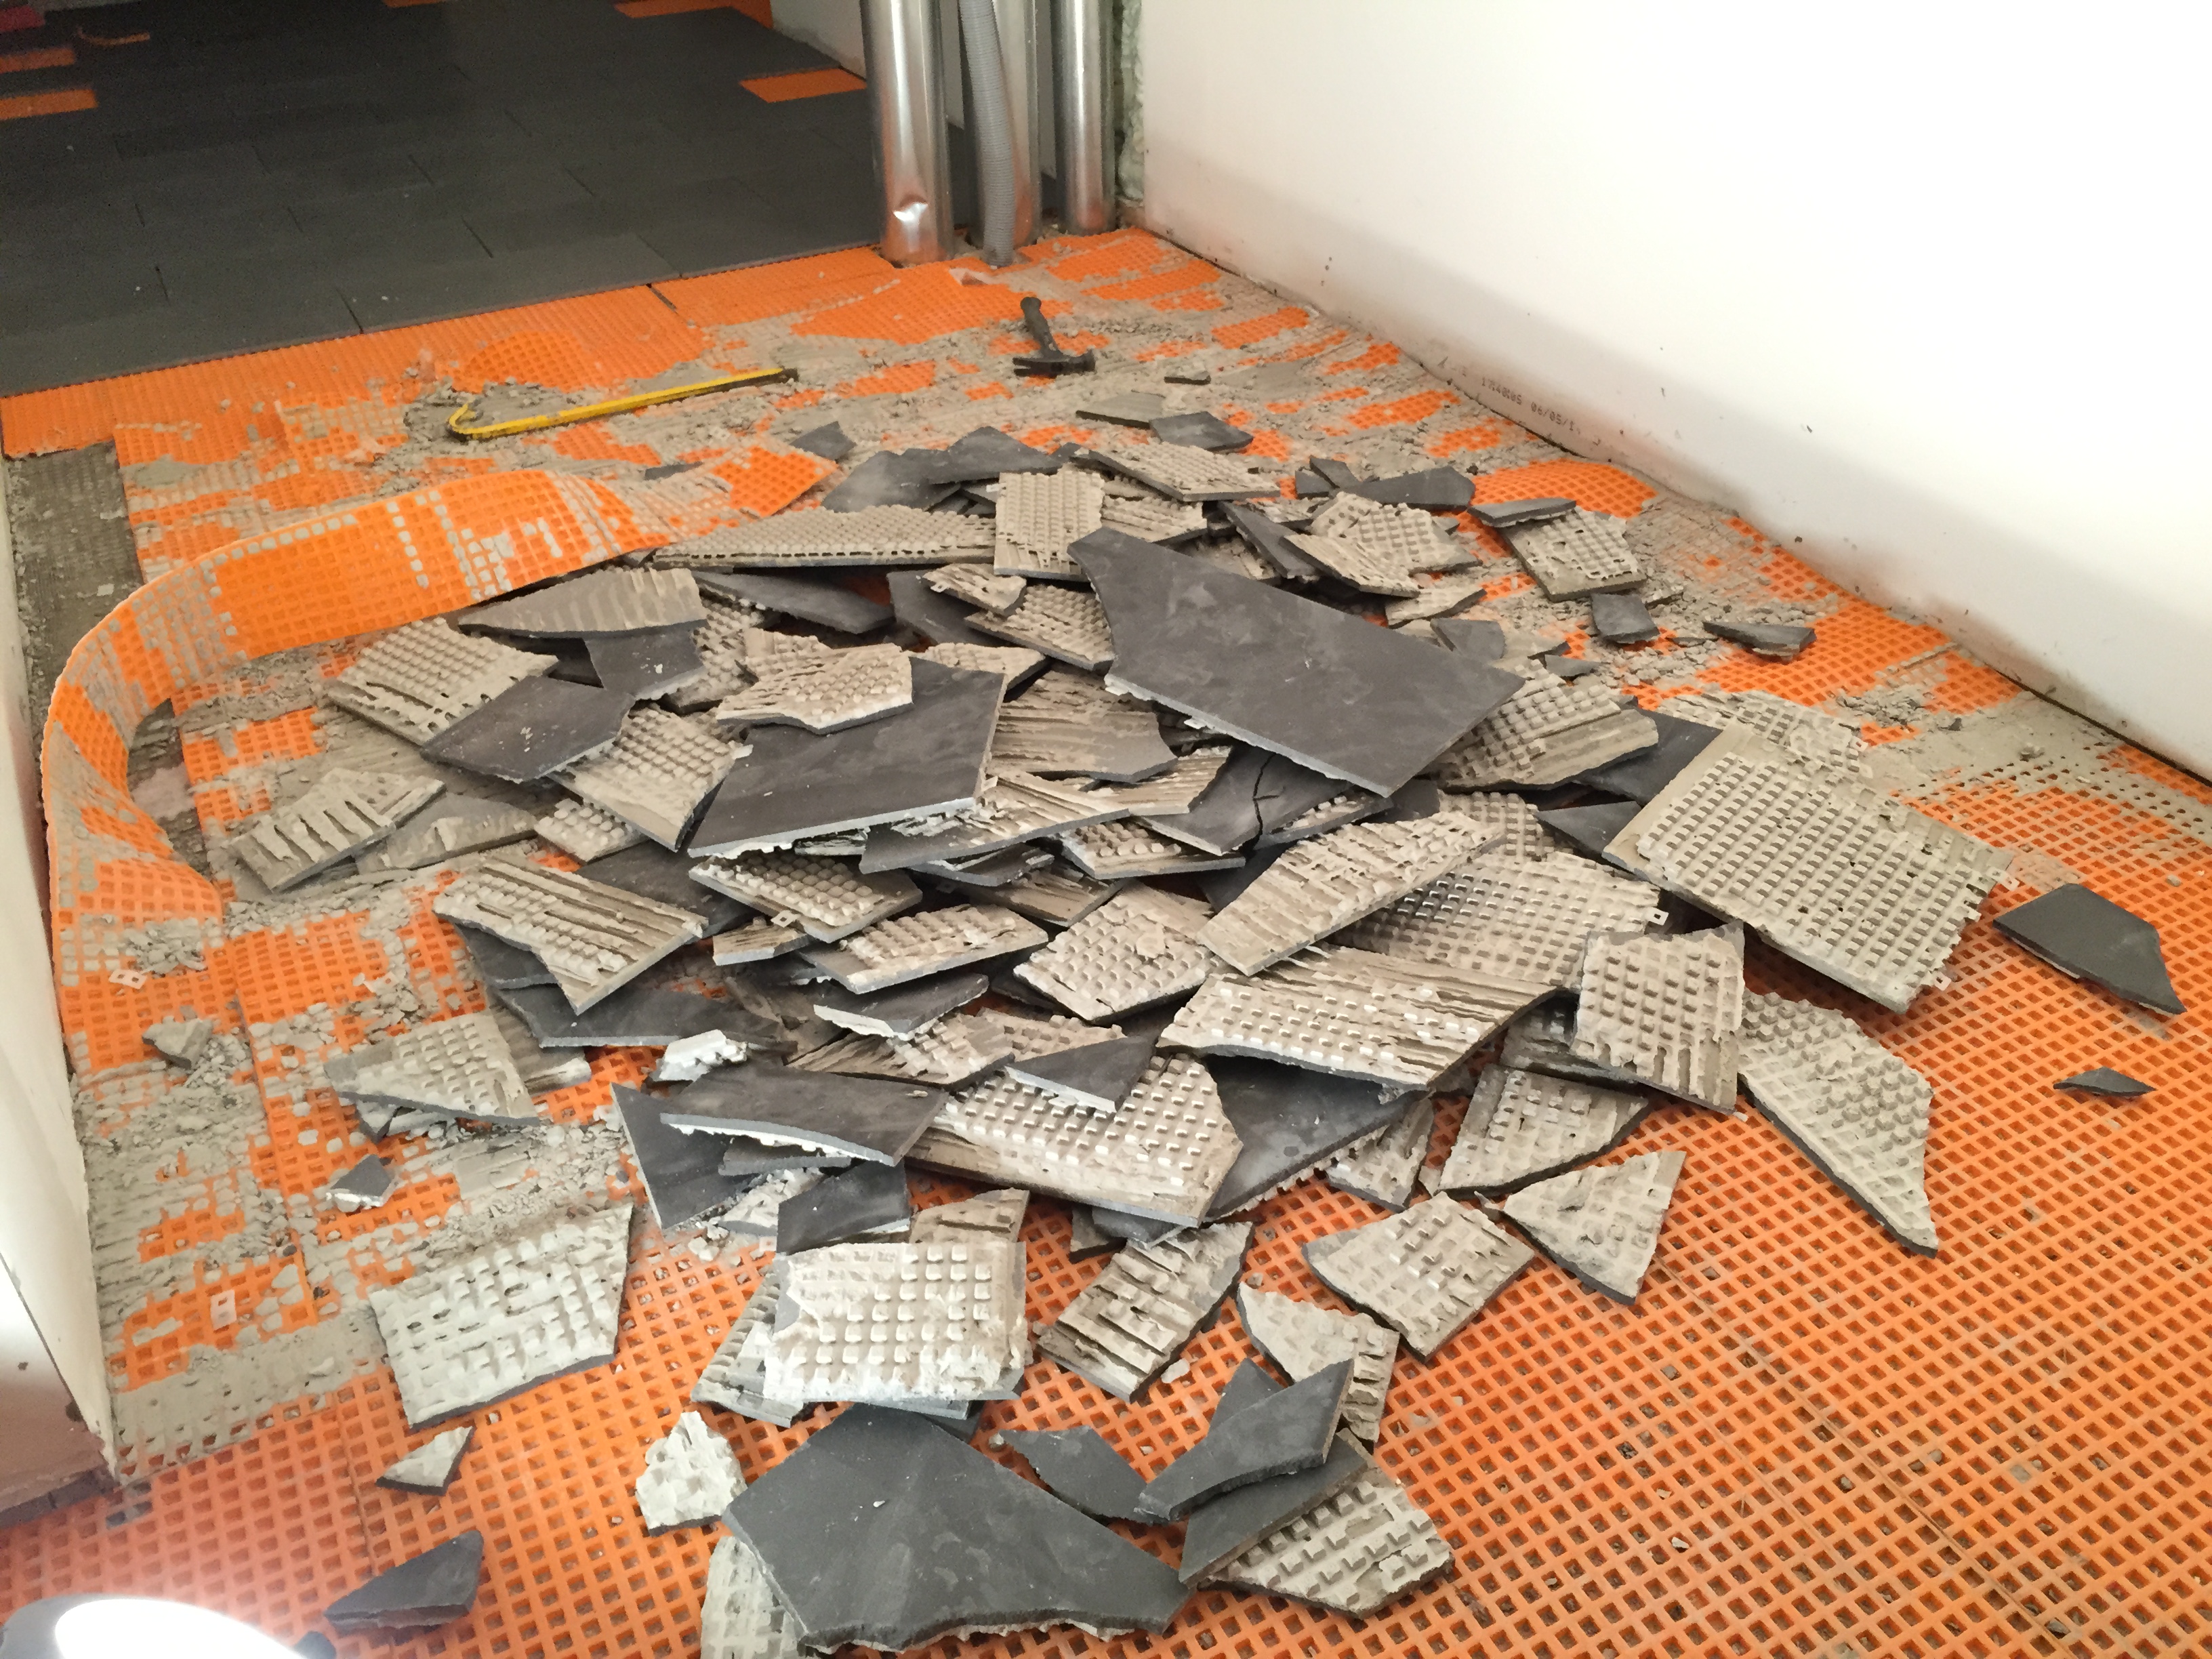
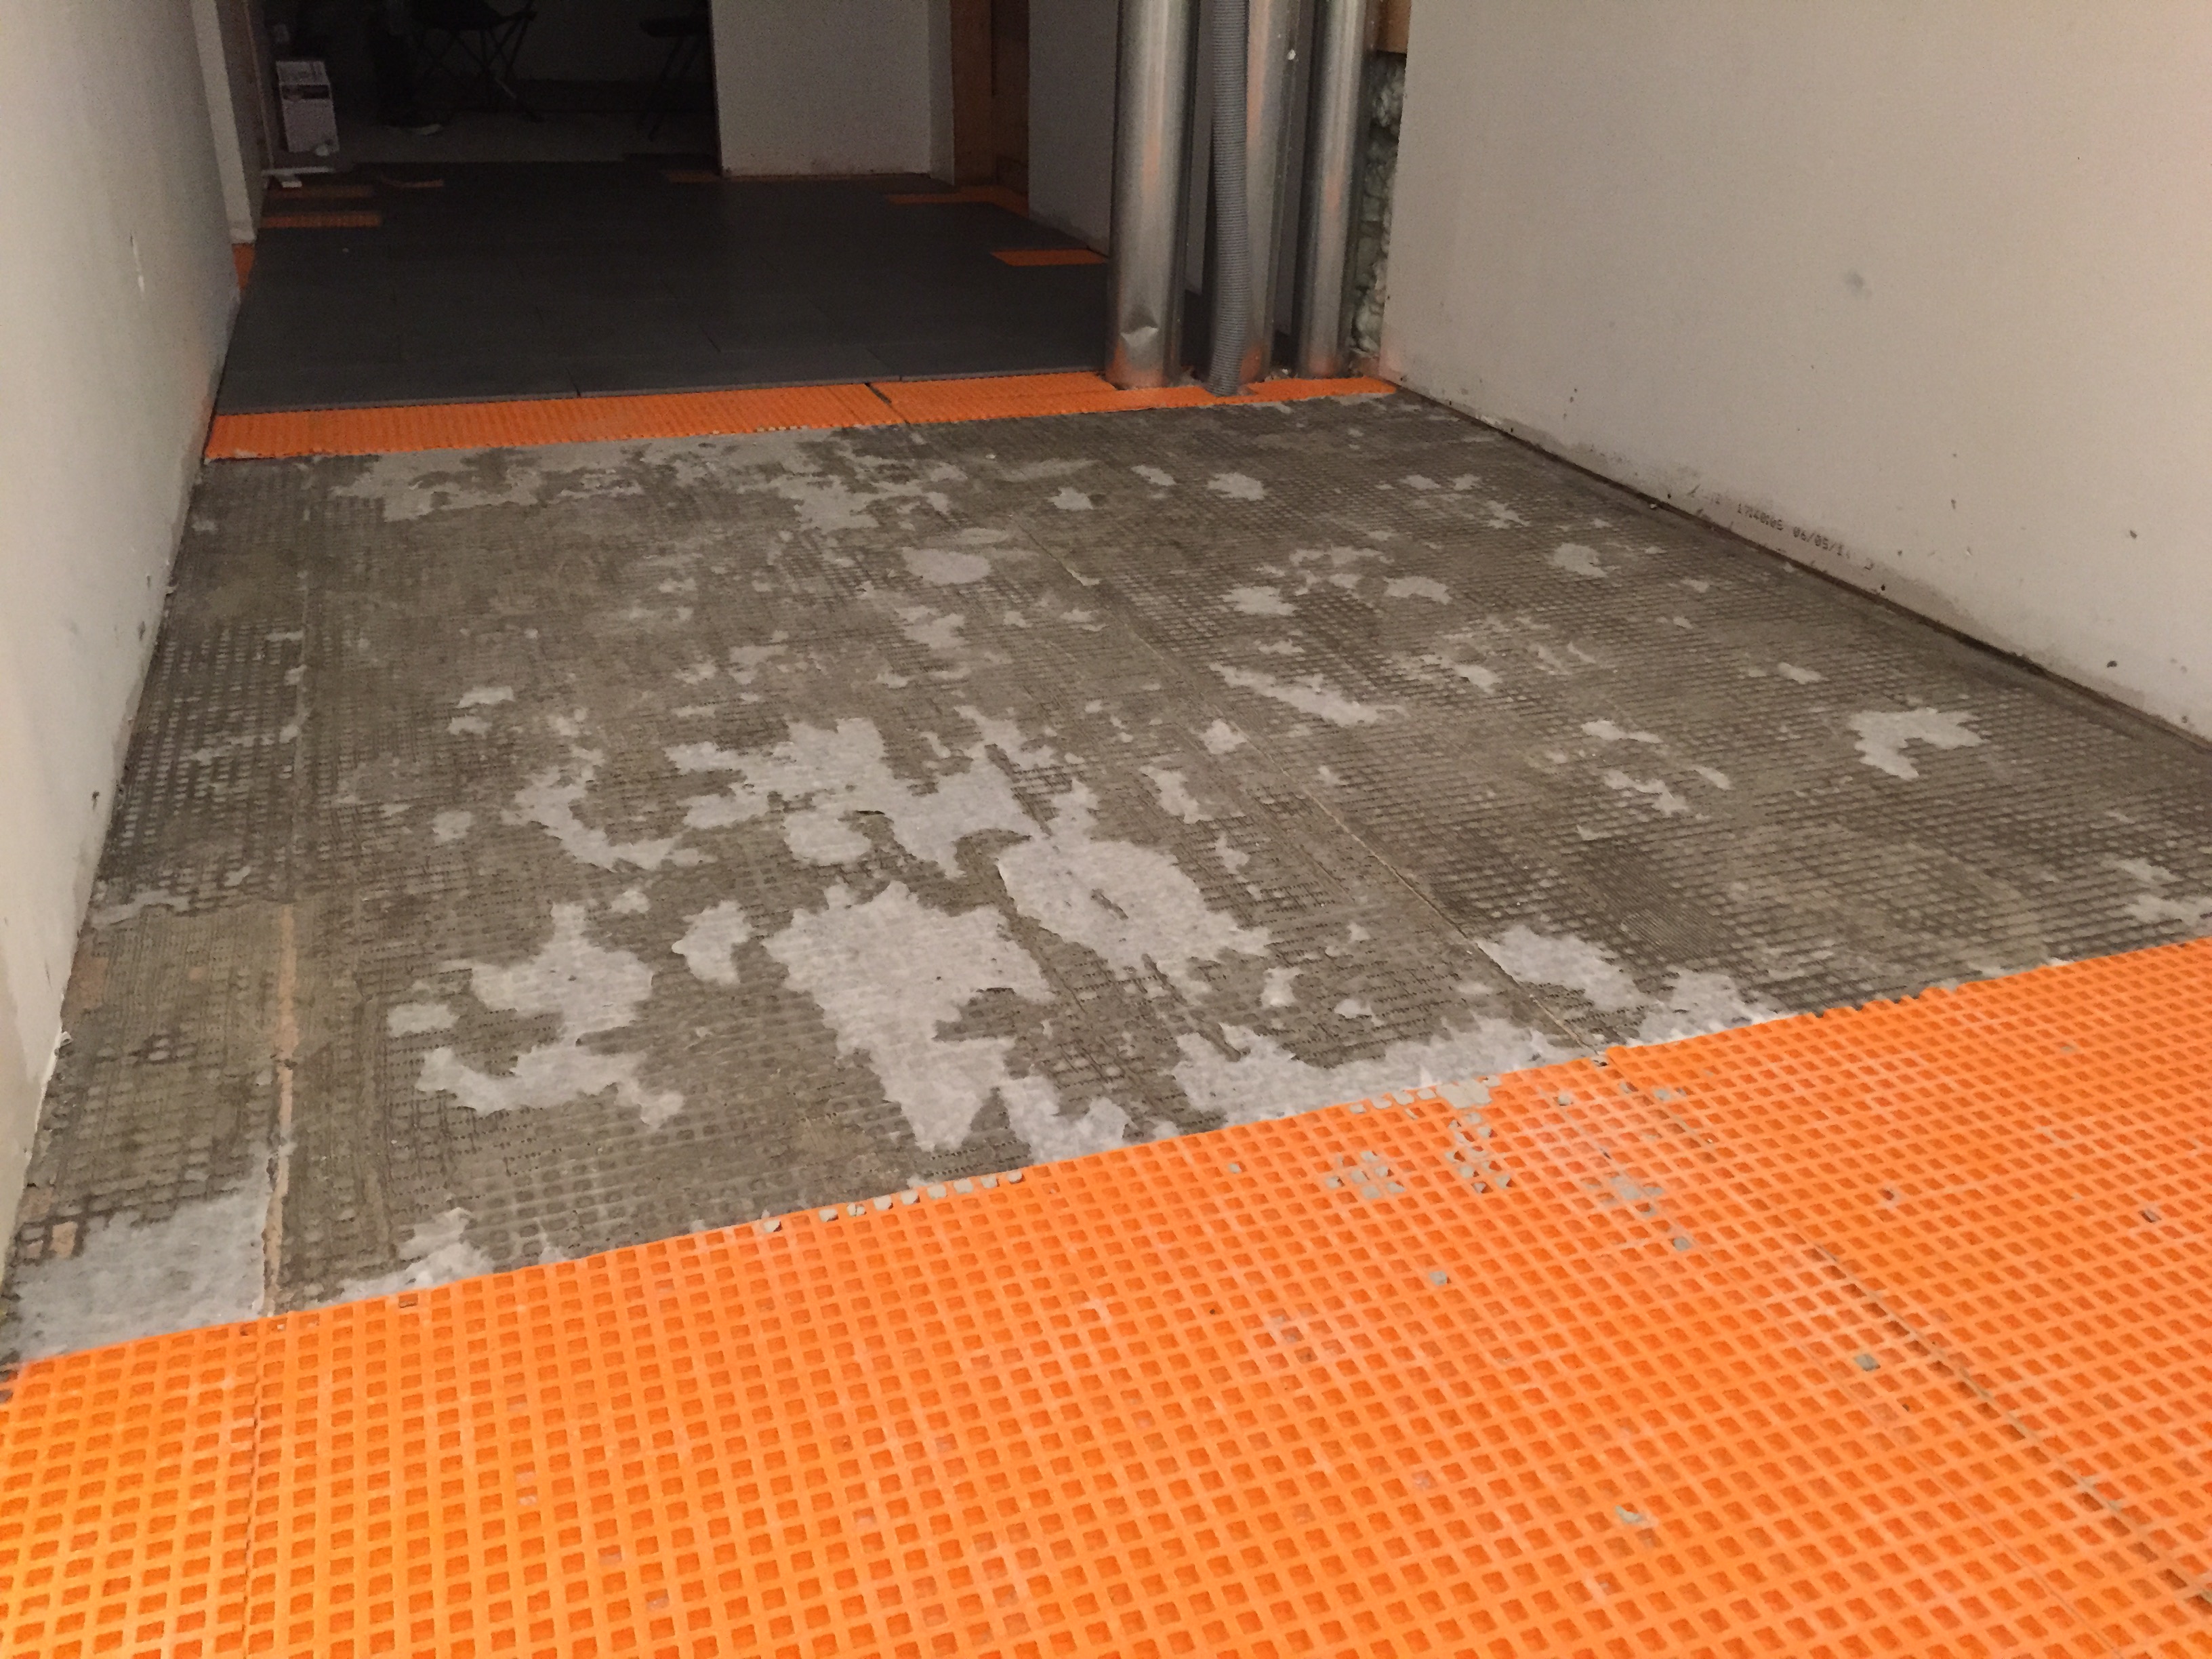
Tile demo complete!
Clean up
We were hoping the tiles would come up easily, and we’d be able to salvage the underlayment in that area. All that prying and smashing of tiles, however did a number on the Ditra underneath them, so we ended up having to replace it as well.
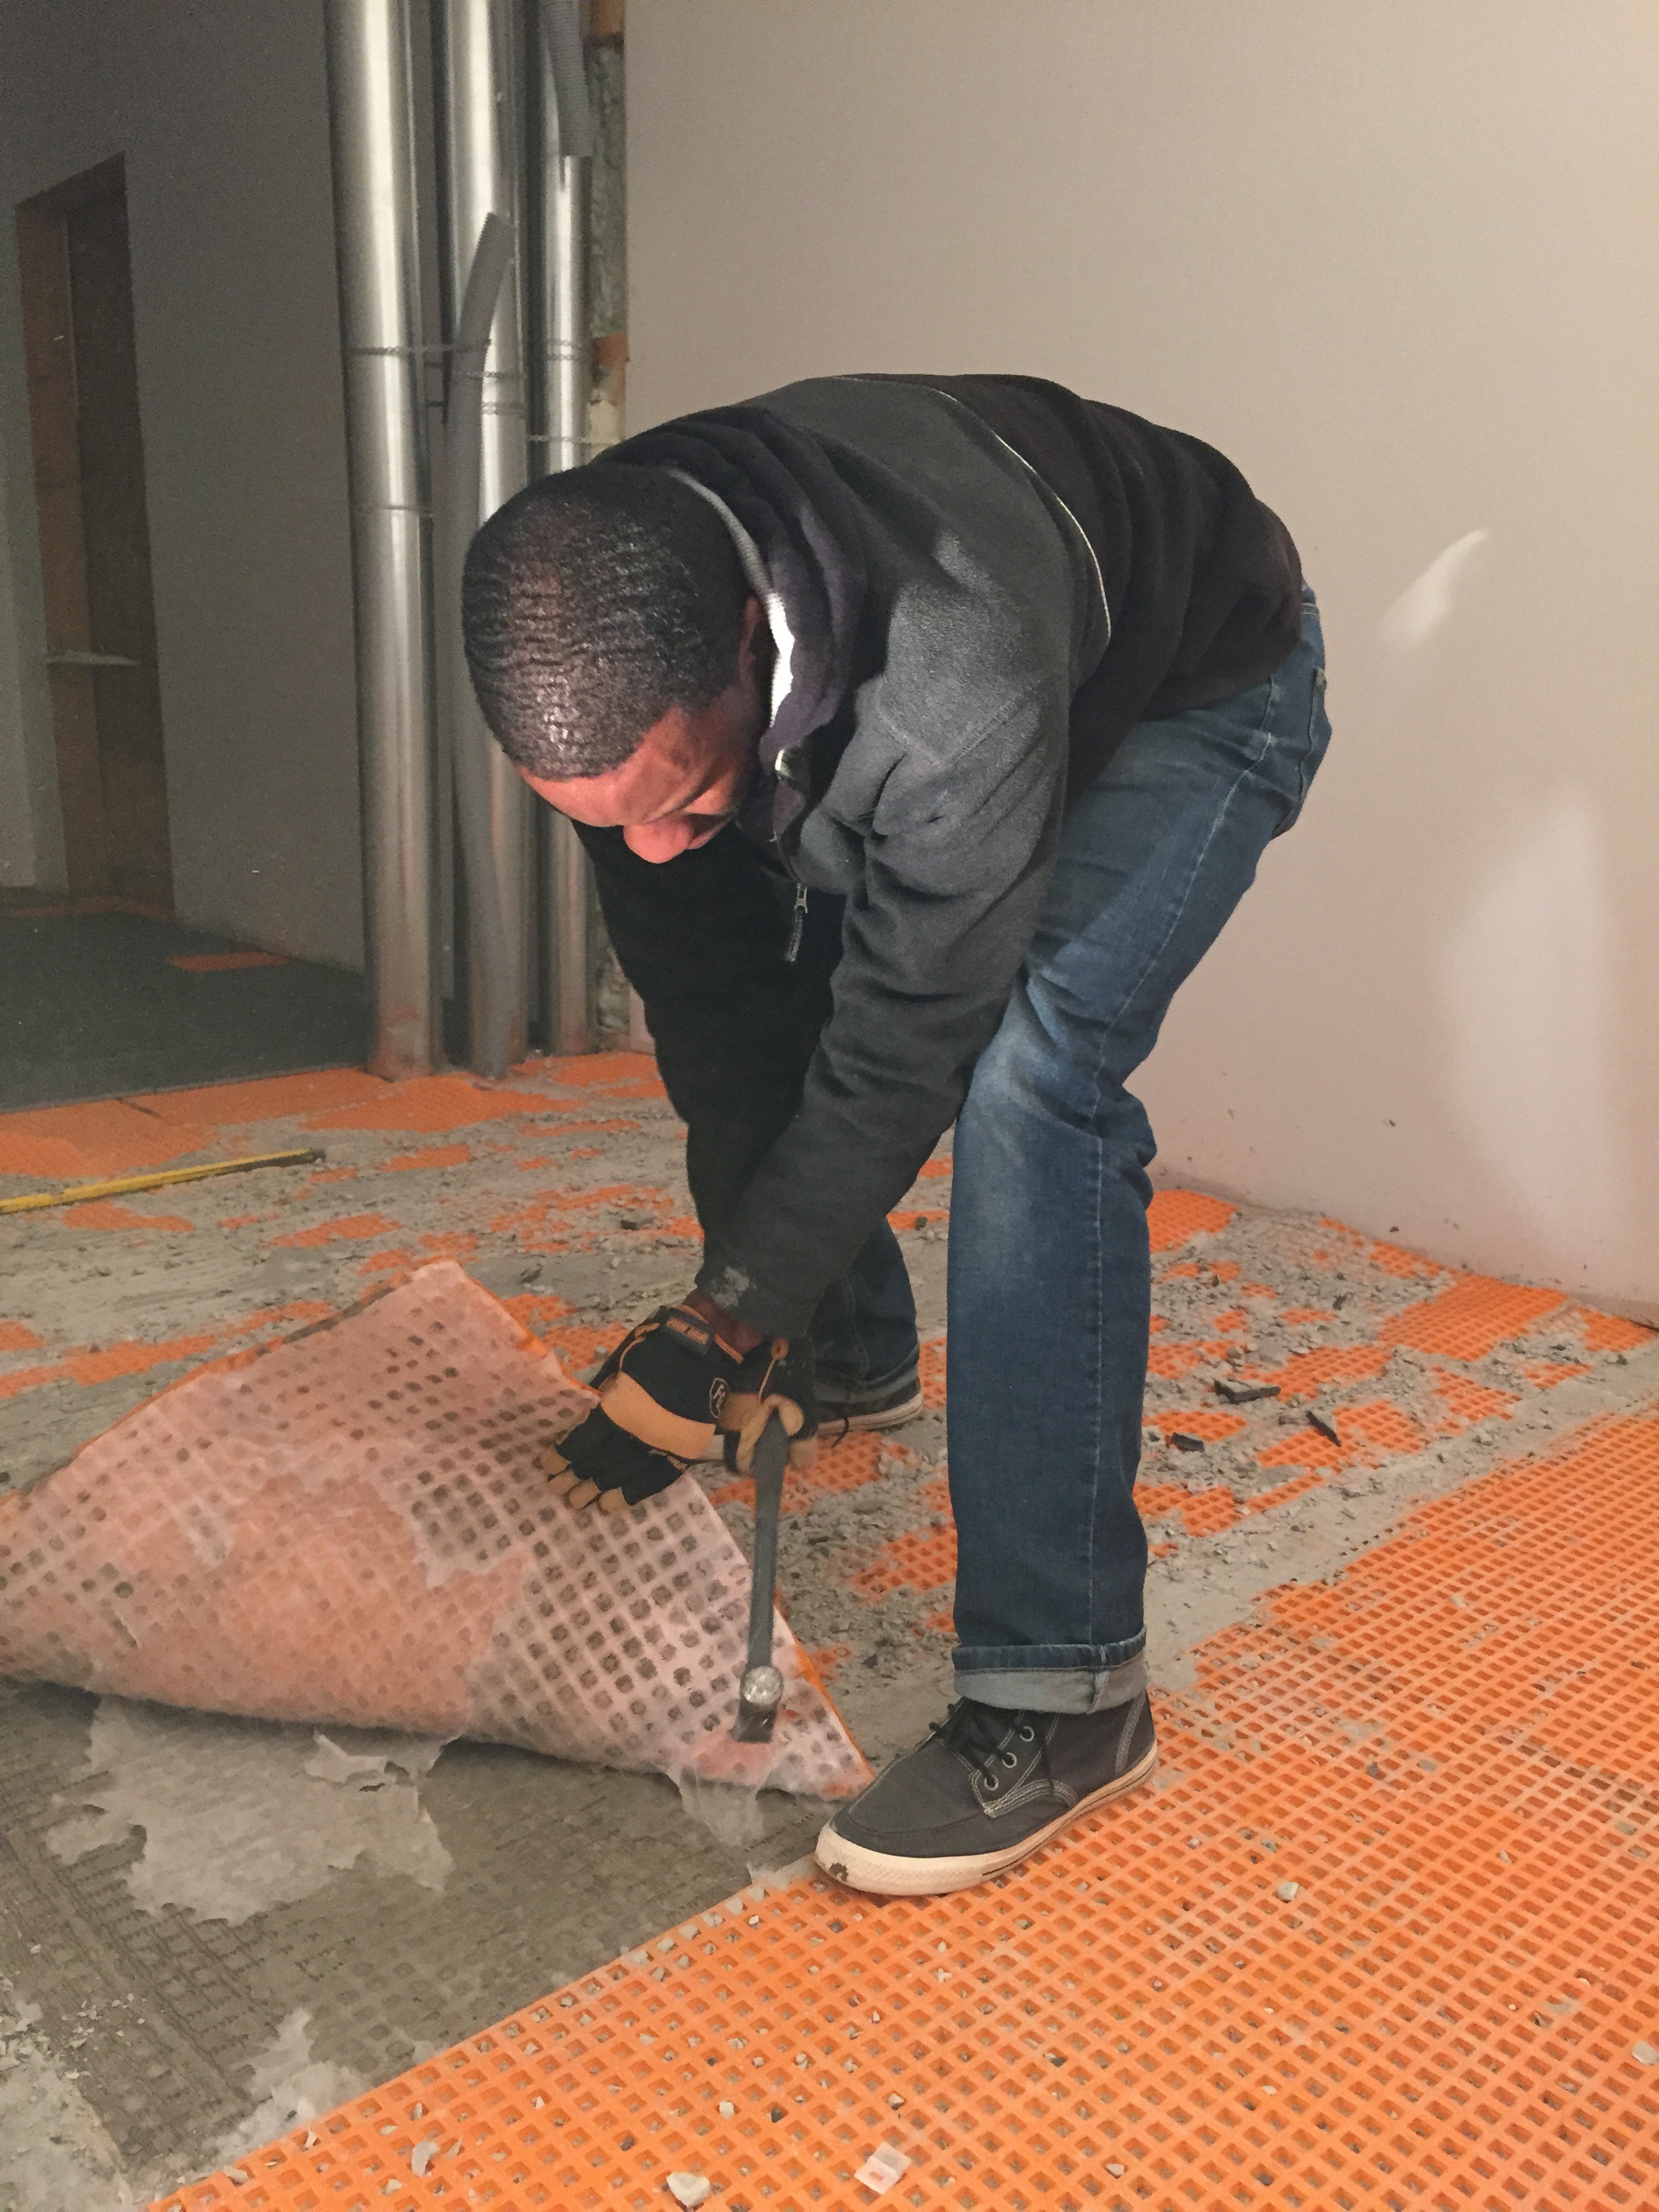
Kes getting to work removing the Ditra for the area needing to be replaced
The aftermath of tearing up our tiles & removing the Ditra underneath
Once we got the area all cleaned up, we were back to square one. We decided to forgo tiling underneath the closet so that we could save a few square feet of tile. So we set out to begin framing the closet surround.

Getting the first wall up & plumb
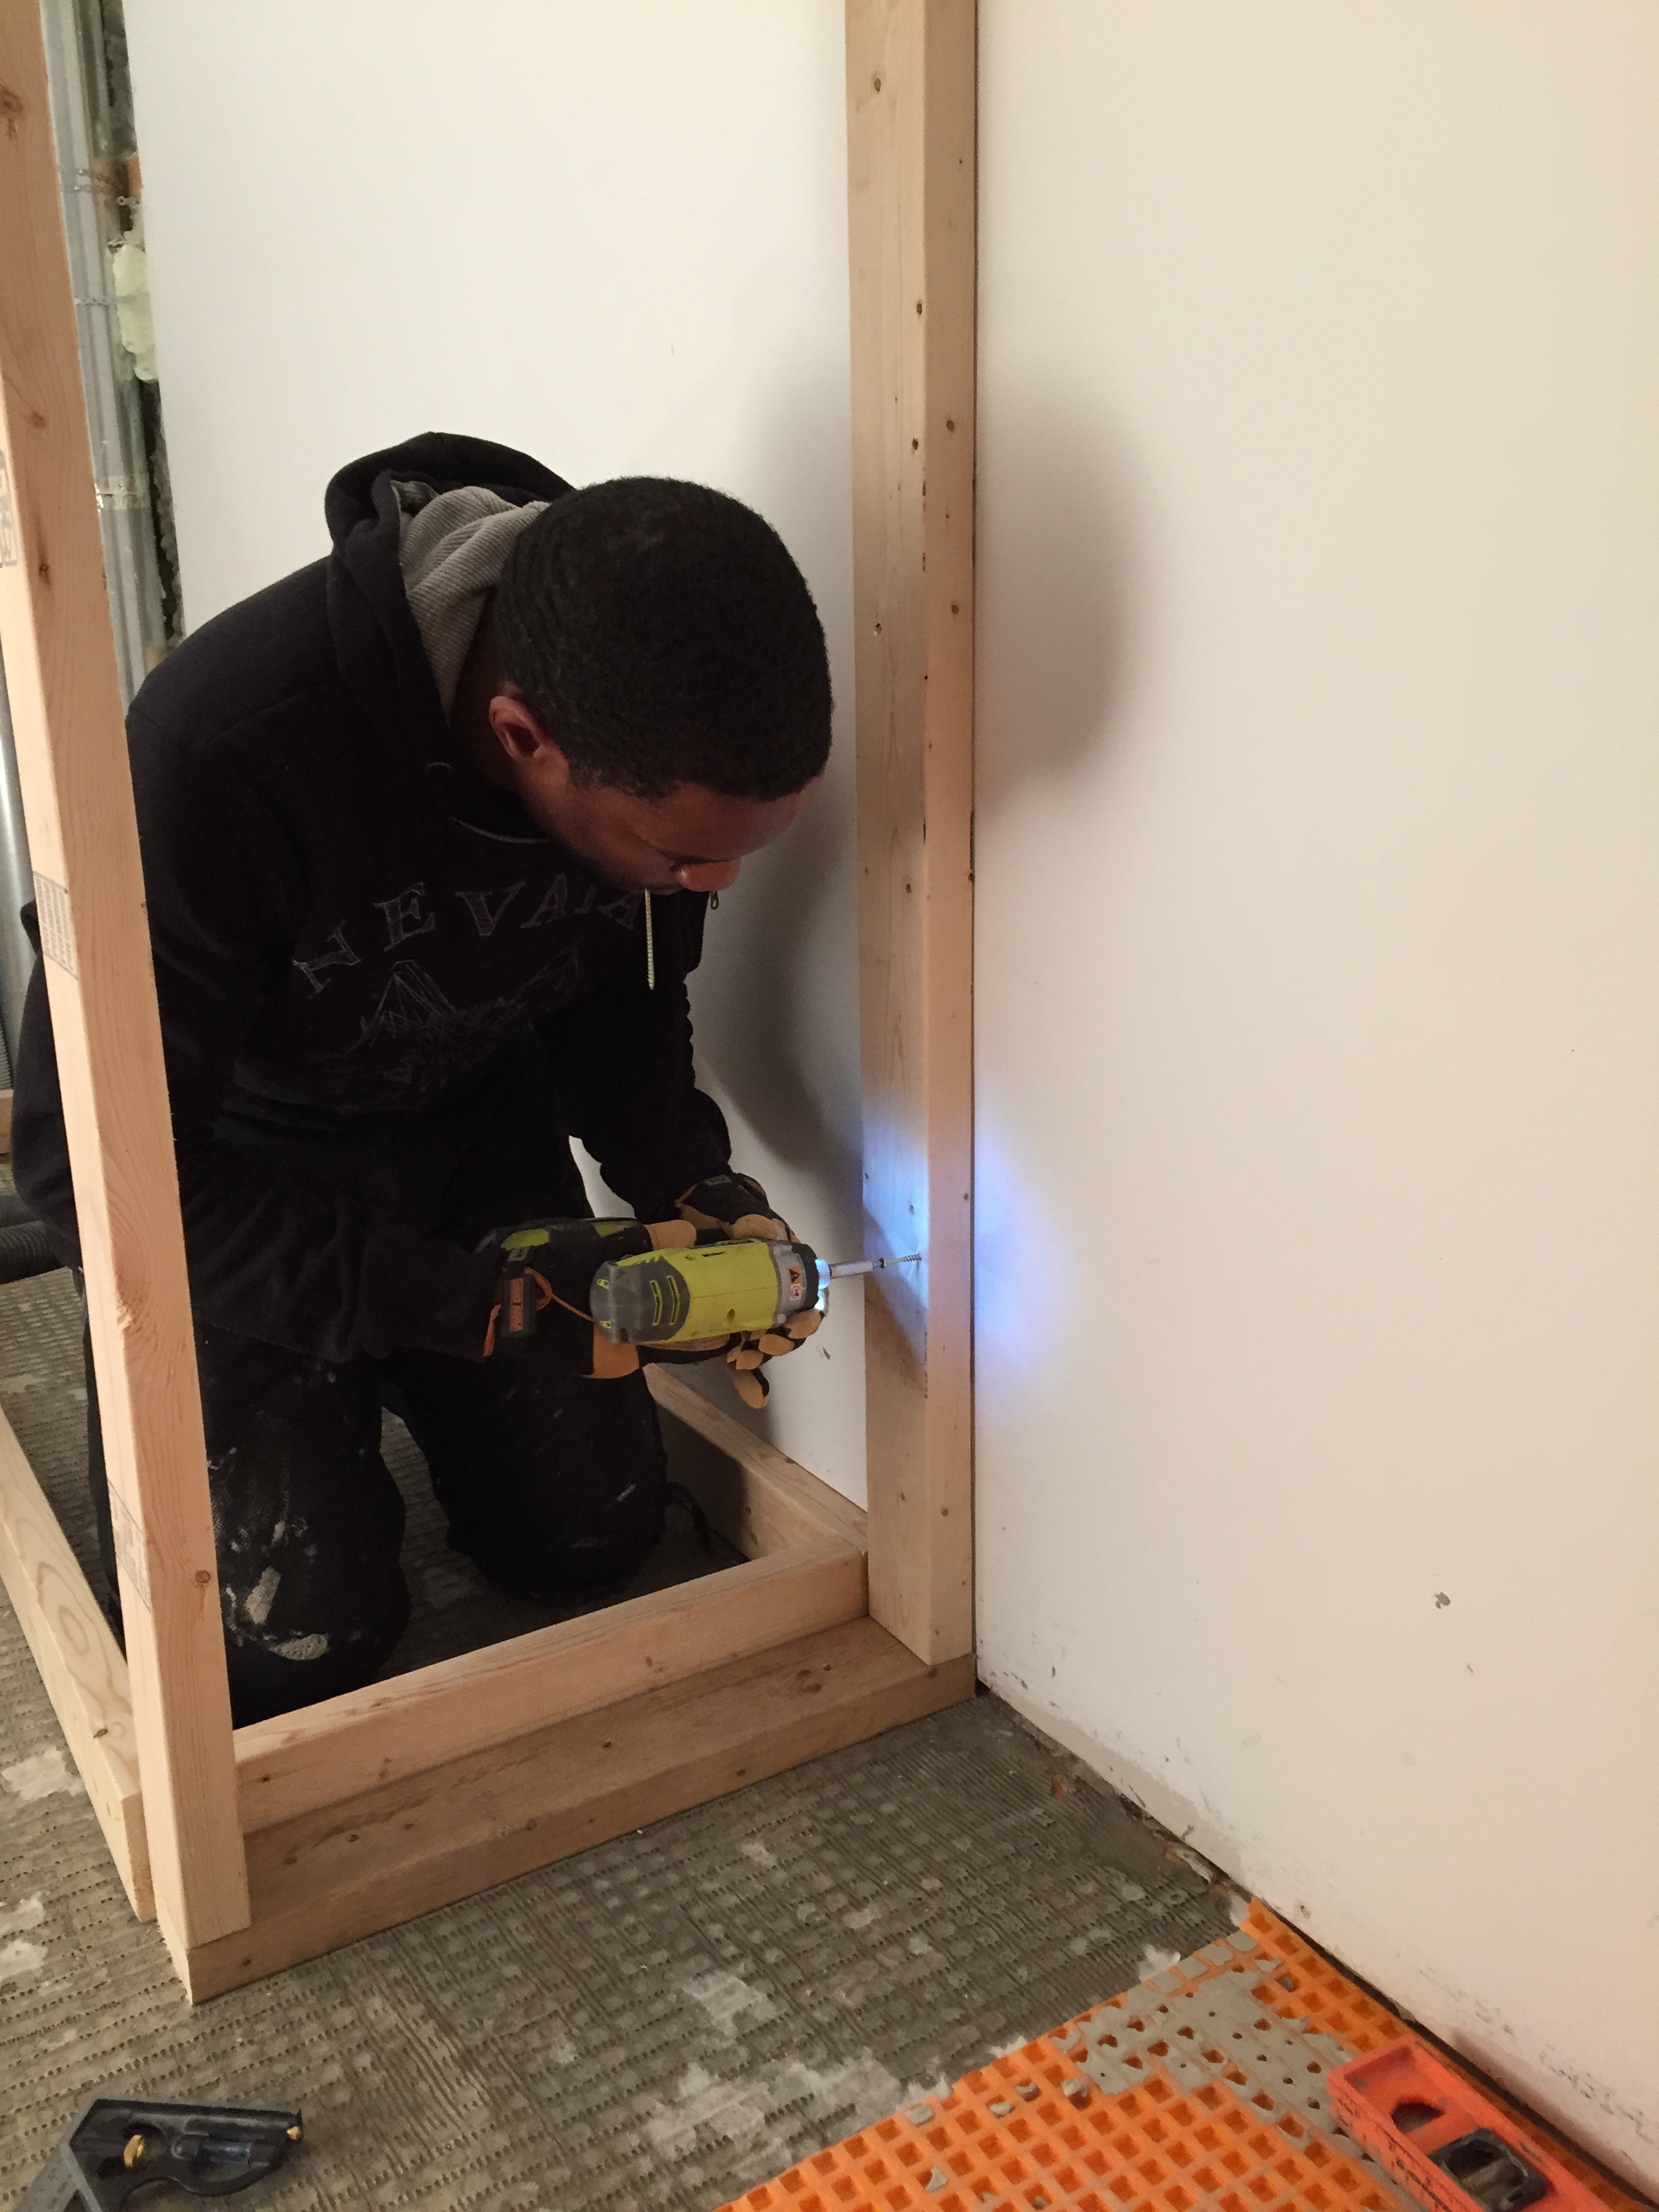
Kes framing the closet surround
Once the base of the closet was all framed, we were able to get the underlayment back down & ready for the new tiles to be laid.
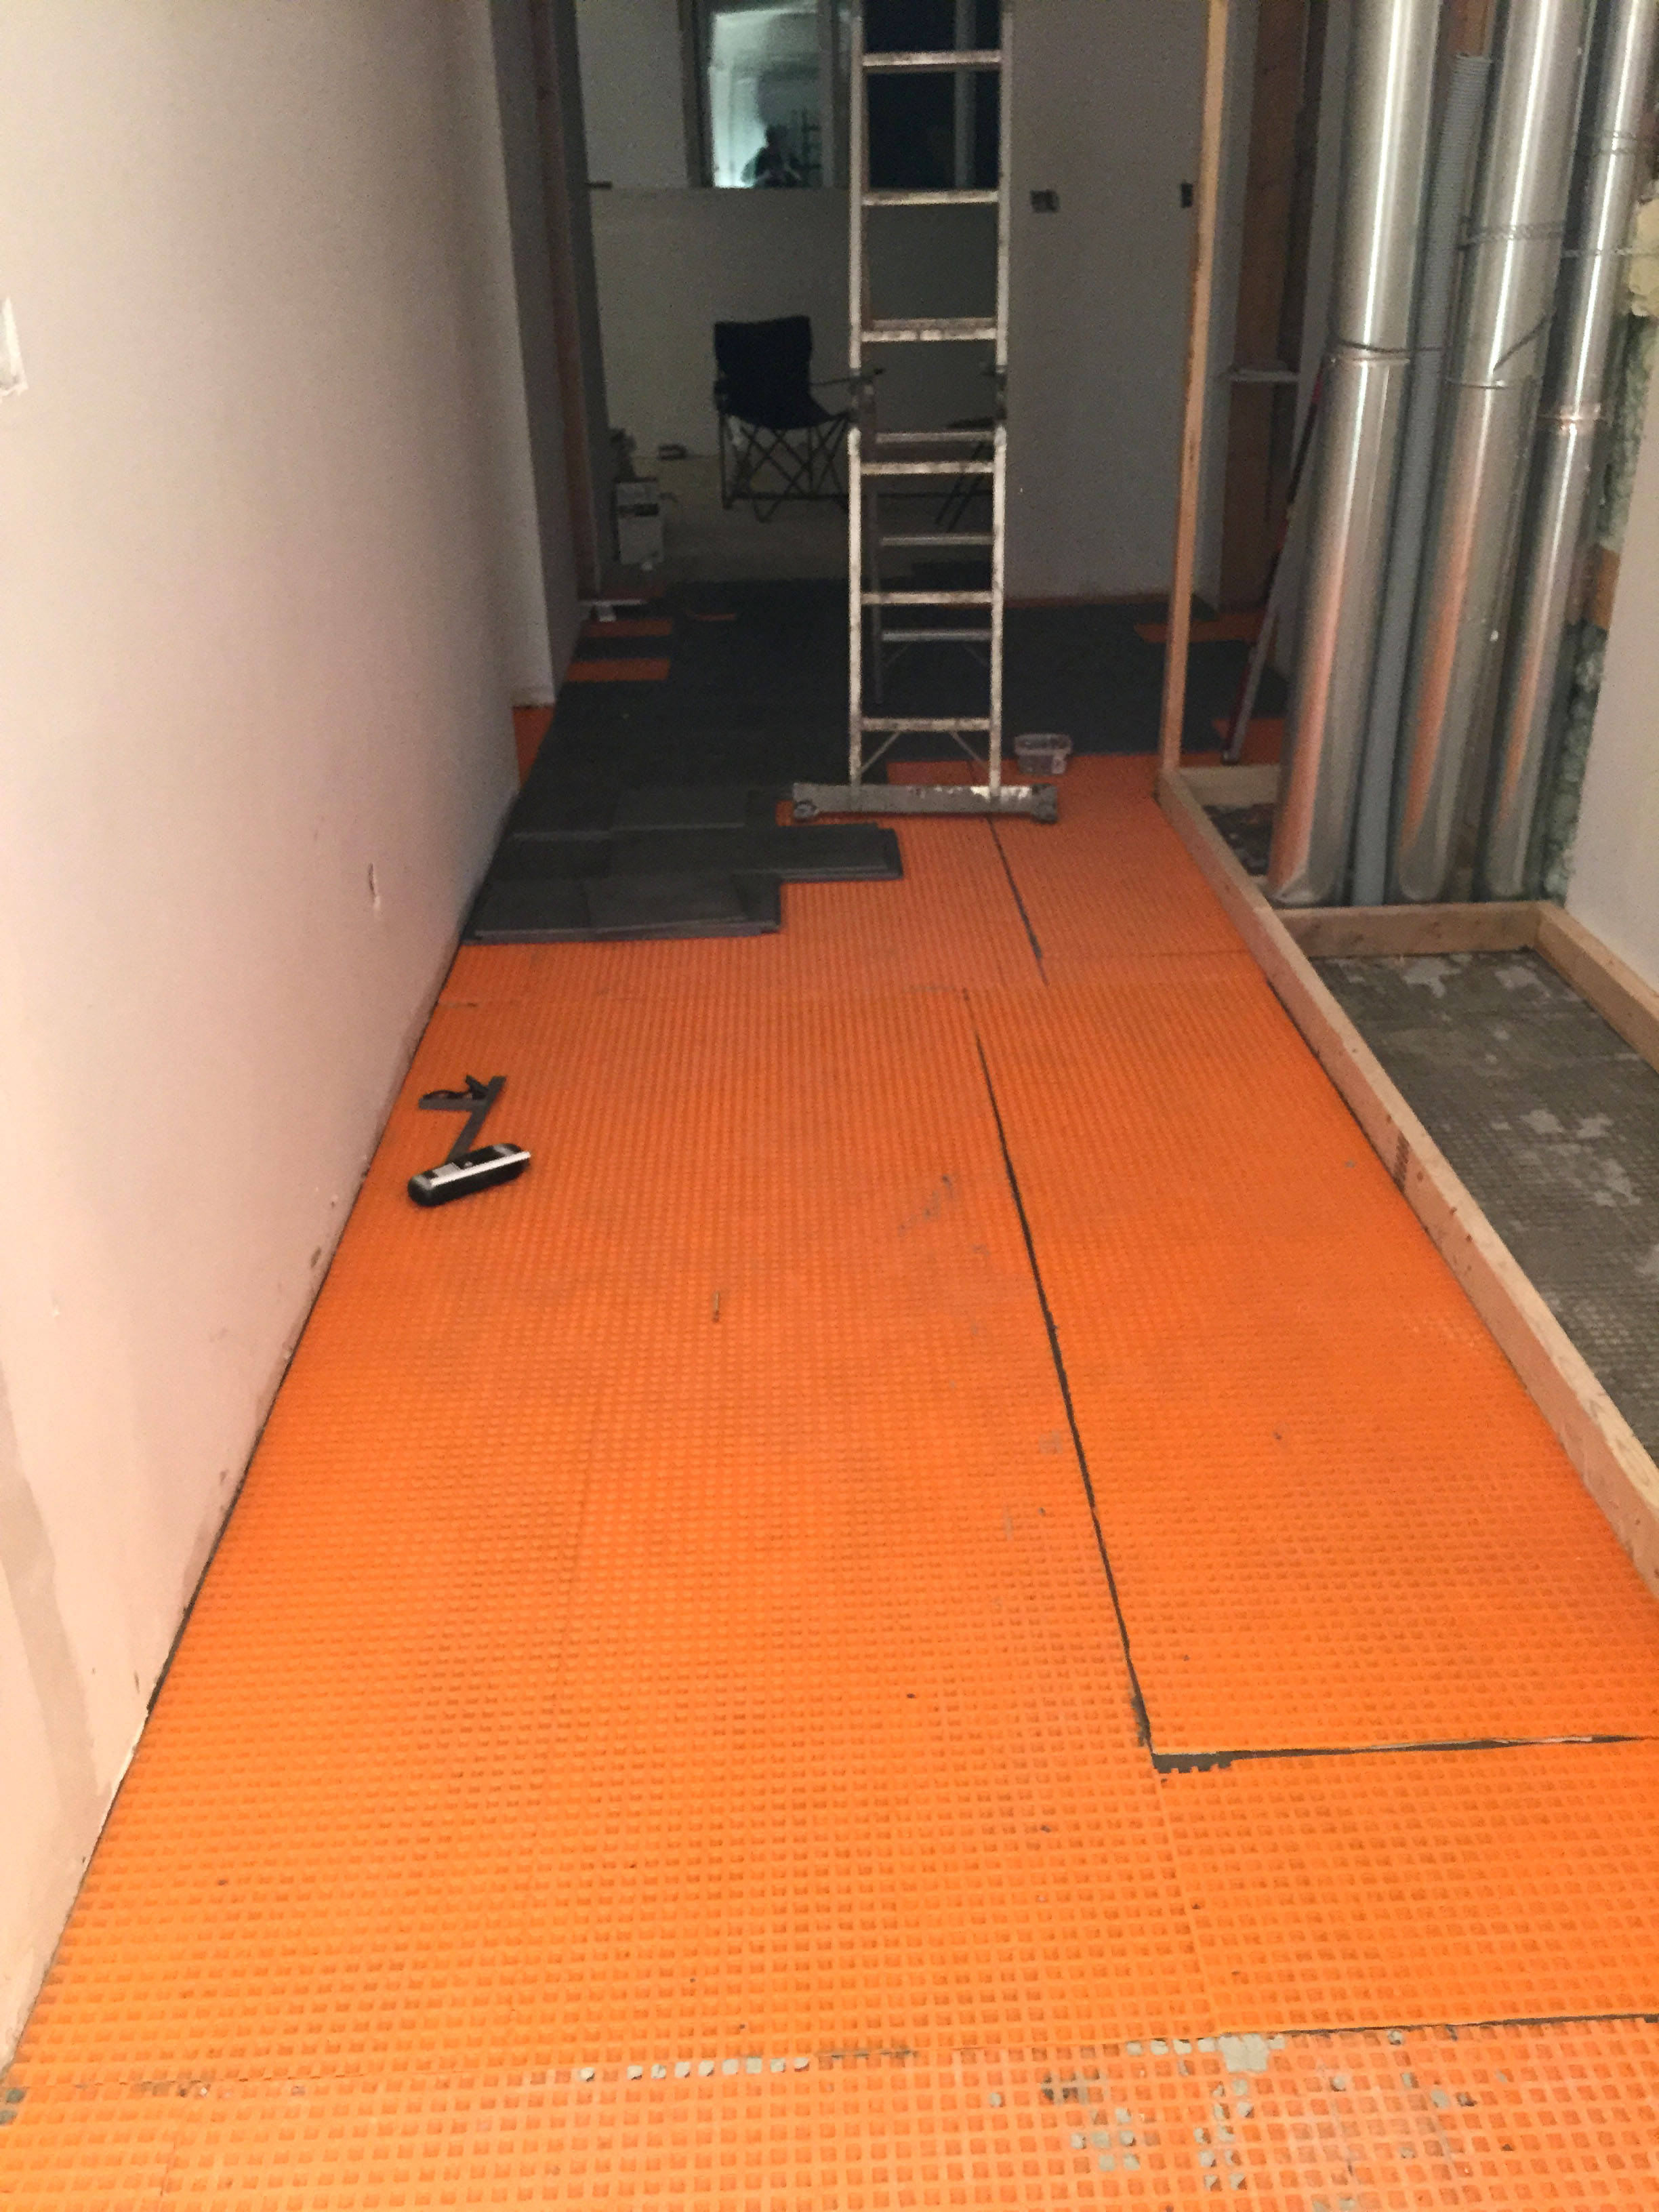
New Ditra laid

Framing underway
We dry fit our PAX system that we got assembled last week, so that we could finish the framing to the correct dimensions.
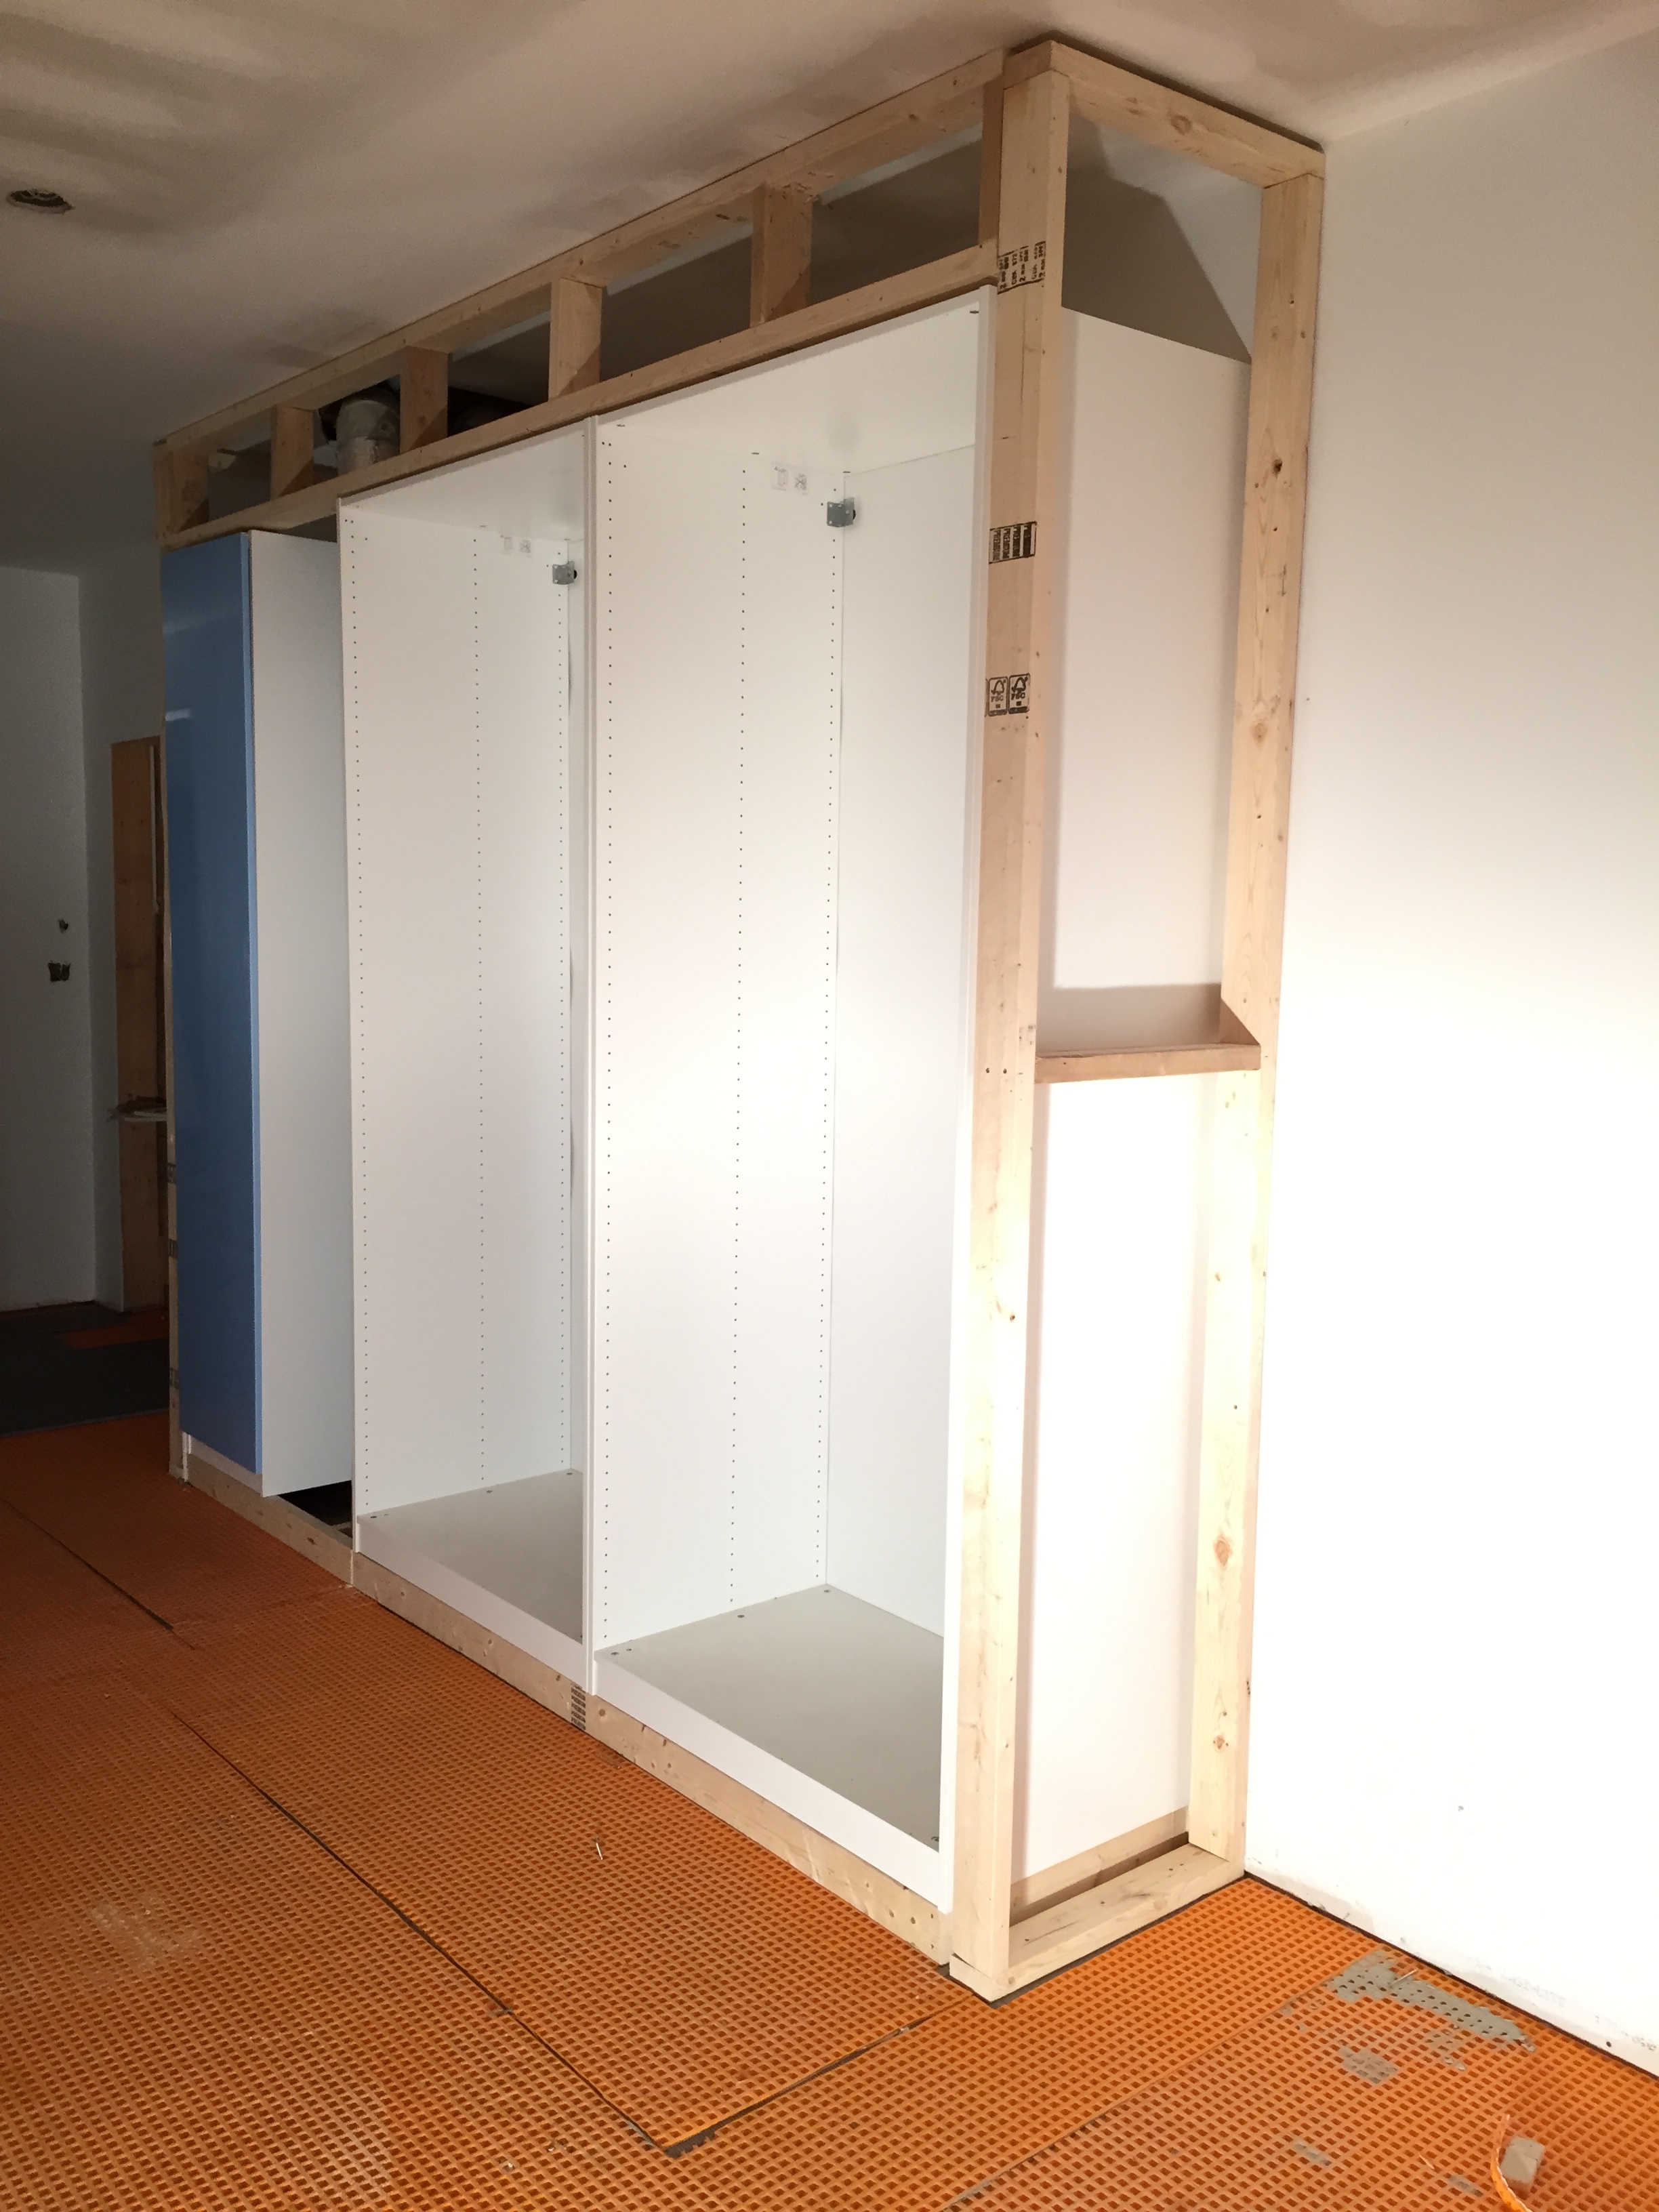
PAX wardrobe system all framed in
So there you have it! This week was a tough one for us because it felt like we put in so much work without a whole lot of forward progress. It was nice to see the closet coming together and in place, but as we said, there is still a long way to go. Let’s take one last look back at our list…
Prep the subfloorPurchase wardrobe cabinetsAssemble and install wardrobe cabinets- Customize cabinets to give them a built in look – Almost there, just need to hang drywall, tape & mud
- Lay tiles – All sealed & ready to be laid
- Paint – Ordered, delivered and waiting to go
- Build & install benches
- Hang wall hooks & accessories.
We know this last week is gonna be deadly if we expect to get everything done. To be honest, we really don’t know if it’s possible to complete all our plans in one week, but there’s no harm in trying right?

Come back next Thursday for our final post in this One Room Challenge series. Don’t forget to head over to Calling it Home and check out what the other awesome bloggers have been up to. As always, follow us on instragram and facebook for all the behind the scenes pics as we make this final push to complete #OperationOrganizedEntryway!

Sorry, the comment form is closed at this time.
Laura J
Wow – that is one ambitious to-do list. I’m rooting for you . . . .
Thalita @ The Learner Observer
It’s looking great! Despite a major setback, you guys are doing such an amazing job and working so stinkin hard! Way to go! I can’t wait for next week!!
Carrie
I think you can do it! You got all the really hard stuff out of the way and you just need to do a little more work to get an amazing space! I’m excited to see it next week. 🙂
Brenda A.
Sorry to hear about your setback but impressed with what you’re going to accomplish. It will be great!
Sabrina (@pinklilnotebook)
You can do it! I’m excited to see the new combined tile floor and what a creative way to hide your duct work!
Alana in Canada
Good for you for making the hard choice. Good luck with this last week: everything should go smoothly from now on, right? (cross fingers.)
christinedovey
I feel like we’re kindred ORC sprits in our tiling dilemmas…it’s just not easy to do this challenge when tiles are involved- there’s just so many ways things can go sideways. In any event, you’ve figured out a fabulous solution to your tiling woes and I can’t wait to see your room next week. Good luck!
sproutzdesign
I have 2000 sq feet of tile in our main floor and I am absolutely envisioning our tear out to look much like this…..dreading it! Great job so far though, I am really excited to see your reveal this week!!
Michelle @ Eamonn & Jack
I’m sorry that you had to pull up the tile after all – that sucks. Here’s hoping the rest of the challenge is smooth sailing. Can’t wait to see the final result!